вступ
Thank you for choosing the suptek Single Monitor Wall Mount. This manual provides detailed instructions for the safe and efficient installation, operation, and maintenance of your new monitor arm. Please read this manual thoroughly before installation and keep it for future reference.
This wall mount is designed to securely hold a single monitor, freeing up desk space and allowing for ergonomic adjustments to enhance your viewкомфорт та продуктивність.
Інформація про безпеку
УВАГА: Improper installation may result in property damage or personal injury. If you do not understand these instructions, or have doubts about the safety of the installation, please contact a qualified installer.
- Не перевищуйте максимальну вантажопідйомність 19.8 кг (9 фунтів).
- Переконайтеся, що монтажна поверхня (стіна) може безпечно витримати сумарну вагу кріплення та монітора.
- Always use a stud finder to locate wood studs for secure mounting. For concrete or brick walls, use appropriate anchors (included). Do not mount into drywall alone.
- Тримайте дітей подалі від рухомих частин.
- Регулярно перевіряйте всі з'єднання, щоб переконатися в їх надійності.
- Цей продукт призначений лише для використання в приміщенні.
Вміст упаковки
Please verify that all components are present and undamaged before installation. If any parts are missing or defective, contact customer support.
- Збірка кронштейна монітора
- Настінна плита
- Пластина VESA
- Hardware Kit (screws, washers, spacers, wall anchors)
- Шестигранні ключі
- Інструкція з експлуатації
Технічні характеристики
| Особливість | Деталь |
|---|---|
| Бренд | суптек |
| Модель | B0FHVH6PLY |
| Сумісний розмір екрана | від 17 до 32 дюймів |
| Вага | 4.4 - 19.8 фунти (2 - 9 кг) |
| Сумісність VESA | 75х75 мм, 100х100 мм |
| Кут нахилу | ±80° |
| Кут повороту | ±90° |
| Обертання | 360° |
| Максимальне розширення | 20.47 дюйма (52 см) |
| Діапазон регулювання висоти | 12.59 дюйма (32 см) |
| матеріал | легована сталь |
| Колір | Білий |

Image: Compatibility details including VESA 75x75mm and 100x100mm, max load 19.8 lbs, monitor size 13-32 inches, and compatible wall types (Wood Stud, Concrete Wall, Brick Wall).
Налаштування та встановлення
Follow these steps carefully to install your monitor wall mount.
Step 1: Choose Mounting Location and Wall Type
Select a location on your wall that is structurally sound and can support the weight of the mount and your monitor. Use a stud finder to locate a wood stud for optimal security. For concrete or brick walls, ensure you use the appropriate wall anchors provided.

Image: Wall mount installation compatibility with Wood Stud (requires specific method), Concrete Wall, and Brick Wall.
Крок 2: Прикріпіть пластину VESA до монітора
- Обережно покладіть монітор екраном донизу на м’яку, чисту поверхню, щоб запобігти подряпинам.
- Знайдіть отвори для кріплення VESA на задній панелі монітора (75x75 мм або 100x100 мм).
- Select the correct screws (M4 or M5) and washers from the hardware kit that fit your monitor's VESA holes. If the screws are too long, use the provided spacers.
- Attach the VESA plate to the back of your monitor using the selected screws and washers. Do not overtighten.
Крок 3: Монтуйте настінну пластину до стіни
- Hold the wall plate against the wall at your desired mounting height. Use a level to ensure it is straight.
- Позначте місця свердління через отвори на настінній пластині.
- Для дерев'яних шпильок: Drill pilot holes (recommended size in manual) into the center of the stud. Secure the wall plate using the lag bolts provided.
- Для бетонних/цегляних стін: Drill pilot holes (recommended size in manual) and insert the plastic wall anchors. Then secure the wall plate using the lag bolts.
- Переконайтеся, що настінна панель міцно та надійно закріплена на стіні.
Step 4: Attach Monitor Arm to Wall Plate
Slide the monitor arm assembly onto the wall plate. Ensure it clicks securely into place. There may be a locking screw or mechanism to further secure it; refer to the detailed diagram in the included printed manual.
Step 5: Attach Monitor to Arm
Carefully slide the monitor (with the attached VESA plate) onto the VESA head of the monitor arm. Secure it with the locking screw or mechanism, typically located on the top or side of the VESA head.
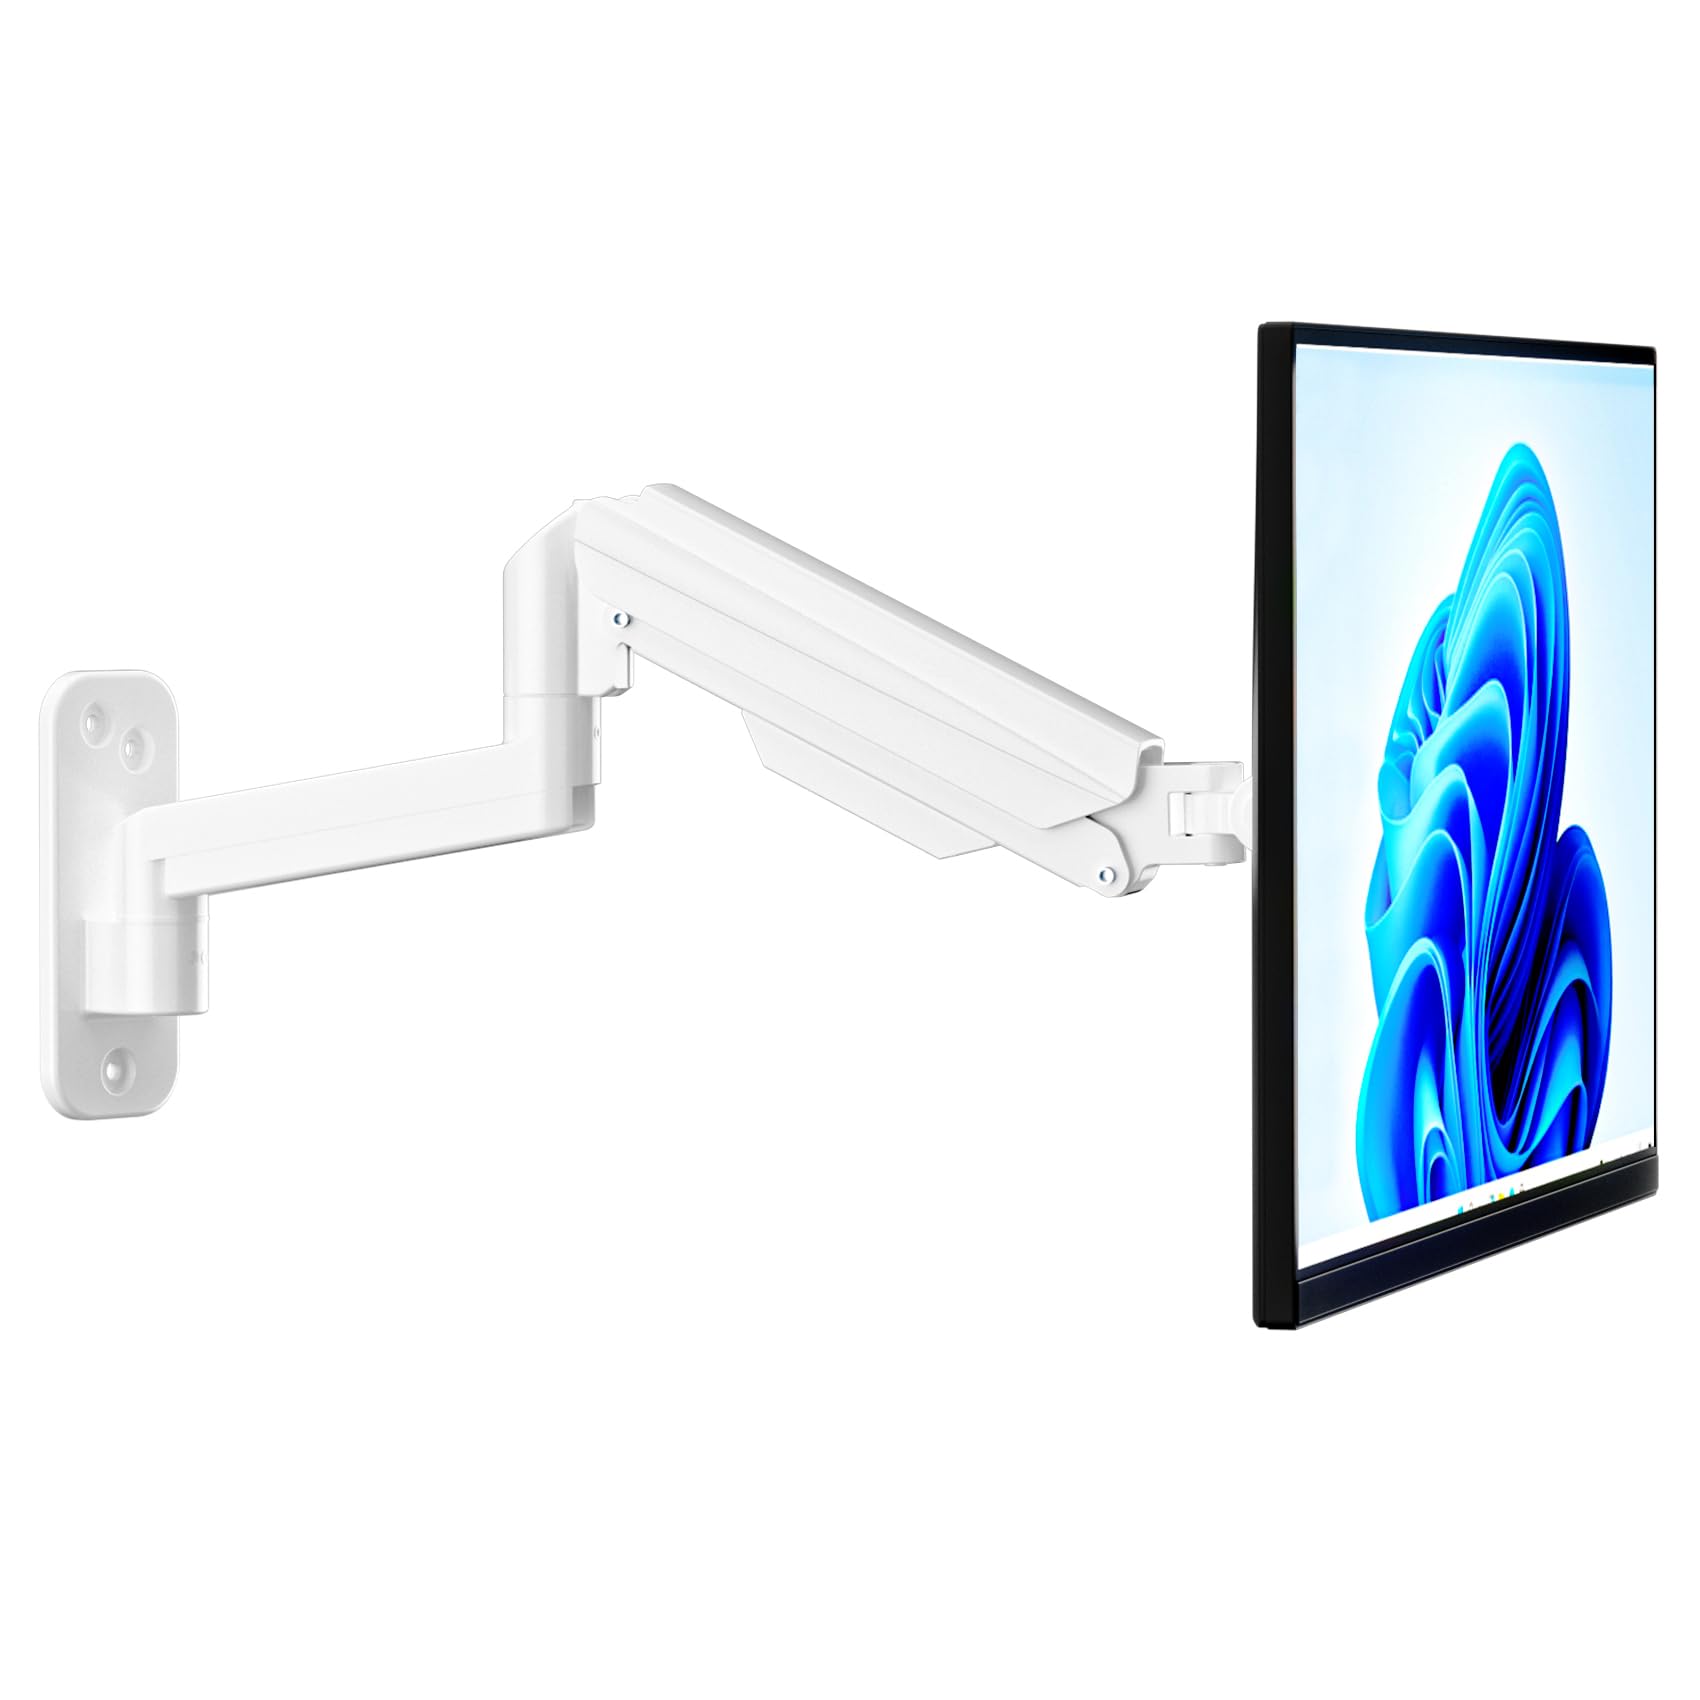
Image: Fully installed suptek Single Monitor Wall Mount with a monitor attached.
Інструкція з експлуатації
Регулювання натягу газової пружини
The gas spring mechanism allows for smooth height adjustment. The tension needs to be adjusted to match your monitor's weight for optimal performance. Use the provided hex key to adjust the tension screw located on the arm.
- Turn Clockwise (+): For lighter monitors, to increase tension and prevent the monitor from dropping.
- Turn Counter-Clockwise (-): For heavier monitors, to decrease tension and allow the monitor to move down easily.
Adjust until the monitor stays at any desired height when released.

Image: Gas spring tension adjustment points and directions for lighter/heavier monitors.
Full Motion Adjustments
The monitor arm offers a wide range of motion for ergonomic positioning:
- Нахил: Adjust the monitor screen ±80° up or down to reduce glare and optimize viewкути.
- Поворотний: Rotate the monitor ±90° left or right to share your screen or change viewнапрямок.
- Обертання: Rotate the monitor 360° from landscape to portrait orientation.
- Розширення/Втягування: The arm extends up to 20.47 inches (52 cm) and retracts to save space.
- Регулювання висоти: The gas spring allows for smooth vertical movement within a 12.59-inch (32 cm) range.
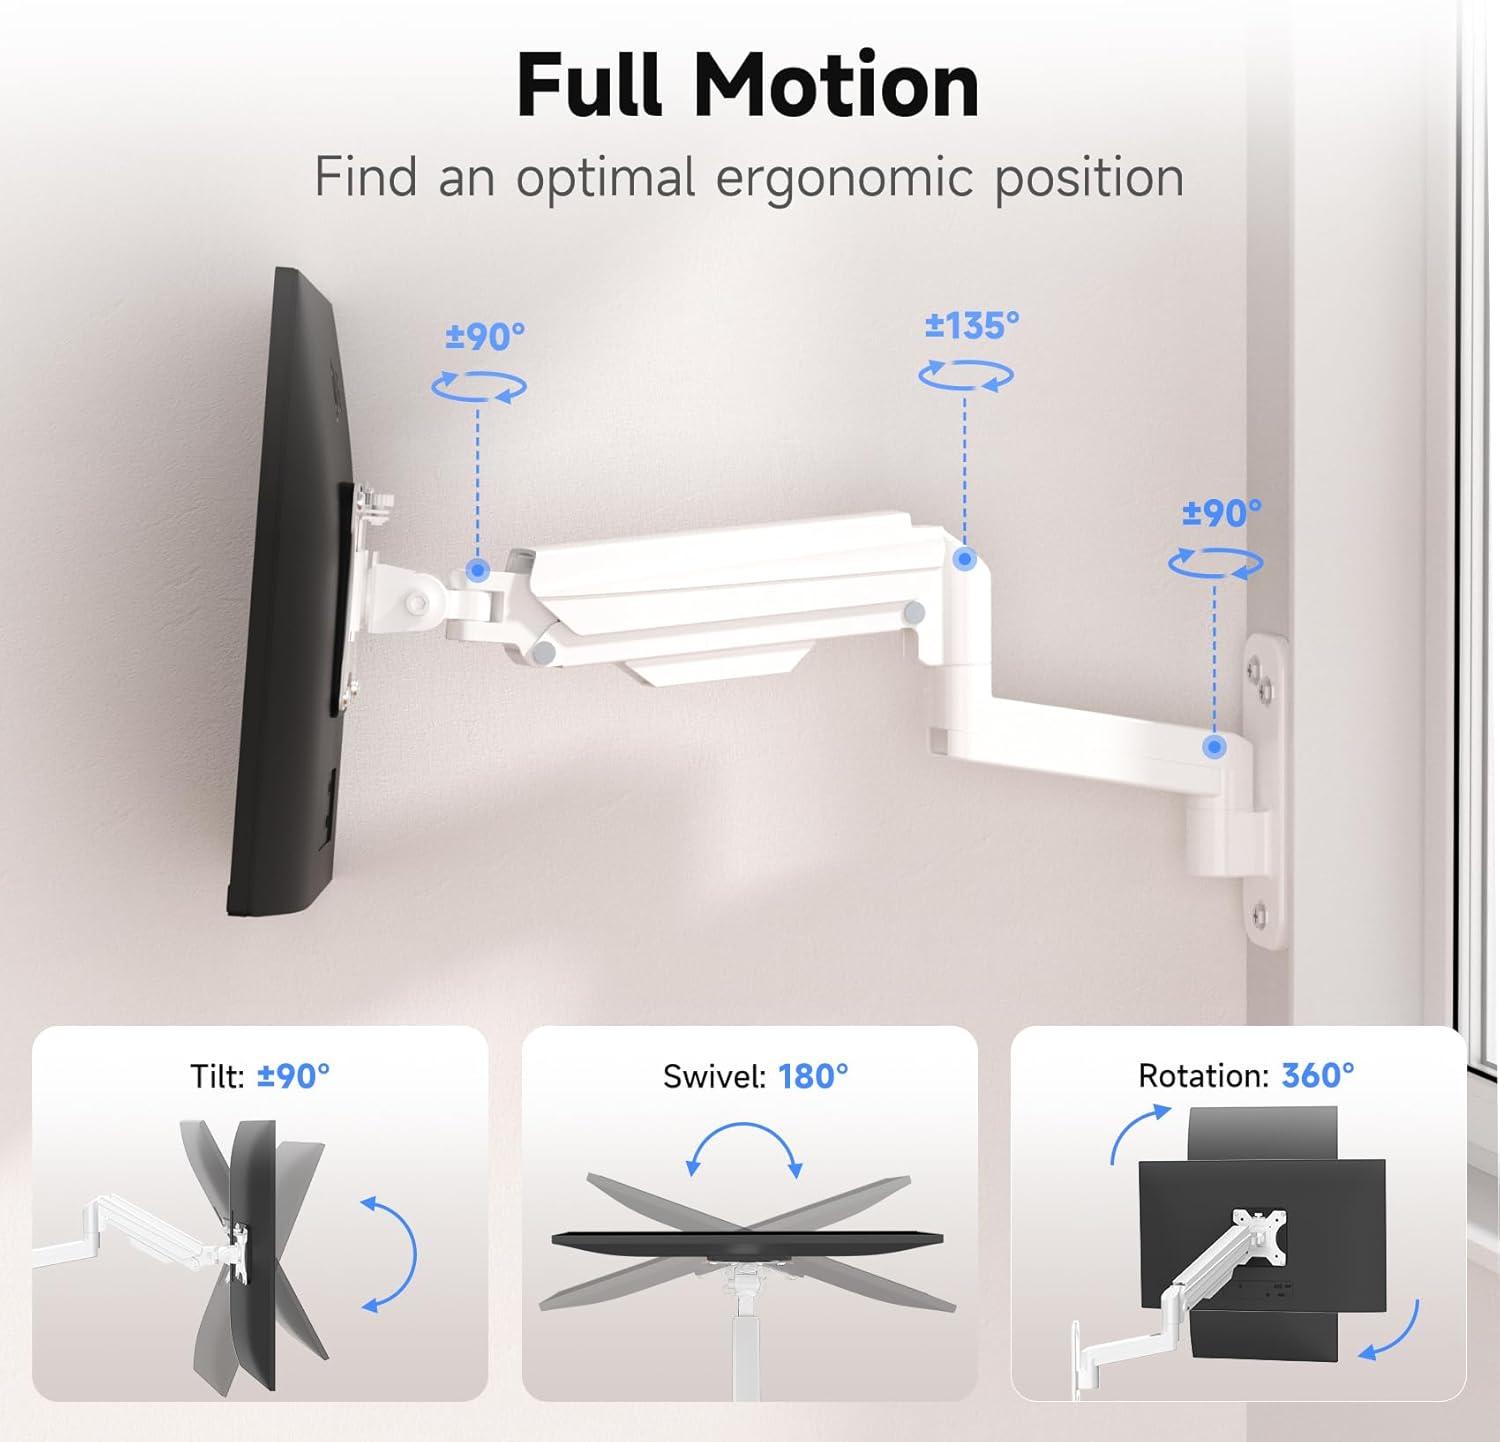
Image: Full motion capabilities including tilt, swivel, and 360° rotation.
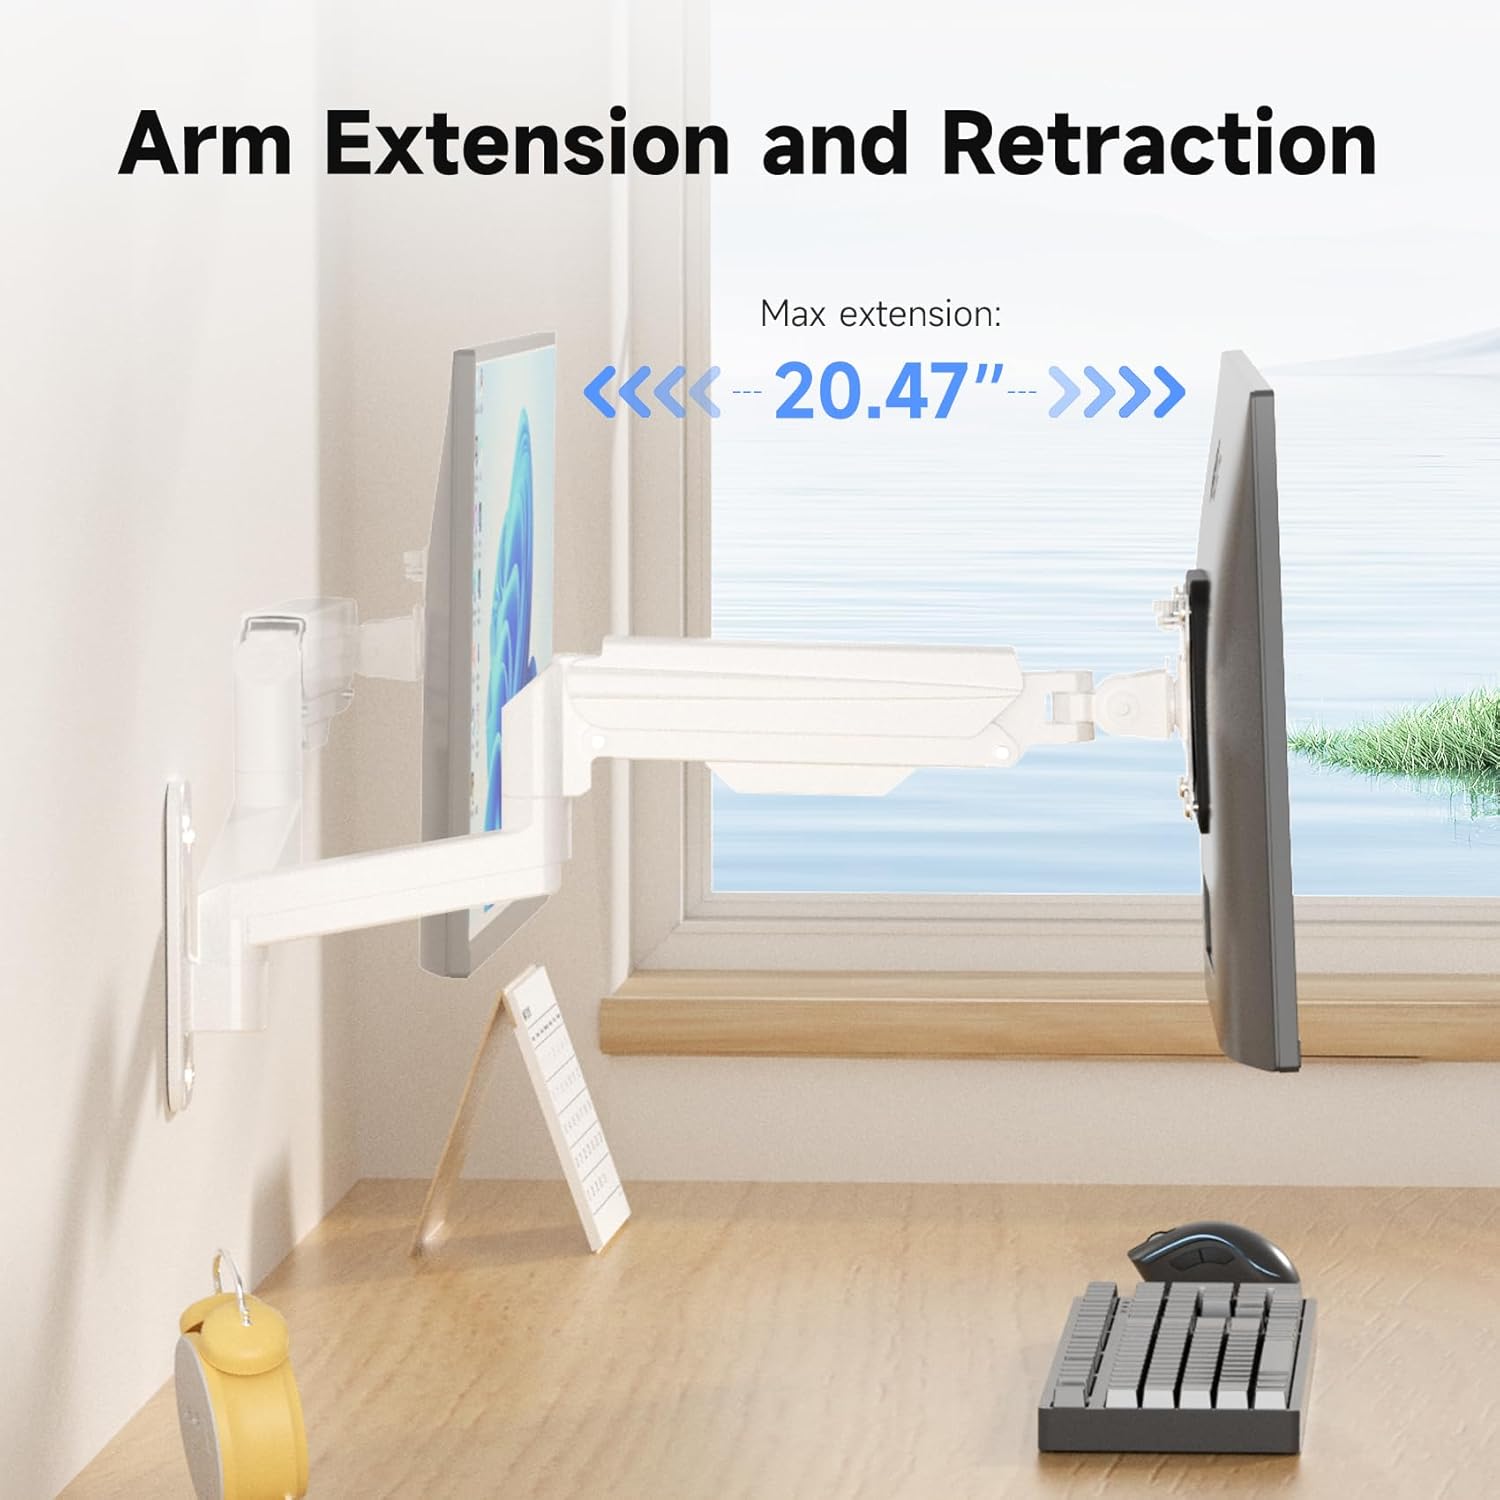
Image: Arm extension and retraction, showing a maximum extension of 20.47 inches.

Image: Height adjustment range of 12.59 inches for eye-level comfort.
Проведення кабелів
The monitor arm features integrated cable management clips or channels to keep your cables organized and out of sight. Route your monitor's power and video cables through these channels for a clean and tidy workspace.
Технічне обслуговування
- Періодично перевіряйте всі гвинти та з'єднання, щоб переконатися, що вони щільно затягнуті та надійно закріплені.
- Очистіть кріплення м’якою губкоюamp тканиною. Уникайте абразивних засобів для чищення або розчинників.
- Do not attempt to disassemble the gas spring mechanism.
Усунення несправностей
| проблема | Можлива причина | Рішення |
|---|---|---|
| Монітор провисань або падінь | Натяг газової пружини занадто низький для ваги монітора. | Збільште натяг газової пружини, повертаючи регулювальний гвинт за годинниковою стрілкою. |
| Monitor is difficult to push down or stays too high | Натяг газової пружини занадто високий для ваги монітора. | Зменште натяг газової пружини, повертаючи регулювальний гвинт проти годинникової стрілки. |
| Кріплення здається нестабільним | Wall plate not securely fastened; screws loose. | Re-check all mounting screws on the wall plate and tighten them. Ensure proper wall type and anchors were used. |
| Monitor does not fit VESA plate | Incorrect VESA pattern or screw size. | Verify your monitor's VESA pattern (75x75mm or 100x100mm). Ensure you are using the correct M4 or M5 screws and spacers. |
Гарантія та підтримка
For warranty information or technical support, please refer to the warranty card included with your product or visit the official suptek website. If you have any questions or require assistance, do not hesitate to contact suptek customer service.
Контактна інформація: Please refer to the packaging or suptek's official webсайт для отримання найактуальнішої контактної інформації.


