1. Вступ
This manual provides essential instructions for the safe and efficient operation of your Gevi 10-Cup Drip Coffee Maker with Built-in Burr Grinder. Please read all instructions carefully before first use and retain for future reference.
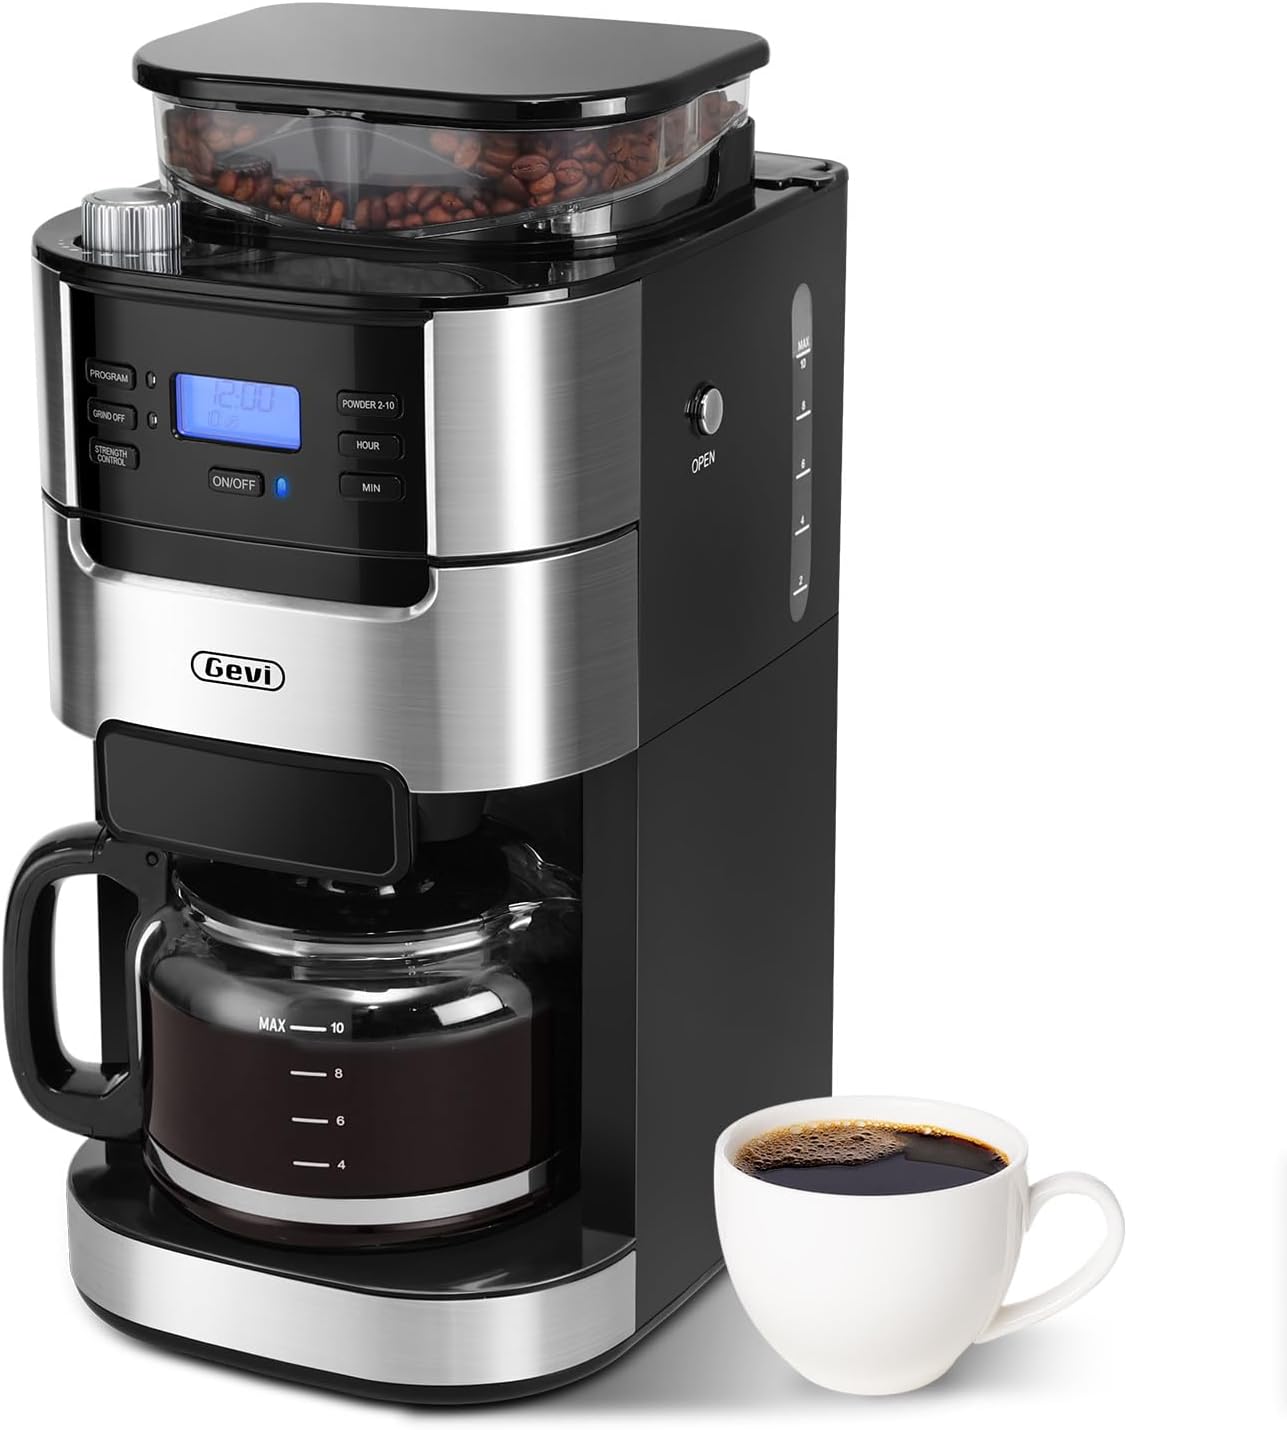
Image 1: Gevi 10-Cup Drip Coffee Maker, front view with a cup of coffee.
2. Важливі інструкції з техніки безпеки
Під час користування електричними приладами завжди слід дотримуватися основних заходів безпеки, щоб зменшити ризик пожежі, ураження електричним струмом та/або травмування людей, зокрема:
- Прочитайте всі інструкції.
- Не торкайтеся гарячих поверхонь. Використовуйте ручки або ручки.
- Для захисту від пожежі, ураження електричним струмом і травмування людей не занурюйте шнур, вилки або прилад у воду чи іншу рідину.
- Необхідний ретельний нагляд, коли будь-який прилад використовується дітьми або поблизу них.
- Від’єднуйте вилку від розетки, коли не використовуєте її та перед чищенням. Дайте охолонути, перш ніж надягати або знімати частини, а також перед чищенням приладу.
- Не використовуйте будь-який прилад із пошкодженим шнуром чи вилкою, а також після того, як прилад не працює чи був пошкоджений будь-яким чином. Поверніть прилад до найближчого авторизованого сервісного центру для перевірки, ремонту або налаштування.
- Використання аксесуарів, не рекомендованих виробником приладу, може призвести до пожежі, ураження електричним струмом або травмування людей.
- Не використовуйте на вулиці.
- Не дозволяйте шнуру звисати з краю столу чи прилавка та не торкатися гарячих поверхонь.
- Не ставте на гарячу газову чи електричну конфорку або поблизу неї, а також у розігріту духовку.
- Завжди спочатку підключайте вилку до приладу, а потім до розетки. Щоб відключити пристрій, перемкніть будь-який регулятор у положення «вимк.», а потім вийміть вилку з розетки.
- Не використовуйте прилад не за призначенням.
- Якщо зняти кришку під час циклів заварювання, можуть виникнути опіки.
- Глек призначений для використання з цим приладом. Його ніколи не можна використовувати на плиті.
- Не ставте гарячий графин на холодну або вологу поверхню.
- Не використовуйте тріснутий глек або глек із ослабленою або ослабленою ручкою.
- Не чистіть графин миючими засобами, сталевими вовняними прокладками або іншими абразивними матеріалами.
- Ensure the water tank is filled with purified water and boiled at least one cycle before brewing coffee for the first time.
- To avoid damage to the grinder, no coffee powder or any liquid is allowed in the bean box.
- When the machine is finished making coffee, the coffee residue in the funnel and filter should be removed to avoid accumulation of coffee powder and clogging the grinding bean cavity.
3. Компоненти продукту
Familiarize yourself with the parts of your Gevi coffee maker:
- Основний блок з панеллю управління
- Built-in Burr Grinder (Bean Box)
- 1.5L Water Tank (with MAX 10-cup indicator)
- Glass Coffee Pot (Carafe)
- Постійний фільтр
- Filter Insert with Drip Stop
- Совок
- Щітка для чищення
- Кільце фільтра

Image 2: Included accessories: Permanent Filter, Filter Insert with Drip Stop, Glass Coffee Pot, Scoop, Filter Ring.
4. Налаштування та перше використання
4.1 Розпакування та розміщення
- Carefully remove all packaging materials and the coffee maker from the box.
- Place the coffee maker on a stable, flat, and spacious surface. Ensure adequate clearance around the unit for proper ventilation.
- Протріть зовнішню частину кавоварки рекламоюamp тканина.
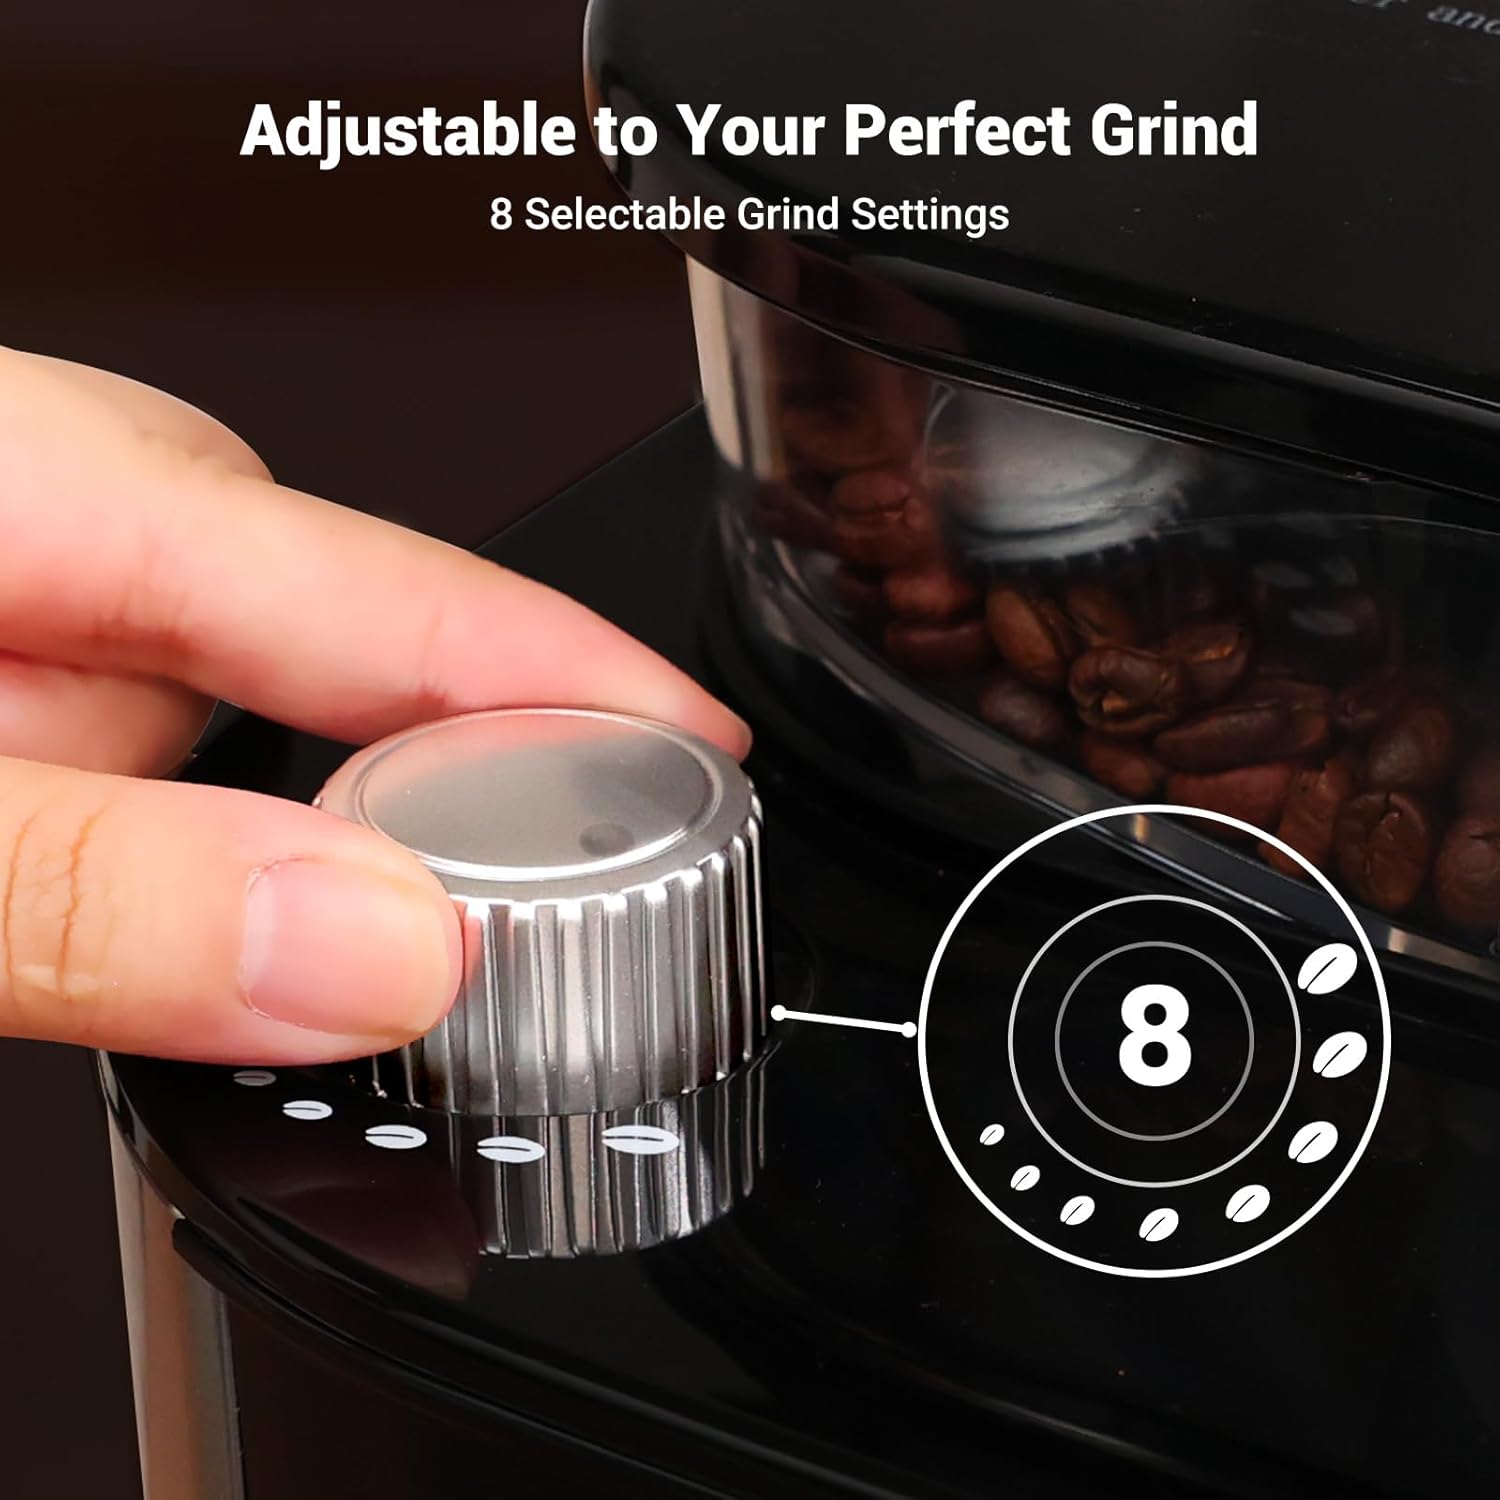
Image 3: The coffee maker's compact design fits well on countertops. Dimensions: 12.36" (D) × 8.38" (W) × 16.93" (H).
4.2 Initial Cleaning Cycle
Before brewing coffee for the first time, it is recommended to run at least one full cycle with clean water to remove any manufacturing residues.
- Fill the glass carafe with clean water up to the "MAX 10" line.
- Open the water tank lid and carefully pour the water from the carafe into the water tank. Close the lid securely.
- Ensure the permanent filter is correctly placed in the filter basket.
- Поставте порожній скляний графин на нагрівальну пластину.
- Підключіть шнур живлення до заземленої електричної розетки. Дисплей підсвітиться.
- Press the "ON/OFF" button to start the brewing cycle. The machine will run a full cycle, heating and dispensing all the water.
- Після завершення циклу злийте воду з глечика. Ваша кавоварка тепер готова до використання.
5. Інструкція з експлуатації
5.1 Adding Water and Coffee
- Fill the glass carafe with fresh, cold water to your desired number of cups (2-10).
- Open the water tank lid and pour the water into the tank. Ensure the water level does not exceed the "MAX 10" line.
- For whole beans: Open the bean box lid and add fresh coffee beans. Close the lid securely.
- For pre-ground coffee: Press the "GRIND OFF" button to disable the grinder. Open the filter basket and add your desired amount of pre-ground coffee into the permanent filter. Close the filter basket.

Image 4: Illustration of adding whole coffee beans to the grinder or pre-ground coffee to the filter basket.
5.2 Setting Grind Level and Coffee Strength
- Rotate the grind regulator knob on top of the machine to select your desired coffee grind size (8 settings from fine to coarse).
- Press the "STRENGTH CONTROL" button to cycle through the available coffee strength options (Mild, Medium, Strong).
- Press the "POWDER 2-10" button to select the number of cups you wish to brew.

Image 5: Close-up of the grind setting knob, indicating 8 selectable grind settings.
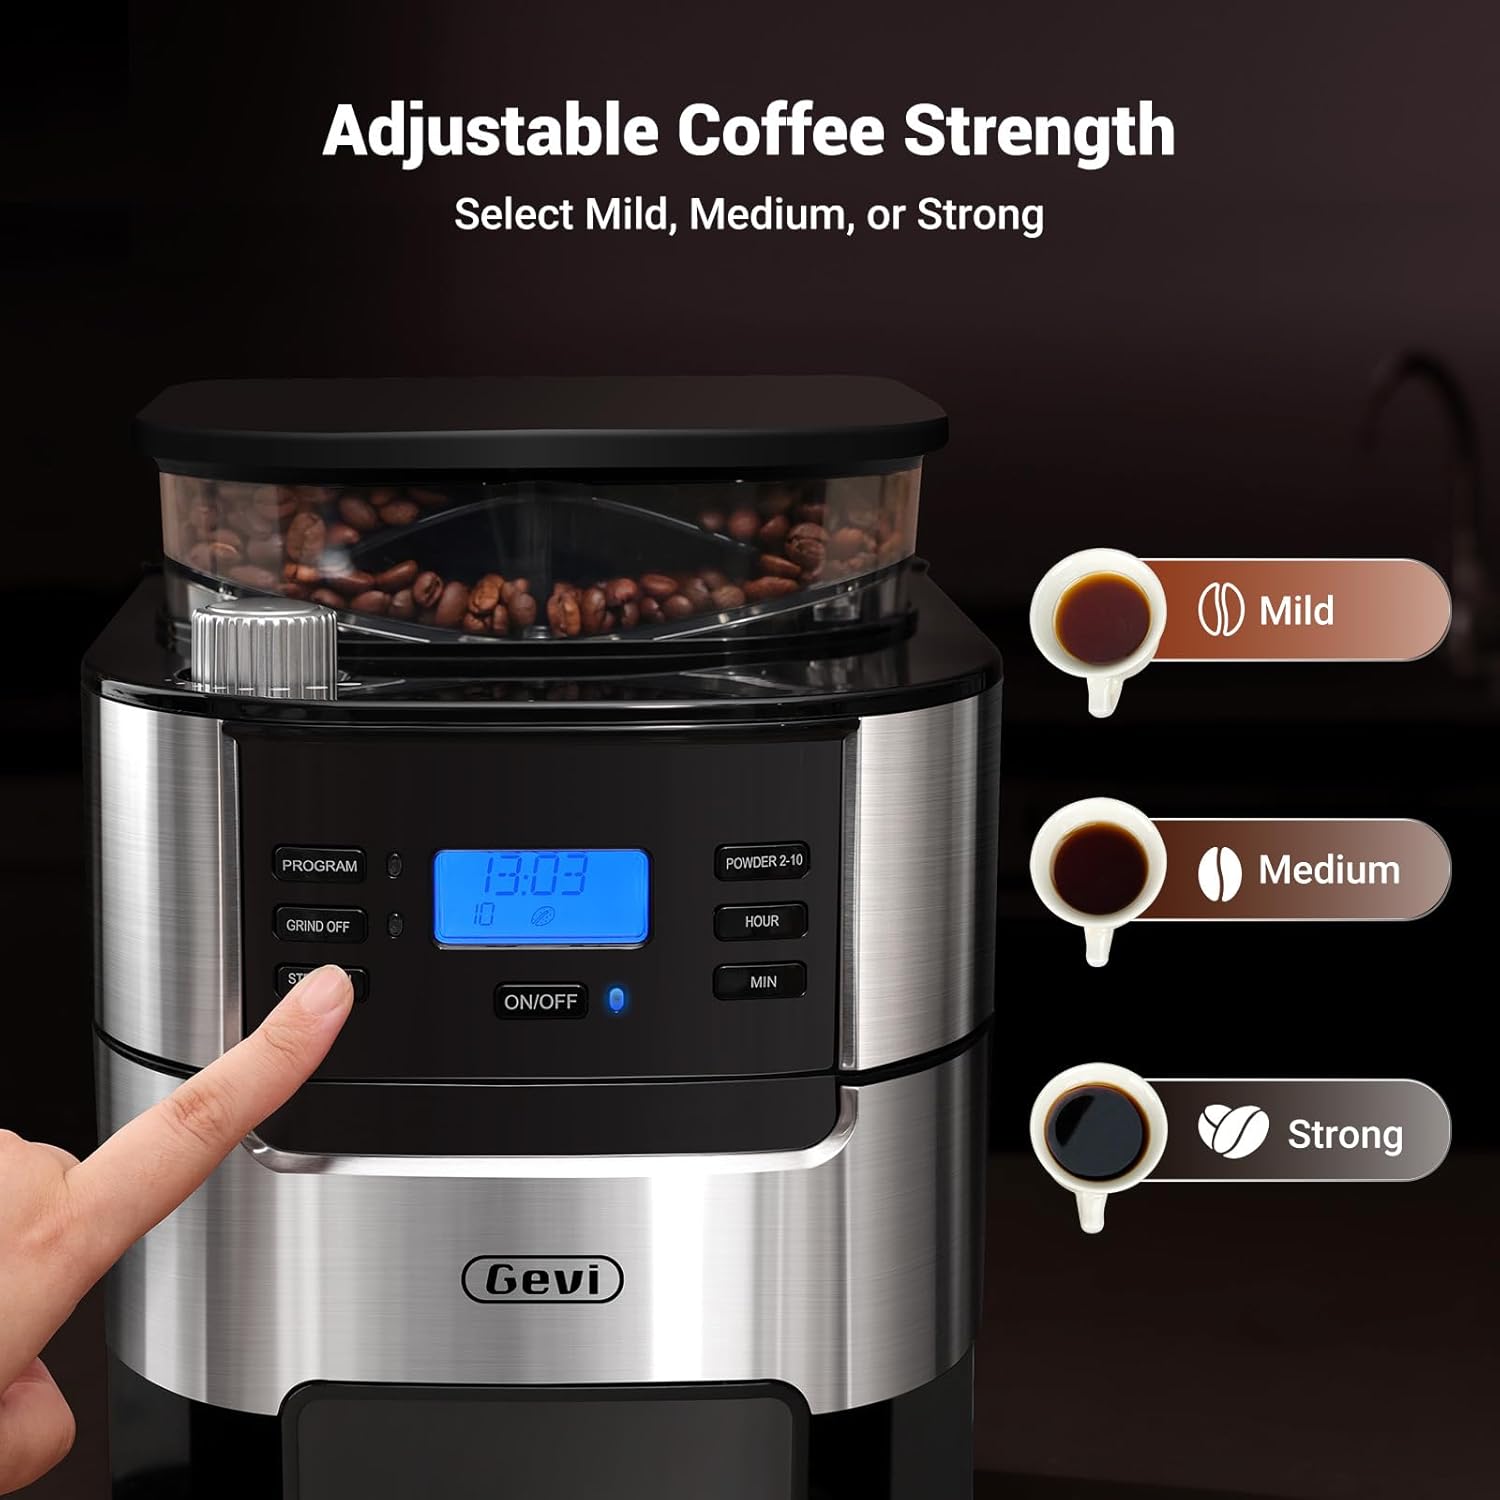
Image 6: The control panel highlighting the "STRENGTH CONTROL" button and the three brew strength options.
5.3 Programming the Timer
Кавоварка оснащена 24-годинним програмованим таймером для автоматичного заварювання.
- Set the current time using the "HOUR" and "MIN" buttons.
- Press the "PROGRAM" button. The display will show "PROGRAM" and the time will flash.
- Use the "HOUR" and "MIN" buttons to set your desired brew start time.
- Press the "PROGRAM" button again to confirm. The display will show the current time, and the program indicator will remain lit.
- Кавоварка автоматично почне варити каву у встановлений час.

Image 7: Visual representation of setting the 24-hour programmable timer for automatic morning coffee.
5.4 Starting the Brew Cycle
After setting your preferences, press the "ON/OFF" button to start brewing immediately or to activate the programmed brew cycle.
Image 8: Step-by-step visual guide for one-touch brewing, from adding water to enjoying coffee.
5.5 Keep-Warm Function
The coffee maker automatically keeps coffee warm at 167°F+ for up to 2 hours after brewing. You can adjust the warming time from 0-120 minutes in 15-minute intervals.
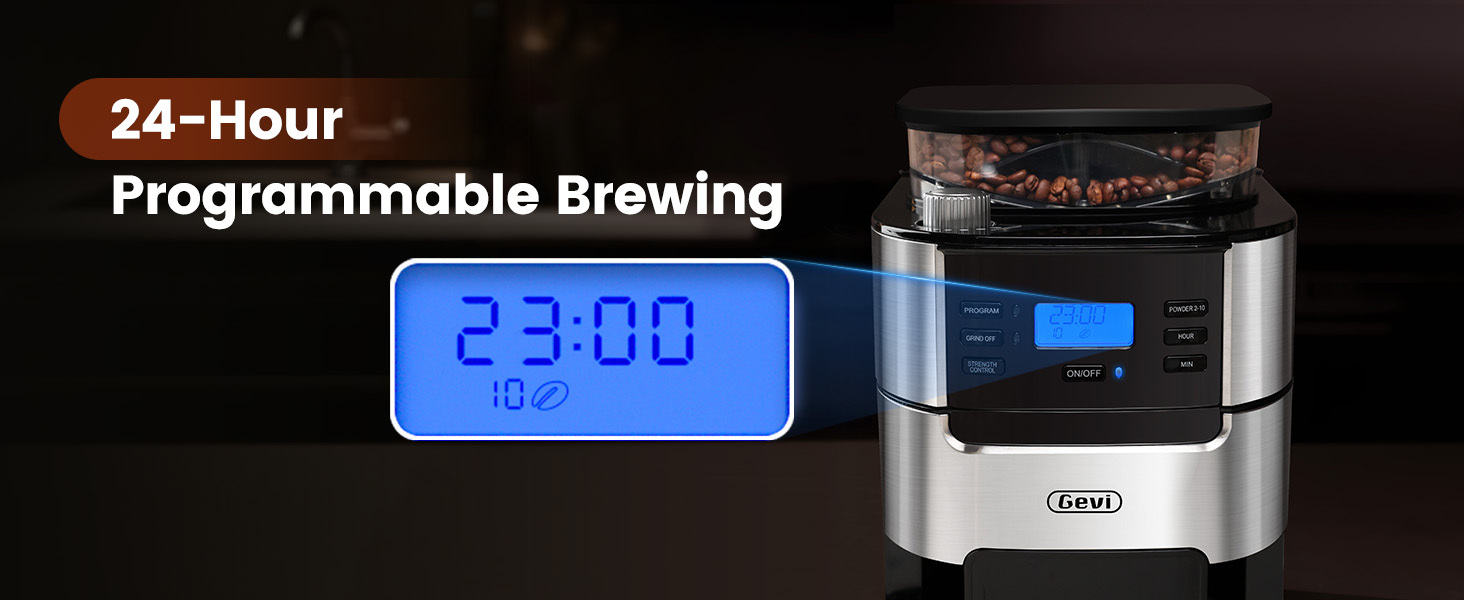
Image 9: The coffee maker's warming plate maintaining the temperature of brewed coffee.
6. Технічне обслуговування та очищення
Регулярне очищення забезпечує оптимальну продуктивність та довговічність вашої кавоварки.
6.1 Щоденне прибирання
- After each use, press the "OPEN" button to remove the filter basket.
- Викиньте використану кавову гущу з постійного фільтра.
- Rinse the permanent filter and filter ring under running water. Use the provided cleaning brush to remove any stubborn coffee residue.
- Протріть зовнішню частину машини рекламоюamp тканиною. Перед повторним складанням переконайтеся, що всі деталі сухі.
6.2 Grinder Maintenance
To prevent clogging and maintain grinder efficiency, especially if not using the machine for several days:
- Remove the bean box lid.
- Carefully remove any remaining coffee beans from the bean box using the scoop or a spoon.
- Закрийте кришку ящика для бобів.
- Set the "POWDER 2-10" function to 10 cups.
- Press the "ON/OFF" button to run the grinder until it sounds empty, ensuring all residual grounds are cleared.
- Always ensure the bean box lid is securely closed to protect beans from ambient air and prevent water from entering the grinder during water tank refills.
- Do not adjust the grind size selector while the grinder is operating to prevent damage.
7. Вирішення проблем
| проблема | Можлива причина | Рішення |
|---|---|---|
| Coffee maker not turning on. | Не підключено; живлення відключеноtage. | Переконайтеся, що шнур живлення надійно підключений до справної розетки. Перевірте автоматичний вимикач. |
| Вода, що протікає знизу. | Water tank overfilled; faulty water tank. | Do not exceed the MAX fill line in the water tank. If leaking persists, contact customer support. |
| Grinder is clogged or not grinding. | Coffee beans stuck; coffee powder accumulation. | Remove beans and clean the grinder cavity as per maintenance instructions. Do not add liquid to the bean box. |
| Кава має слабкий або занадто міцний смак. | Неправильне співвідношення кави та води; неправильне налаштування міцності. | Adjust the coffee quantity and strength control settings to your preference. |
| Coffee beans not feeding into grinder. | Beans stuck in hopper. | Gently shake the machine or use a non-sharp utensil to dislodge beans. Ensure the bean box lid is properly closed. |
8. Технічні характеристики
- Бренд: Gevi
- Model Name: Drip Coffee Machine
- Item Model Number: DCMB0-BK0A1
- Capacity: 10-Cup (1.5L Water Tank)
- Колір: чорний
- Розміри виробу: 12.36 см Г x 8.38 см Ш x 16.93 см В
- Special Feature: Adjustable Brew Strength, Built-in Burr Grinder, Programmable Timer, Auto Keep-Warm
- Coffee Maker Type: Drip Coffee Machine
- Operation Mode: Fully Automatic
- томtage: 120 Вольт
- Human Interface Input: Buttons
- Coffee Input Type: Whole Bean
- Вага предмета: 9.92 фунтів
- UPC: 767791886977, 767791888223
9. Гарантія та підтримка
Your Gevi coffee maker comes with a 12-month warranty. For product support, troubleshooting assistance, or warranty claims, please contact Gevi customer service.
Refer to the official Gevi webна сайті або в документації щодо придбання, щоб отримати контактну інформацію.

Image 10: Gevi's commitment to customer satisfaction, including a 12-month warranty and friendly services.


