1. Вступ
This manual provides detailed instructions for the installation, operation, and maintenance of the RAB Lighting B17 LED Bollard Light. This outdoor luminaire features field-adjustable wattage and selectable color temperature (CCT), designed for various outdoor applications.
Ключові особливості:
- Energy-efficient LED with a 50,000-hour lifespan.
- Регульована ватtage: 24W, 19W, or 14W.
- Selectable CCT: 3000K (Warm White), 4000K (Neutral White), or 5000K (Cool White).
- 0-10V dimming capability.
- Перелік UL для вологих приміщень.
- Durable metal construction with a glass shade.
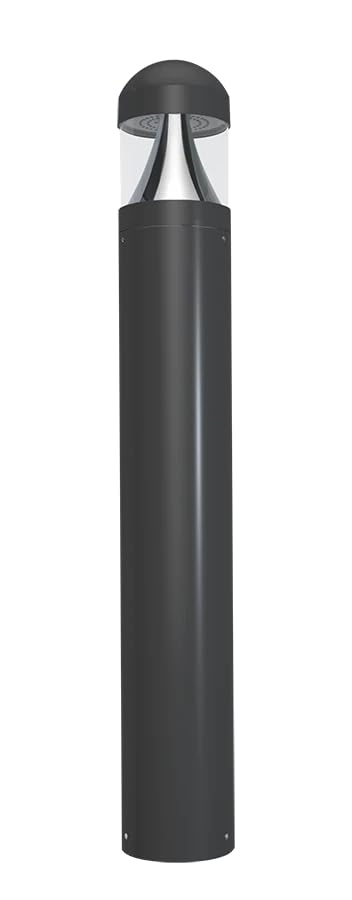
Figure 1: RAB Lighting B17 LED Bollard Light (Model B17D shown).
2. Інформація про безпеку
УВАГА: Risk of electric shock. Disconnect power before installation or servicing. Installation should be performed by a qualified electrician in accordance with all applicable national and local electrical codes.
- Забезпечити подачу обtage is correct for the fixture.
- Do not handle live components.
- Одягайте відповідні засоби індивідуального захисту (ЗІЗ).
- This fixture is suitable for wet locations. Ensure all connections are properly sealed to prevent water ingress.
- Не модифікуйте прилад. Будь-які модифікації можуть анулювати гарантію та створити загрозу безпеці.
3. Вміст упаковки
Перед початком встановлення перевірте наявність усіх компонентів:
- B17 LED Bollard Light Fixture
- On-Off Switch (Included Components)
- Installation Hardware (e.g., mounting bolts, gaskets) - (Assumed, not explicitly listed but typical for such products)
- Інструкція з експлуатації (цей документ)
4. Налаштування та встановлення
Follow these steps for proper installation of the B17 LED Bollard Light:
- Підготуйте місце встановлення: Ensure the mounting surface is stable and level. Run electrical conduit and wiring to the desired location according to local codes.
- Відключити живлення: Перед початком будь-яких електромонтажних робіт вимкніть живлення за допомогою автоматичного вимикача.
- Mount the Bollard: Secure the bollard base to the mounting surface using appropriate hardware. Ensure a watertight seal if required by local codes.
- Виконайте електричні з’єднання: Connect the fixture's wires to the supply wires. Follow standard wiring practices:
- Black to Line (L)
- White to Neutral (N)
- Green/Ground to Ground (G)
- Purple to Dimming (+) (for 0-10V dimming)
- Gray to Dimming (-) (for 0-10V dimming)
- Виберіть Ватtagе та CCT: Before closing the fixture, adjust the wattage and CCT switches located inside the fixture head. Refer to Section 5 for details.
- Secure the Fixture Head: Attach the fixture head to the bollard body, ensuring all seals are properly seated to maintain the wet location rating.
- Відновлення живлення: Turn on power at the circuit breaker and test the light.

Figure 2: The B17 Bollard Light is UL Listed and rated for wet locations, ensuring durability in outdoor environments.
5. Інструкція з експлуатації
5.1. Field-Adjustable Wattage
The B17 bollard light allows you to select the desired wattage output to optimize brightness and energy consumption. A switch located inside the fixture head enables selection between 24W, 19W, and 14W.
- 24 Вт: Максимальна яскравість.
- 19 Вт: Medium brightness, reduced energy use.
- 14 Вт: Lower brightness, maximum energy savings.
Щоб налаштувати: Disconnect power. Open the fixture head. Locate the wattage selection switch and move it to the desired setting. Close the fixture head and restore power.
5.2. Selectable Color Temperature (CCT)
The fixture offers three color temperature options to suit different aesthetic preferences and applications. A separate switch inside the fixture head allows selection between 3000K, 4000K, and 5000K.
- 3000 тис.: Warm White, ideal for creating a cozy and inviting atmosphere.
- 4000 тис.: Neutral White, suitable for general illumination and task lighting.
- 5000 тис.: Cool White, provides bright, crisp light, often used for security or modern aesthetics.
Щоб налаштувати: Disconnect power. Open the fixture head. Locate the CCT selection switch and move it to the desired setting. Close the fixture head and restore power.

Figure 3: Visual representation of adjustable wattage and selectable CCT settings.
5.3. 0-10V Dimming
The B17 bollard light is compatible with 0-10V dimming systems. Connect the purple and gray dimming wires to a compatible 0-10V dimmer control. This allows for smooth adjustment of light output from 100% down to 10% (or lower, depending on dimmer specifications).
Ensure the dimmer is rated for LED loads and is compatible with 0-10V dimming protocols.
6. Технічне обслуговування
The B17 LED Bollard Light is designed for minimal maintenance due to its long LED lifespan of 50,000 hours.
- Прибирання: Періодично очищуйте зовнішню частину приладу м’якою губкоюamp тканиною, щоб видалити бруд та сміття. Не використовуйте абразивні засоби для чищення або розчинники. Перед чищенням переконайтеся, що живлення вимкнено.
- Огляд: Annually inspect the fixture for any signs of damage, loose connections, or wear. Ensure all seals remain intact to maintain weather resistance.
- Заміна світлодіодів: LEDs are integrated and not user-replaceable. The long lifespan minimizes the need for replacement.

Figure 4: The B17 LED Bollard Light offers a long 50,000-hour operational lifespan.
7. Вирішення проблем
| проблема | Можлива причина | Рішення |
|---|---|---|
| Світло не вмикається. | Немає джерела живлення. Послаблене з’єднання проводів. Неправильний ватtage/CCT setting. | Check circuit breaker. Ensure power is on. Перевірте надійність усіх з'єднань проводів (спочатку вимкніть живлення). Підтвердьте, щоtage/CCT switches are set correctly. |
| Світло несподівано мерехтить або тьмяніє. | Несумісний димер. Loose dimming wire connection. томtage коливання. | Ensure 0-10V dimmer is compatible with LED loads. Check purple and gray dimming wire connections. Зверніться до електрика, щоб перевірити стабільність електроживлення. |
| Світловий потік занадто низький/високий. | Неправильний ватtage налаштування. | Відрегулюйте ватtage selection switch inside the fixture head (power off first). |
| Світлий колір небажаний. | Неправильне налаштування CCT. | Adjust the CCT selection switch inside the fixture head (power off first). |
8. Технічні характеристики
| Особливість | Деталь |
|---|---|
| Назва моделі | B17 |
| Бренд | RAB освітлення |
| Wattage | Field-Adjustable: 24W / 19W / 14W |
| Колірна температура (CCT) | Selectable: 3000K / 4000K / 5000K |
| затемнення | 0-10 В з можливістю затемнення |
| Тривалість життя | 50,000 години |
| матеріал | Metal body, Glass shade |
| Екологічний рейтинг | Сертифіковано UL для вологих приміщень |
| Включені компоненти | Перемикач увімкнення-вимкнення |
| UPC | 192552028424 |
| ASIN | B0DY2FPPNS |
9. Гарантія та підтримка
For warranty information and technical support, please contact RAB Lighting directly. Refer to the official RAB Lighting webна сайті або в документації щодо придбання, щоб дізнатися про умови гарантії та контактну інформацію.
RAB Lighting Contact: www.rablighting.com


