1. Вступ
The TP-Link VIGI NVR2016H is a 16-channel network video recorder designed for comprehensive surveillance systems. It supports 4K HDMI video output and offers a 16MP decoding capacity, ensuring high-resolution video capture and playback. This NVR utilizes H.265+ video compression for efficient storage and network usage, is ONVIF compatible for broad camera integration, and features plug-and-play functionality for simplified setup. It also includes two-way audio and remote monitoring capabilities.

Малюнок 1: Спереду view мережевого відеореєстратора TP-Link VIGI NVR2016H.
2. Ключові характеристики
The VIGI NVR2016H offers a range of features to enhance your surveillance experience:
- 4K HDMI Video Output & 16MP Decoding Capacity: Provides sharp image definition up to 8MP (4K) and supports 8-channel at 2MP decoding for simultaneous live view та відтворення.
- 16-Channel Simultaneous Playback: Дозволяє повторноviewing footage from up to 16 cameras concurrently, with options to increase replay speed and locate events via the video schedule.
- Стиснення відео H.265+: Reduces video file size without compromising quality, optimizing network bandwidth and storage space.
- Сумісність ONVIF: Ensures seamless integration with VIGI and other ONVIF-compliant IP cameras, facilitating flexible network expansion.
- Plug & Play: Automatically detects and activates new VIGI IP Cameras, simplifying the installation process.
- Двостороннє аудіо: Supports voice intercom for communication and deterrence.
- Віддалений моніторинг: Доступ у прямому ефірі views and playback via the VIGI app or client software from anywhere.
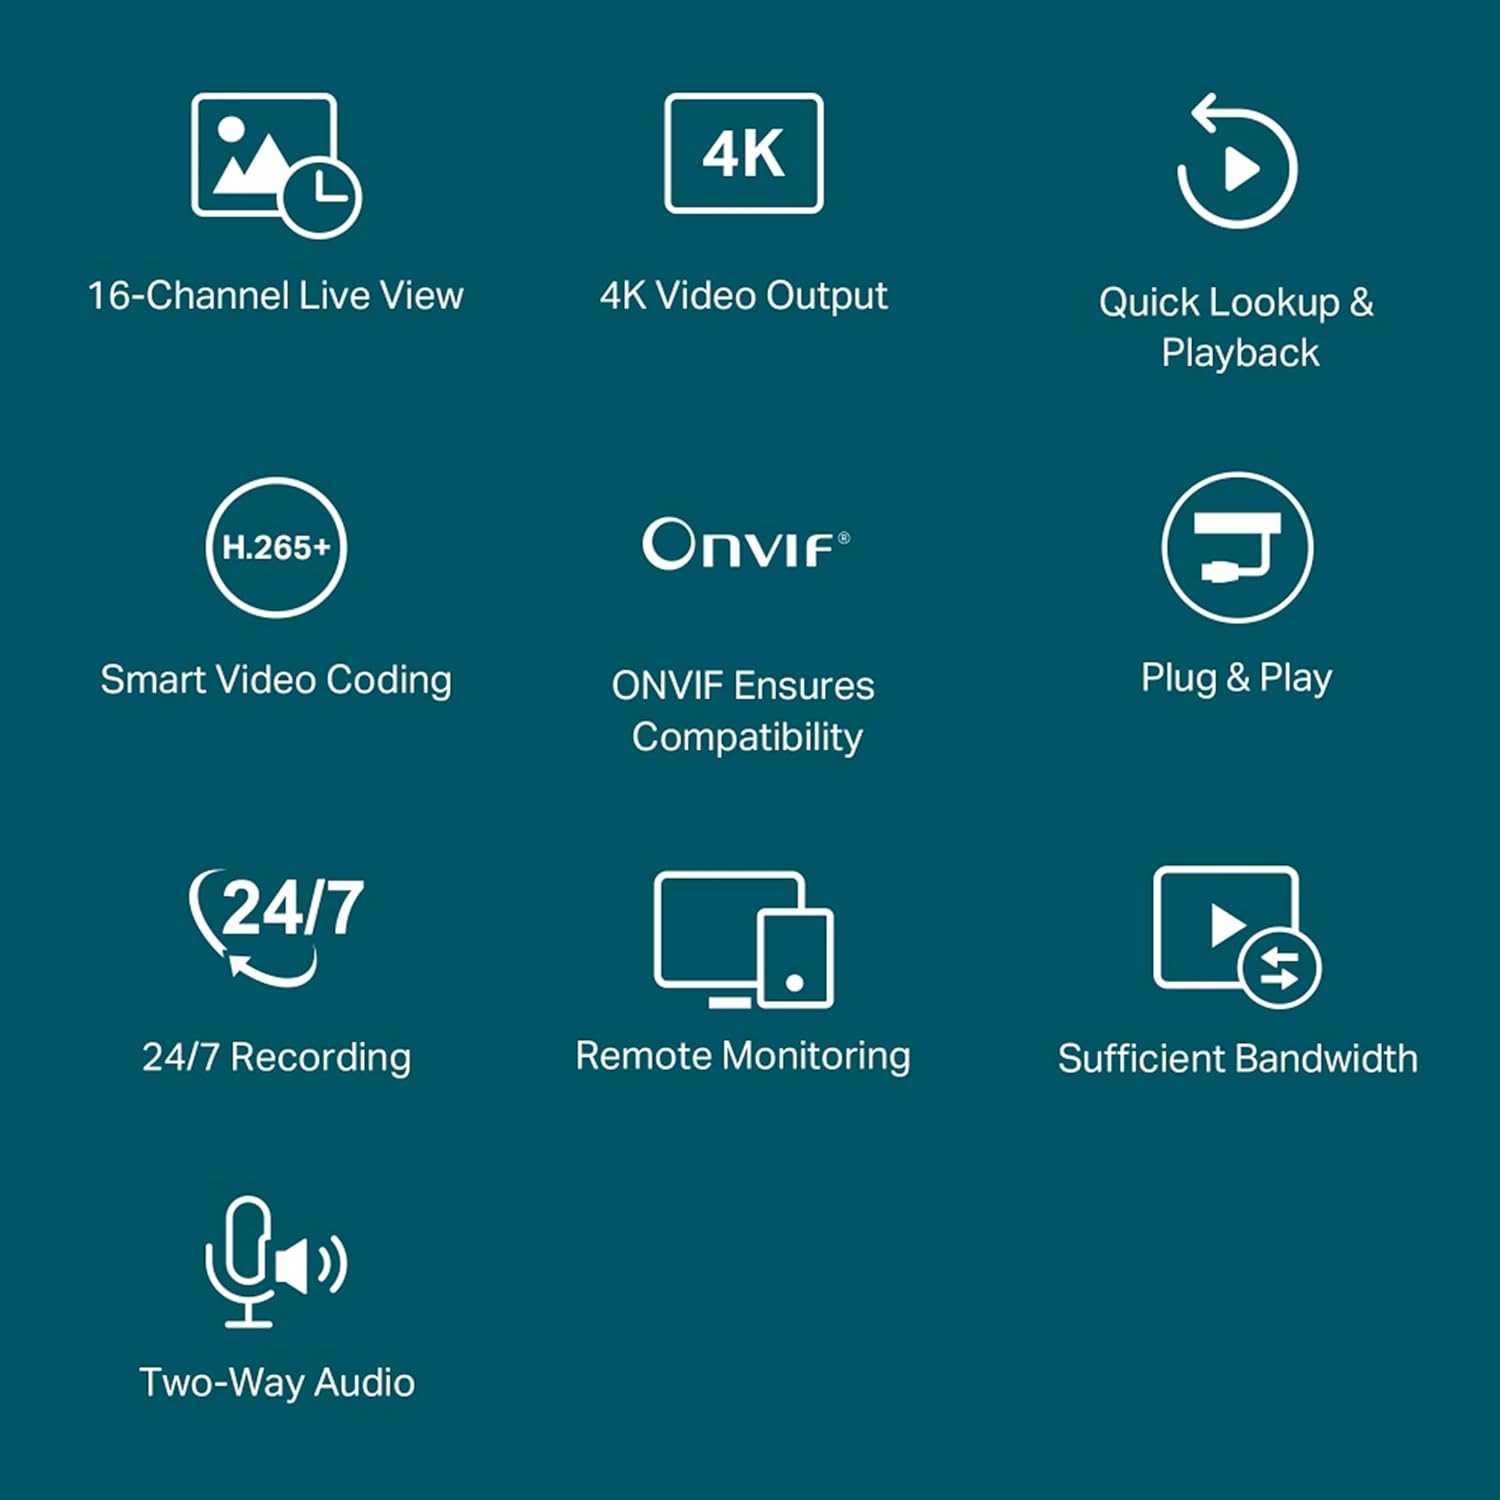
Figure 2: Visual representation of the NVR's core functionalities.
3. Продукт закінчивсяview
Familiarize yourself with the physical components and ports of the VIGI NVR2016H.

Figure 3: Rear panel connections and their functions.
- Джерело живлення: Підключіть сюди наданий адаптер живлення.
- Порти USB 2.0: Two ports for connecting a mouse, keyboard, or external hard disk.
- HDMI and VGA Ports: For simultaneous video output to a monitor.
- Порт eSATA: Connect an external storage device for expanded capacity.
- AUDIO IN and AUDIO OUT: For two-way audio functionality.
- Порт LAN: For Ethernet connection to your network.
4. Посібник із налаштування
Follow these steps to set up your VIGI NVR2016H:
4.1 Початкове підключення обладнання
- Встановлення жорсткого диска (HDD): Open the NVR casing and securely install one or two SATA HDDs (up to 10TB each) using the provided screws. Ensure the HDD is properly connected to the SATA data and power cables.
- Підключення монітора: Підключіть монітор до порту HDMI або VGA відеореєстратора.
- Підключення миші: Підключіть USB-мишу до одного з USB-портів відеореєстратора.
- Підключення до мережі: Use an Ethernet cable to connect the NVR's LAN port to your router or network switch.
- Увімкнення: Підключіть адаптер живлення до відеореєстратора та вставте його в розетку. Відеореєстратор увімкнеться автоматично.
4.2 Camera Connection and Initialization (Plug & Play)
The VIGI NVR supports Plug & Play for VIGI IP Cameras, simplifying the addition of new cameras.

Figure 4: Plug & Play camera connection process.
- Просте підключення: Connect your VIGI IP Cameras to the same network as the NVR (e.g., via a TP-Link Switch).
- Auto Initialize: On the NVR interface, enable the "Auto Initialize" function. The NVR will automatically detect and add new VIGI IP Cameras.
- Зроблено: Once detected, the cameras will be activated and ready for use, making installation faster and easier.
5. Інструкція з експлуатації
5.1 Живий View
NVR дозволяє view live feeds from up to 16 cameras simultaneously on a single screen.

Figure 5: 16-Channel Simultaneous Live View.
Navigate the on-screen display using the connected mouse to select specific camera feeds, adjust display layouts, or access camera settings.
5.2 Відтворення
Review записаний footage efficiently with the NVR's playback features.

Figure 6: 16-Channel Simultaneous Playback Timeline.
Access the playback menu to select specific dates and times. The timeline displays recorded events, allowing for quick navigation. You can increase playback speed to review фуtage faster and easily find specific incidents.
5.3 Запис
The NVR supports continuous recording and efficient storage management.

Figure 7: 24/7 Continuous Recording and Storage Capacity.
- Безперервний запис 24/7: The NVR automatically and continuously stores footage з підключених камер.
- Стиснення H.265+: This advanced video compression technology reduces file sizes significantly, allowing for more footage to be stored on the same disk space while maintaining video quality.
- Ємність зберігання: Supports up to 20 TB of storage across two HDDs (10TB per HDD).
5.4 Двосторонній аудіозв'язок
Utilize the two-way audio feature for interactive communication through connected cameras that support this function.

Figure 8: Two-Way Audio in action.
Connect a microphone to the AUDIO IN port and speakers to the AUDIO OUT port on the NVR to enable this feature. This allows for voice intercom support, useful for deterring intruders or communicating with individuals near the cameras.
5.5 Віддалений моніторинг
Access and manage your surveillance system remotely using the VIGI app or VIGI Security Manager software.

Figure 9: Remote Management via VIGI App and Software.
- Жити Views and Real-Time Alerts: Monitor your cameras in real-time and receive instant notifications for detected events.
- Easy & Smart Playback: Review записаний footage conveniently from your mobile device or computer.
- Customized Monitoring Patterns: Configure specific monitoring schedules and alert settings.
- Four-Way Management: Manage your cameras flexibly via the web UI, NVR UI, VIGI app, and VIGI Security Manager.
6. Технічне обслуговування
6.1 Керування жорсткими дисками (HDD)
Regularly check the status of your installed HDDs through the NVR's interface to ensure optimal recording performance. If an HDD fails or reaches its capacity, you may need to replace it or configure overwriting settings.
6.2 оновлень мікропрограми
TP-Link regularly provides software updates to improve performance, add features, and enhance security. It is recommended to check for and install available firmware updates through the NVR's system settings or the TP-Link support website to ensure your device operates with the latest functionalities and security patches.
7. Вирішення проблем
7.1 NVR Stuck on TP-Link Screen During Boot
If the NVR gets stuck on the TP-Link logo screen during its initial boot or after an update, this can sometimes be a minor software glitch. To resolve this:
- Вимкнення живлення: Disconnect the power adapter from the NVR.
- Access Reset Button: Carefully open the NVR casing to locate the internal reset button.
- Press Reset: Press and hold the reset button for a few seconds.
- Перезавантажте пристрій: Reconnect the power adapter. The NVR should now boot normally.
7.2 Проблеми з виявленням руху
If motion detection behaves erratically (e.g., continuous detection without apparent reason), review your camera's motion detection settings. Adjust sensitivity levels, detection zones, and schedules to optimize performance and reduce false alarms. Ensure camera firmware is up to date.
7.3 No LAN Cable Included
While some NVR packages may not include a LAN cable, a wired internet connection is essential for the system's proper functioning. Ensure you have a standard Ethernet cable to connect the NVR to your network.
8. Технічні характеристики
| Особливість | Деталь |
|---|---|
| Номер моделі | VIGI NVR2016H |
| Виробник | TP-LINK CORPORATION LIMITED |
| Розміри продукту | 14.2 х 36.8 х 40 см |
| Вага товару | 1.89 кг |
| Кількість каналів | 16 |
| Ємність пам'яті | 20 TB (2 x 10TB HDDs) |
| Технологія підключення | Провідний |
| Сумісні пристрої | Камера |
9. Що в коробці
У комплект продукту входять наступні елементи:
- Мережевий відеореєстратор VIGI
- Адаптер живлення
- Гвинти HDD
- миша
- Посібник із швидкого встановлення
10. Підтримка та гарантія
For technical support, warranty information, or further assistance, please contact TP-Link customer service.
- Імпортер/Виробник: TP-Link India Private Limited
- Адреса: Office No.1, Tower 2, Level 2, Raiaskaran Tech Park, Andheri Kurla Road, M.V Road, Andheri East-400072
- Безкоштовно: 1800-209-4168
- Електронна пошта: support.in@tp-link.com
Please refer to the official TP-Link website or the Quick Installation Guide for the most up-to-date support resources and warranty details applicable to your region.


