вступ
Thank you for choosing the Sharp Digital Alarm Clock. This manual provides detailed instructions for setting up, operating, and maintaining your new alarm clock. Designed for clarity and convenience, this clock features an easy-to-read LCD display with an optional always-on backlight, dual alarm settings, and a USB charging port for your devices. Please read this manual thoroughly before use to ensure optimal performance and longevity of your product.

Фронт view of the Sharp Digital Alarm Clock, displaying time, month, date, day, and temperature on its colorful LCD screen.
Інформація про безпеку
Please observe the following safety precautions to prevent damage to the unit or personal injury:
- Не піддавайте пристрій впливу екстремальних температур, прямих сонячних променів або високої вологості.
- Уникайте падіння або сильних ударів пристрою.
- Не змішуйте старі та нові батареї або різні типи батарейок.
- Вийміть батарейки, якщо пристрій не використовуватиметься протягом тривалого часу, щоб запобігти витіканню.
- Тримайте пристрій подалі від води та інших рідин.
- Не намагайтеся розбирати або ремонтувати пристрій самостійно. Звертайтеся до кваліфікованого персоналу для проведення будь-яких робіт з обслуговування.
Вміст упаковки
Перевірте наявність усіх елементів в упаковці:
- Sharp Digital Alarm Clock (Model SPC5028AMZ)
- Посібник користувача (цей документ)
Примітка: Потрібні 3 батарейки типу AAA, вони не входять до комплекту.
Продукт закінченийview
Передній дисплей

Diagram illustrating key features of the alarm clock, including atomic accuracy, 1.5-inch tall time display, on/off display nightlight, indoor temperature display, calendar display, bright color display, wall mountable or tabletop viewing, and battery operation (3x AAA batteries).
The front of the clock features a clear LCD display that shows the time, month, date, day of the week, and indoor temperature. The main time display is approximately 1.5 inches tall for easy readability.
Задня панель та елементи керування

Детальний view of the clock's rear panel, showing the location of the battery compartment, various control buttons (Calendar, Time, Alarm, 12/24, Up, °C/°F, Down, Wave), the ON/OFF switch for the nightlight, and the backstand for tabletop viewing. Dimensions (6.45"W x 5"H) are also indicated.
- CALENDAR Set Button: Used to set the date and year.
- TIME Set Button: Used to set the time manually.
- ALARM Set & ON/OFF Button: Використовується для налаштування та активації/деактивації будильників.
- Кнопка 12/24: Перемикає між 12-годинним та 24-годинним форматами часу.
- Кнопка ВВЕРХ: Adjusts settings upwards.
- Кнопка °C/°F: Перемикає відображення температури між градусами Цельсія та Фаренгейта.
- Кнопка ВНИЗ: Adjusts settings downwards.
- WAVE (Atomic Search) Button: Initiates a manual search for the atomic time signal.
- ON/OFF Switch (Nightlight): Controls the always-on backlight feature.
- Батарейний відсік: Вміщує 3 батарейки типу AAA.
- Backstand: For tabletop viewінж.
- Отвір для настінного кріплення: For hanging the clock on a wall.
Налаштування
Установка батареї
- Відкрийте кришку батарейного відсіку на задній панелі годинника.
- Вставте 3 нові батарейки типу AAA, дотримуючись правильної полярності (+ та -).
- Надійно закрийте кришку батарейного відсіку.
Початкове ввімкнення
Upon battery installation, the clock will power on and attempt to synchronize with the atomic time signal.
Atomic Time Synchronization (WWVB)
The Sharp Digital Alarm Clock is designed to automatically synchronize with the WWVB atomic time signal broadcast from Fort Collins, Colorado, ensuring precise timekeeping.

Map of the United States showing the WWVB radio broadcast signal originating from Fort Collins, Colorado, which the atomic clock uses for synchronization.
- The clock will automatically attempt to receive the signal daily, typically overnight when electronic interference is minimal.
- For optimal reception, place the clock near a window and orient its front or rear panel towards Fort Collins, Colorado.
- A signal strength indicator (antenna icon) on the display will show the reception status.
- To manually initiate a signal search, press the ХВИЛЯ кнопку на задній панелі.

Graphic depicting a full moon, with text 'LESS ELECTRONIC INTERFERENCE AT NIGHT SET BY MORNING', indicating optimal atomic clock synchronization occurs during nighttime hours.
Setting Time Zone
Even with atomic synchronization, you must manually select your local time zone for the correct hourly time display.
- Натисніть і утримуйте ЧАС button until the time zone indicator flashes.
- Використовуйте UP or ВНИЗ buttons to select your desired time zone (e.g., PST, MST, CST, EST).
- Натисніть ЧАС кнопку ще раз для підтвердження та виходу.
Manual Time and Date Setting
If atomic synchronization is not desired or available, you can set the time and date manually.
- Щоб встановити час: Натисніть і утримуйте ЧАС button until the hour flashes. Use UP/ВНИЗ для налаштування. Натисніть ЧАС to move to minutes, then adjust. Press ЧАС знову, щоб зберегти.
- Щоб встановити дату: Натисніть і утримуйте КАЛЕНДАР button until the year flashes. Use UP/ВНИЗ для налаштування. Натисніть КАЛЕНДАР to move to month, then day, adjusting each. Press КАЛЕНДАР знову, щоб зберегти.
- 12/24-годинний формат: Натисніть 12/24 кнопка для перемикання між 12-годинним (з індикатором AM/PM) та 24-годинним форматами часу.
Інструкція з експлуатації
Adjusting Display Brightness and Backlight
The clock features an optional always-on backlight with adjustable brightness for optimal viewв різних умовах освітлення.
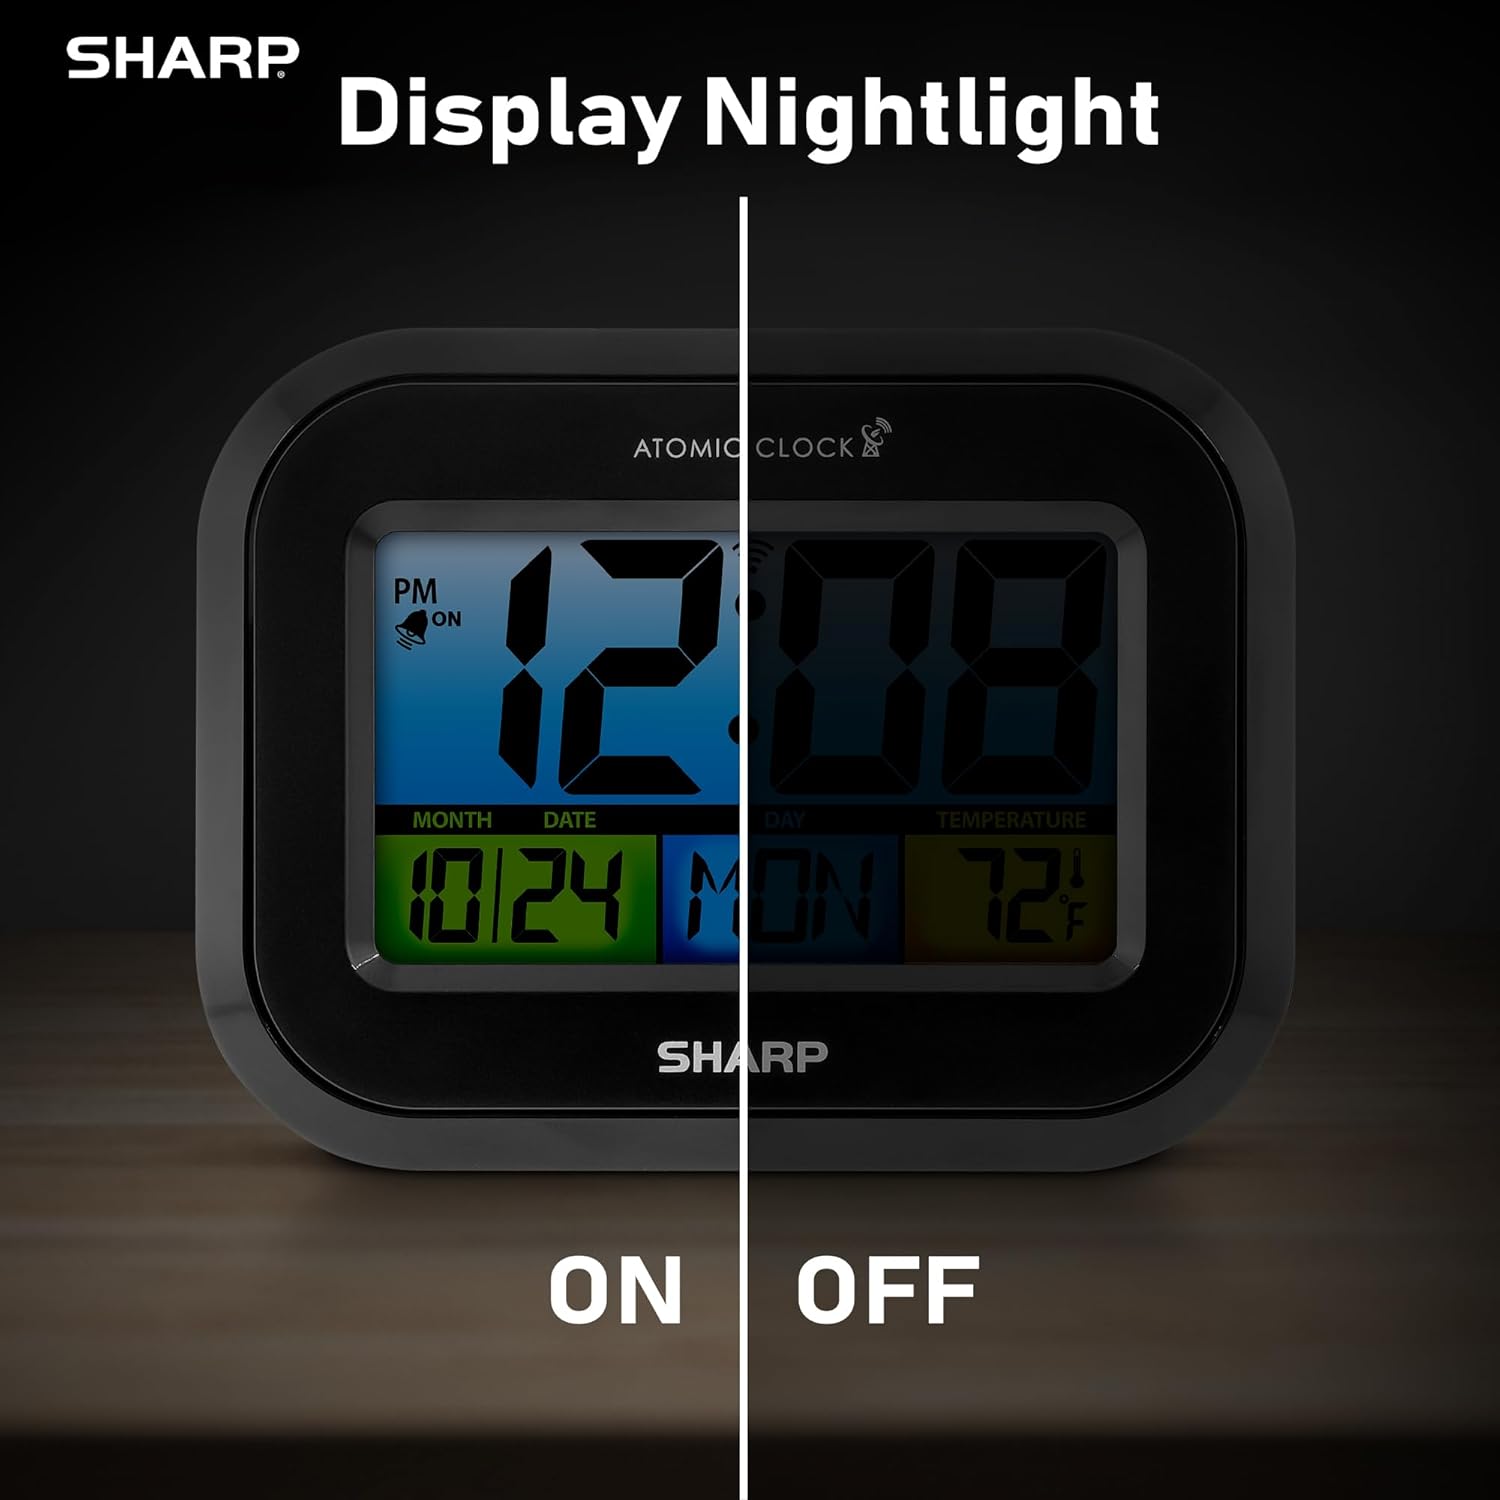
Comparison image showing the clock's display with the nightlight off (dim) and on (illuminated) in both day and night settings.
- Always-On Backlight: Використовуйте Перемикач ON/OFF on the rear panel to activate or deactivate the continuous backlight. When ON, the display will have a soft glow.
- Підсвічування за вимогою: Even if the always-on backlight is OFF, you can momentarily illuminate the display by pressing the ПІДСВІТЛЕННЯ button (usually located on the top edge, though not explicitly labeled in the provided image, it's a common feature). This provides a brighter illumination for a few seconds.

Image highlighting the physical ON/OFF switch on the rear of the clock for controlling the display nightlight, indicating its function for soft glowing backlight in the dark.
Налаштування подвійних будильників
The clock supports two independent alarm settings.
- Натисніть ТРИВОГА button once to select Alarm 1. Press again for Alarm 2.
- Поки відображається час будильника, натисніть і утримуйте ТРИВОГА кнопку, доки не почне блимати година.
- Використовуйте UP or ВНИЗ кнопки для налаштування години. Натисніть ТРИВОГА щоб перейти до хвилин, а потім налаштуйте.
- Прес ТРИВОГА again to save the alarm time.
- Щоб увімкнути/вимкнути будильник, натисніть кнопку ТРИВОГА button repeatedly until the alarm icon (bell) appears/disappears for the desired alarm.
Використання зарядного USB-порту
The clock includes a USB charging port for convenient charging of small electronic devices. Locate the USB port on the side or rear of the unit (specific location not detailed in provided images, but implied by feature bullets). Connect your device's USB cable to this port to begin charging.
Temperature Display (°C/°F)
The clock displays the indoor temperature. To switch between Celsius and Fahrenheit, press the ° C / ° F кнопку на задній панелі.
Viewing Angle Optimization
Like most LCD screens, this display is best viewed from the front or slightly above. Visibility may appear reduced at sharp side or low angles. For the best viewing experience, use the built-in kickstand to position the clock to face you.

Illustration demonstrating the optimal viewing angle for the LCD display, showing that the clock is best viewed from above or straight on, with a built-in kickstand to position it.
Wall Mounting and Tabletop Use
The clock is designed for versatile placement. Use the integrated backstand for tabletop viewing or the wall mount hole on the rear for hanging it on a wall.

The Sharp Digital Alarm Clock displayed in a home office setting, showing its versatility for both wall mounting and tabletop placement.
Технічне обслуговування
прибирання
Протріть годинник м’якою сухою тканиною. Не використовуйте абразивні засоби для чищення або розчинники, оскільки вони можуть пошкодити поверхню.
Заміна батареї
When the display becomes dim or the clock stops functioning, it's time to replace the batteries. Follow the battery installation steps in the Setup section. It is recommended to replace all three AAA batteries at the same time with new ones.
Усунення несправностей
| проблема | Можливе рішення |
|---|---|
| Дисплей тьмяний або порожній. | Check battery polarity and ensure batteries are fresh. Replace all 3 AAA batteries. Ensure the backlight ON/OFF switch is in the 'ON' position if continuous illumination is desired. |
| Atomic time not synchronizing. | Ensure the clock is placed near a window and oriented towards Fort Collins, Colorado. Avoid placing near electronic devices that may cause interference. Try initiating a manual search by pressing the WAVE button. Synchronization is often best overnight. |
| Time or date is incorrect after battery change. | Manually set the time zone. Allow time for atomic synchronization, or manually set the time and date using the TIME and CALENDAR buttons. |
| Display is hard to read from certain angles. | This is a characteristic of LCD technology. Adjust the clock's position using the kickstand to ensure it is viewed straight-on or from slightly above eye level. |
| Сигналізація не звучить. | Ensure the alarm is set and activated (bell icon visible). Check battery level. |
Технічні характеристики
| Власність | Значення |
|---|---|
| Бренд | Гострий |
| Номер моделі | SPC5028AMZ |
| Тип дисплея | ЖК |
| Колір | чорний |
| Розміри продукту | 6.45 см (Ш) x 5 см (В) |
| Вага товару | 10.8 унцій (0.31 кілограма) |
| Джерело живлення | Живлення від батарейок (3 x AAA, не входять до комплекту) |
| Режим роботи | Атомний |
| Особливості | Cordless, Dual Alarm, USB Charging Port, Indoor Temperature Display, Always-On Backlight |
| Тип монтажу | Настінне кріплення, настільне |
| Матеріал рами | пластик |
Гарантія та підтримка
Sharp products are manufactured to the highest quality standards. For warranty information or technical support, please refer to the documentation included with your purchase or visit the official Sharp webсайт. Зберігайте чек про покупку як підтвердження покупки для гарантійних претензій.

Sharp Time Solutions


