1. Вступ
This manual provides essential instructions for the safe and efficient operation, setup, and maintenance of your Janome 1522LG sewing machine. Please read this manual thoroughly before using the machine to ensure proper function and to prevent damage or injury. Keep this manual in a safe place for future reference.
2. Техніка безпеки
Завжди дотримуйтесь основних запобіжних заходів під час використання електроприладів, щоб зменшити ризик пожежі, ураження електричним струмом або травмування людей.
- Ensure the machine is unplugged from the electrical outlet when not in use, when servicing, or when changing needles, presser feet, or other parts.
- Не використовуйте пристрій з пошкодженим шнуром або вилкою. Якщо пристрій не працює належним чином, його впустили, він пошкоджений або потрапив у воду, поверніть його до авторизованого сервісного центру для перевірки та ремонту.
- Тримайте пальці подалі від усіх рухомих частин. Потрібна особлива обережність навколо голки швейної машини.
- Завжди використовуйте правильну голкову пластину. Неправильна пластина може спричинити поломку голки.
- Не тягніть і не штовхайте тканину під час шиття. Це може призвести до відхилення голки, що призведе до її поломки.
- Використовуйте лише аксесуари, рекомендовані виробником.
- Цей прилад не призначений для використання особами (включаючи дітей) з обмеженими фізичними, сенсорними чи розумовими здібностями, або з браком досвіду та знань, якщо вони не перебувають під наглядом або не отримали інструкції щодо використання приладу особою, відповідальною за їх безпеку.
3. Розпакування та компоненти
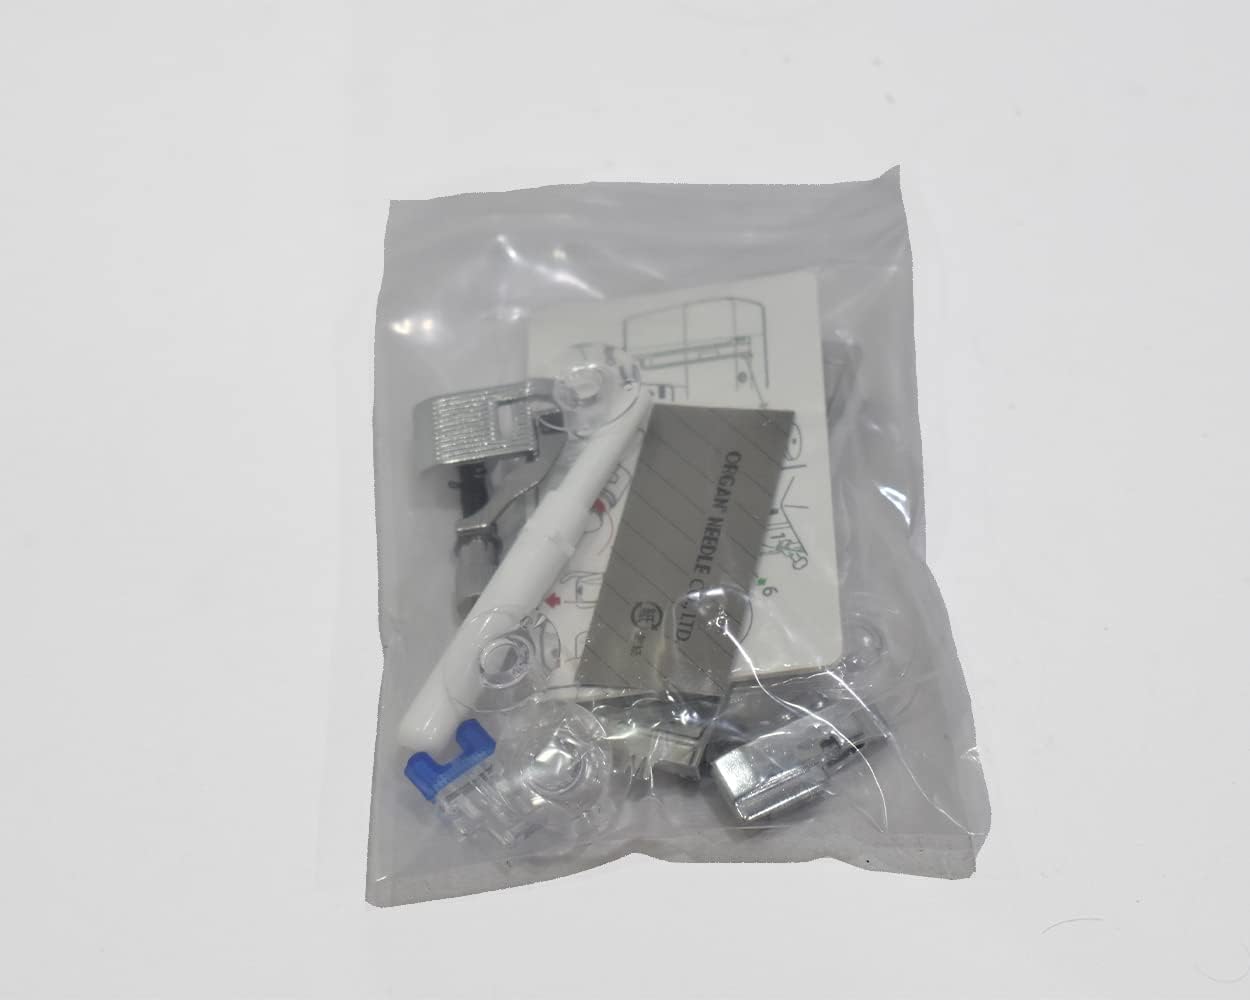
Carefully remove the sewing machine and all accessories from the packaging. Verify that all components are present.
Включені компоненти:
- Janome 1522LG Sewing Machine
- Ножна педаль
- Accessories (various presser feet, bobbins, needles, etc.)
- Кришка машини
- Інструкція з експлуатації (цей документ)


4. Налаштування
4.1 Розміщення машини
Розмістіть швейну машину на стійкій, рівній поверхні з достатнім освітленням. Переконайтеся, що навколо машини достатньо місця для комфортної роботи та роботи з тканиною.
4.2 Підключення живлення
Connect the foot pedal cord to the machine's power input socket, typically located on the right side or rear of the machine. Then, plug the power cord into a suitable electrical outlet. The Janome 1522LG is a corded electric machine.

4.3 Намотування шпульки
- Помістіть порожню шпульку на шпиндель намотувача шпульки.
- Guide the thread from the spool pin through the thread guide and around the bobbin winding tension disc.
- Оберніть нитку кілька разів навколо шпульки.
- Посуньте шпиндель пристрою намотування шпульки вправо.
- Злегка натисніть на педаль, щоб розпочати намотування. Зупиніться, коли шпулька заповниться.
- Обріжте нитку та посуньте шпиндель намотувача шпульки назад ліворуч.
4.4 Заправка верхньої нитки
- Підніміть важіль лапки.
- Покладіть котушку з ниткою на шпильку котушки.
- Follow the numbered threading path indicated on the machine, guiding the thread through the upper thread guides, tension discs, and take-up lever.
- Проведіть нитку в голку спереду назад.
4.5 Встановлення шпульки
- Open the bobbin cover plate, usually located on the free arm.
- Insert the wound bobbin into the bobbin case, ensuring the thread unwinds in the correct direction (refer to the diagram inside the bobbin area).
- Pull the thread through the tension spring and guide it into the thread slot.
- Закрийте кришку шпульки.
- Hold the upper thread, turn the handwheel towards you to lower and raise the needle, catching the bobbin thread. Pull both threads to the back under the presser foot.

5. Експлуатація машини
5.1 Вибір стібка
Поверніть Циферблат для вибору стібка (labeled 'SELECTOR') to choose your desired stitch pattern. The Janome 1522LG offers various utility and decorative stitches.
5.2 Регулювання довжини та ширини стібка
- Довжина стібка: Використовуйте Length Dial to adjust the length of your stitches. Higher numbers indicate longer stitches.
- Ширина стібка: Використовуйте Width Dial to adjust the width of zigzag or decorative stitches. Higher numbers indicate wider stitches.

5.3 Початок шиття
- Покладіть тканину під лапку.
- Опустіть важіль лапки.
- Поверніть маховик на себе, щоб опустити голку в тканину в початковій точці.
- Gently press the foot pedal to begin sewing. The harder you press, the faster the machine will sew.
- Guide the fabric gently with both hands, but do not push or pull it.
5.4 Зворотне шиття
To secure your stitches at the beginning and end of a seam, press and hold the reverse lever (usually located near the needle area) while sewing. Release the lever to sew forward again.
5.5 Заміна голок
Always use the correct needle type and size for your fabric. To change the needle:
- Вимкніть машину та від'єднайте її від мережі.
- Підніміть голку в найвище положення.
- Послабте голку клamp гвинт.
- Вийміть стару голку.
- Вставте нову голку плоскою стороною назад, проштовхуючи її вгору до упору.
- Затягніть голку клamp надійно закрутити.
6. Технічне обслуговування
Регулярне технічне обслуговування забезпечує довговічність та оптимальну продуктивність вашої швейної машини. Завжди відключайте машину від мережі перед будь-яким технічним обслуговуванням.
6.1 Очищення машини
- Площа шпульки: Remove the needle plate and bobbin case. Use a small brush to remove lint and dust from the bobbin area and feed dogs.
- Годівниці: Clean any lint or thread buildup from the feed dogs to ensure proper fabric feeding.
- Генеральне прибирання: Протріть зовнішню частину пристрою м’якою сухою тканиною. Не використовуйте агресивні хімікати або абразивні засоби для чищення.
6.2 Змащування (якщо застосовується)
Refer to your machine's specific instructions regarding oiling. Some modern machines are self-lubricating and do not require user oiling. If oiling is required, use only genuine sewing machine oil in the designated points.
7. Вирішення проблем
This section addresses common issues you might encounter. For problems not listed here, consult an authorized service technician.
| проблема | Можлива причина | Рішення |
|---|---|---|
| Пропущені шви | Неправильна голка, погнута голка, неправильне заправлення нитки, неправильний розмір голки для тканини. | Change needle, re-thread machine, use correct needle for fabric type. |
| Розрив нитки | Improper threading, tension too tight, damaged needle, poor quality thread, bobbin wound unevenly. | Re-thread machine, adjust tension, replace needle, use good quality thread, re-wind bobbin. |
| Тканина не подається | Притискна лапка не опущена, транспортувальні механізми забиті ворсом, довжина стібка встановлена на нуль. | Опустіть притискну лапку, почистіть транспортувальні зубчасті механізми, відрегулюйте довжину стібка. |
| Машина не запускається | Not plugged in, power switch off, foot pedal not connected, safety mechanism engaged. | Check power connections, ensure switch is on, check foot pedal connection, consult manual for safety features. |
8. Технічні характеристики
- модель: Janome 1522LG
- Джерело живлення: Провідний електричний
- матеріал: Металева конструкція
- Розміри продукту: Approximately 16D x 41W x 27H centimeters (6.3D x 16.1W x 10.6H inches)
- Вага товару: 5.7 кілограмів (приблизно 12.5 фунтів)
- Міжнародний рейтинг захисту: IP66 (Indicates protection against dust and powerful water jets)
- Включені компоненти: Sewing Machine, Foot Pedal, Accessories, Cover, Instruction Manual
9. Гарантія та підтримка
For information regarding warranty coverage, terms, and conditions, please refer to the warranty card included with your purchase or contact your retailer. For technical support, service, or to order replacement parts, please contact Janome customer service or an authorized Janome service center in your region. Keep your proof of purchase for warranty claims.


