1. Вступ
This manual provides detailed instructions for the safe and effective use of your Stabila LAR 160 G Green Rotation Self-Leveling Laser Set. This professional-grade tool is designed for precise leveling tasks in both interior and exterior applications, featuring a highly visible green laser beam and robust construction.
Будь ласка, уважно прочитайте цю інструкцію перед використанням пристрою та збережіть її для подальшого використання.
2. Інформація про безпеку
Always observe the following safety precautions to prevent injury and damage to the device.
- Лазерне випромінювання: This product emits Class 2 laser radiation. Do not stare directly into the laser beam. Avoid direct eye exposure.
- Операційне середовище: Use the laser level only in well-ventilated areas. Keep the device away from moisture, dust, and extreme temperatures.
- Безпека батареї: Use only recommended battery types. Ensure correct polarity when inserting batteries. Do not mix old and new batteries or different types of batteries. Dispose of batteries according to local regulations.
- Технічне обслуговування: Do not attempt to modify or repair the device yourself. Refer all servicing to authorized Stabila service personnel.
- Діти та сторонні особи: Зберігайте пристрій у недоступному для дітей та сторонніх осіб місці.
3. Вміст упаковки
Переконайтеся, що всі предмети є в наявності та не пошкоджені під час розпакування:
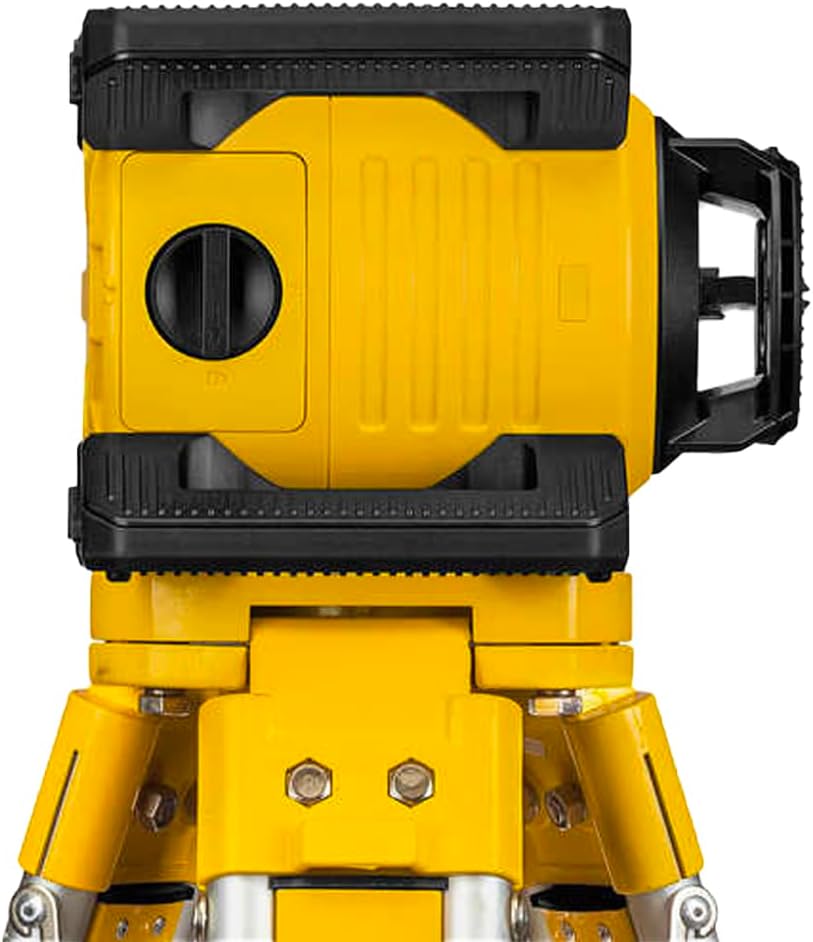
- Stabila LAR 160 G Green Rotation Laser
- REC 160 R/G Set Receiver
- BST-S Construction Tripod (height-adjustable from 39"–63" / 100–160 cm)
- Hi/Lo Elevation Rod (from 31.5"- 75'' / 80-190 cm)
- Magnetic High-Visibility Plastic Target Plate with Cross-Hair
- Кейс Hard Shell
- Посібник користувача

4. Особливості продукту
The Stabila LAR 160 G offers a range of features for professional leveling applications:
- Fully Automatic, Motor-Driven Rotation Laser: Ensures high leveling accuracy of ± 0.1 mm/m (1/8 inch @ 100 ft).
- Fast Self-Leveling Function: Achieves level within 20 seconds.
- STABILA GREENBEAM Technology: Green laser beams are four times more visible to the human eye than red beams, improving visibility in various conditions.
- Four Laser Functions: Supports horizontal rotation, vertical rotation, plumb-line function, and square (90°) in vertical operation for versatile use.
- IP 65 Protection Class: Dustproof and waterproof, suitable for demanding job site conditions.
- Shock-Absorbent Casing: STABILA soft grip casing provides protection against impacts, with a stable housing cover protecting the laser optics.
- Легке керування: Operated via three control buttons: on/off, tilt mode, and manual mode.
- Accessible Battery Drawer: Allows for easy battery replacement, even when the device is mounted on a tripod.
- Велика робоча зона: Up to 600 m (2000 ft) in diameter when used with the REC 160 R/G set receiver.
- Універсальний монтаж: Two 5/8" x 11 threads integrated in the housing for vertical and horizontal applications.

5. Налаштування
5.1 Встановлення батареї
- Locate the battery drawer on the side of the laser unit.
- Open the battery drawer and insert the required D-type batteries, ensuring correct polarity (+/-).
- Close the battery drawer securely.
5.2 Mounting the Laser on the Tripod
- Extend the legs of the BST-S construction tripod to a stable position.
- Place the Stabila LAR 160 G laser unit onto the tripod head, aligning the 5/8" x 11 thread.
- Securely fasten the laser unit to the tripod by turning the tripod's mounting screw.
- Adjust the tripod height as needed for your application.
5.3 Positioning the Laser
Place the tripod with the laser unit on a firm, level surface. Ensure the area is clear of obstructions that could interfere with the laser beam.
6. Інструкція з експлуатації
6.1 Power On/Off and Self-Leveling
- Натисніть Увімкнення/вимкнення button (marked with a power symbol) to power on the device.
- The laser will automatically begin its self-leveling process. This typically takes about 20 seconds.
- Once leveled, the laser beam will rotate continuously.
- Щоб вимкнути живлення, натисніть Увімкнення/вимкнення кнопку знову.
6.2 Laser Functions
The LAR 160 G supports four primary laser functions:
- Горизонтальне обертання: For creating a level plane across a large area. This is the default mode after self-leveling.
- Вертикальне обертання: Mount the laser vertically using the side 5/8" thread. The laser will project a vertical plane.
- Plumb-Line Function: In vertical operation, the laser can project a plumb-line (vertical point) for alignment.
- Square (90°) Function: In vertical operation, the laser can project a second beam at 90 degrees to the main vertical plane for squaring applications.
6.3 Tilt Mode
The tilt mode allows for manual slope setting. Press the Нахил button (labeled 'tilt') to activate. In this mode, the laser will maintain its current angle even if the device is slightly disturbed, but it will not self-level. Use this for setting specific grades.
6.4 Ручний режим
Натисніть Інструкція button (labeled 'man') to disable self-leveling and manually adjust the laser plane. This is useful for specific non-level applications or when working with a grade rod for slope calculations.
6.5 Using the REC 160 R/G Receiver
For outdoor use or when the laser beam is not visible, use the REC 160 R/G receiver:
- Увімкніть приймач.
- Move the receiver into the path of the rotating laser beam.
- The receiver will indicate when it detects the laser beam, typically with visual and audible signals.
- Adjust the receiver's position until the center indicator is active, marking the exact level.
6.6 Using the Hi/Lo Elevation Rod
The elevation rod is used in conjunction with the receiver to measure and transfer heights:
- Attach the REC 160 R/G receiver to the elevation rod.
- Витягніть шток до потрібної висоти.
- Use the receiver to find the laser plane on the rod, then read the measurement.
7. Технічне обслуговування
7.1 Очищення
Протріть пристрій м’якою, damp cloth. Do not use harsh cleaning agents or solvents. Ensure the laser optics are clean and free of dust for optimal performance.
7.2 Догляд за акумулятором
Remove batteries if the device will not be used for an extended period to prevent leakage. Replace batteries when the low battery indicator appears or performance degrades.
7.3 Зберігання
Store the laser set in its hard shell carrying case in a dry, cool place, away from direct sunlight and extreme temperatures.
7.4 Калібрування
Regularly check the calibration of your laser level. If you suspect inaccuracies, contact an authorized Stabila service center for professional calibration.
8. Вирішення проблем
| проблема | Можлива причина | Рішення |
|---|---|---|
| Лазер не вмикається. | Розряджені або неправильно вставлені батарейки. | Check battery polarity. Replace with fresh D-type batteries. |
| Laser does not self-level or flashes. | Пристрій знаходиться поза межами діапазону самонівелювання (±5°). | Reposition the laser on a more level surface. |
| Неточні показання. | Device out of calibration or unstable setup. | Ensure the tripod is stable. If issues persist, contact Stabila service for calibration. |
| Laser beam not visible outdoors. | Навколишнє освітлення занадто яскраве. | Use the REC 160 R/G receiver for detection. |
9. Технічні характеристики
| Особливість | Деталь |
|---|---|
| Бренд | Стабіла |
| Модель | LAR 160 Г |
| Номер деталі | 04500TR |
| Лазерний клас | 2 |
| Вихід | < 1 мВт |
| Довжина хвилі лазера | 510 - 530 nm (Green) |
| Діапазон самовирівнювання | ±5° |
| Точність вирівнювання | ±0.10 mm/m (1/8 in @ 100 ft) |
| Working Area Diameter (with receiver) | 600 м (2000 футів) |
| Термін експлуатації | 20 години |
| Тип батареї | D |
| Клас захисту | IP 65 (Dustproof and Waterproof) |
| Підключення штатива | 5/8 дюйма |
| Розміри продукту (упаковка) | 56 x 25 x 10 дюймів |
| Item Weight (Laser Unit) | 5.6 унції (приблизно 160 грамів) |
10. Гарантія та підтримка
The Stabila LAR 160 G Green Rotation Self-Leveling Laser Set is covered by a 2 рік обмеженої гарантії з дати покупки. Ця гарантія поширюється на дефекти матеріалів і виготовлення за нормального використання.
For warranty claims, technical support, or service inquiries, please contact Stabila customer service or visit the official Stabila website. Please have your product model number (LAR 160 G) and part number (04500TR) available when contacting support.
Для отримання додаткової інформації відвідайте: www.stabila.com


