1. Вступ
The BSIDE ADM92CL is a compact, True RMS digital multimeter designed for accurate measurement of various electrical parameters. It features an auto-ranging function, a color display, and capabilities for measuring AC/DC voltage, AC/DC current, resistance, capacitance, frequency, temperature, diode, continuity, NCV (Non-Contact Voltage), and live wire detection. This manual provides essential information for safe and effective operation of the device.
2. Інформація про безпеку
Always adhere to basic safety precautions when using this multimeter to prevent personal injury or damage to the device or equipment under test. Read all safety information before use.
- Не перевищуйте максимальні вхідні значення, зазначені для кожного діапазону.
- Будьте особливо обережні при роботі з обtages above 36V DC or 25V AC RMS. These voltagце небезпека ураження електричним струмом.
- Ensure the test leads are in good condition, without any damage to the insulation.
- Завжди відключайте живлення від кола та розряджайте всі високовольтніtagконденсатори перед вимірюванням опору, перевірки провідності кола, діодів або ємності.
- Не використовуйте глюкометр, якщо він виглядає пошкодженим або якщо кришка відсіку для батарейок не закрита належним чином.
- Use the correct function and range for measurements.
- Замініть батарейки, коли з'явиться індикатор низького рівня заряду батарейки, щоб забезпечити точність показань.
3. Вміст упаковки
Перевірте наявність усіх елементів в упаковці:
- BSIDE ADM92CL Digital Multimeter
- Вимірювальні дроти (червоний та чорний)
- Термопара типу K (температурний зонд)
- Сумка для зберігання
- Посібник користувача

Contents of the BSIDE ADM92CL Digital Multimeter package, including the device, test leads, temperature probe, and user manual.
4. Продукт закінчивсяview та ідентифікація деталей
Familiarize yourself with the components and controls of the BSIDE ADM92CL Digital Multimeter.

Labeled diagram of the BSIDE ADM92CL Digital Multimeter's components and controls.
- Вхідні клеми: Connect test leads for measurements.
- Термінал COM: Загальний (негативний) вхід для всіх вимірювань.
- Поворотний перемикач: Вибирає основну функцію вимірювання (наприклад, об'ємtage, Resistance, Current).
- Дисплей: Color LCD screen showing measurement readings, units, and indicators.
- HOLD / ☀ Button: Press to hold the current reading on the display. Long press to activate/deactivate backlight.
- Кнопка SEL: Вибір підфункцій у положенні поворотного перемикача (наприклад, регулювання гучності змінного/постійного струму)tagе., Діод/Провірка цілісності).
- Hz Button: Activates frequency measurement mode.
- V~Alert Button: Активує безконтактний об'ємtagвиявлення e (NCV).
- V~Alert Sensor Area: Виявляє AC voltage без прямого контакту.
- слот: For attaching accessories or for convenient storage.

Детальний view of the BSIDE ADM92CL Multimeter's color LCD display, input ports, side slot, and back clip.
5. Налаштування
5.1 Встановлення батареї
The multimeter requires batteries for operation. To install or replace batteries:
- Переконайтеся, що мультиметр вимкнено.
- Знайдіть батарейний відсік на задній панелі пристрою.
- Відкрийте кришку батарейного відсіку.
- Insert the batteries, observing the correct polarity (+/-).
- Надійно закрийте кришку батарейного відсіку.
5.2 Підключення вимірювальних щупів
For most measurements, connect the test leads as follows:
- Вставте чорний тестовий провод у COM (Загальний) вхідний роз'єм.
- Вставте червоний тестовий провод у ВХІД Джек.
6. Інструкція з експлуатації
This section details how to use the multimeter for various measurements.
6.1 Загальні операції
- Поверніть поворотний перемикач на потрібну функцію вимірювання.
- If a function has multiple modes (e.g., AC/DC voltage), press the SEL кнопку для перемикання між ними.
- Підключіть вимірювальні щупи до кола або компонента, що перевіряється.
- Зчитайте значення вимірювання на дисплеї.
6.2 томtagВимірювання (змінний/постійний струм)
- Set the rotary switch to the “V” position.
- Прес SEL to select AC (“ACV”) or DC (“DCV”) voltage.
- Підключіть вимірювальні щупи паралельно до кола або компонента.
6.3 Вимірювання струму (змінного/постійного струму)
- Set the rotary switch to the “mA/A” position.
- Прес SEL to select AC (“ACA”) or DC (“DCA”) current.
- Connect the multimeter in series with the circuit. Ensure the circuit is open before connecting the meter.
6.4 Вимірювання опору
- Set the rotary switch to the “Ω” position.
- Connect the test leads across the component. Ensure the component is de-energized.
6.5 Тест безперервності
- Set the rotary switch to the “Ω” position.
- Прес SEL until the continuity symbol (“♫”) appears.
- Підключіть вимірювальні дроти до кола або компонента. Безперервний звуковий сигнал вказує на наявність цілісності ланцюга.
6.6 Діодне випробування
- Set the rotary switch to the “Ω” position.
- Прес SEL until the diode symbol (“→|”) appears.
- Підключіть червоний дріт до анода, а чорний дріт до катода діода.
6.7 Вимірювання ємності
- Set the rotary switch to the “Cap” position.
- Connect the test leads across the capacitor. Ensure the capacitor is discharged before testing.
6.8 Вимірювання температури
- Set the rotary switch to the “Temp” position.
- Connect the K-type thermocouple to the input jacks, observing polarity.
- Place the thermocouple tip on or in the object whose temperature is to be measured.
BSIDE ADM92CL Digital Multimeter measuring temperature with a K-type thermocouple.
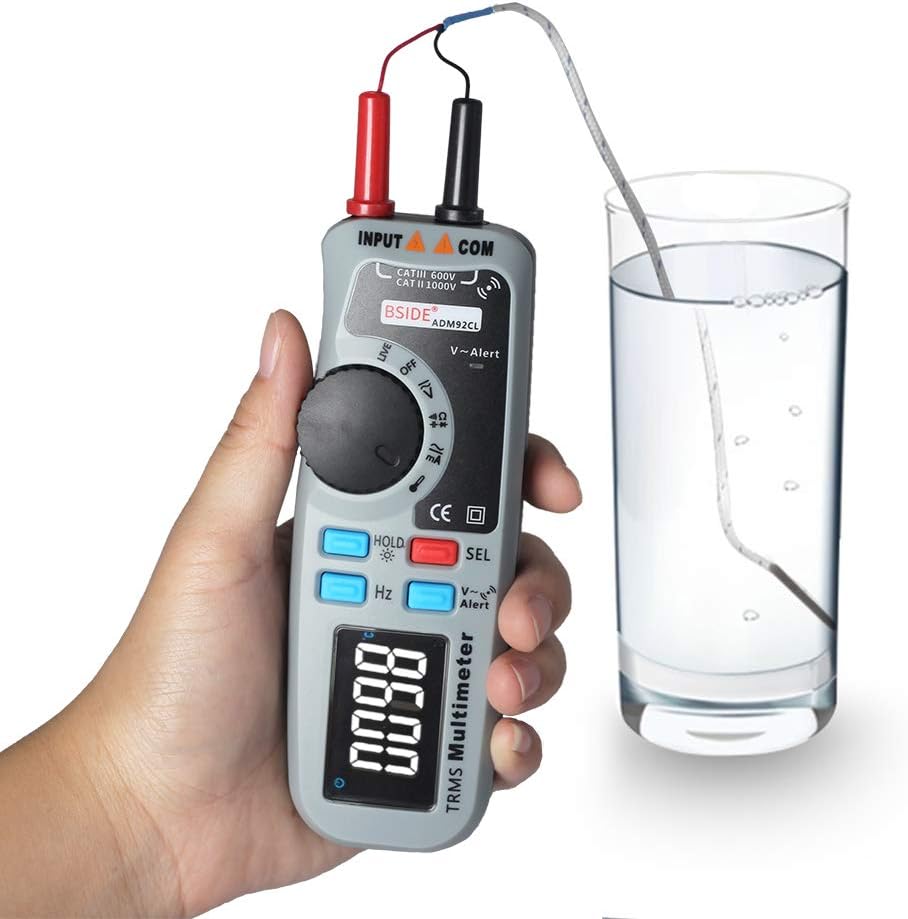
6.9 NCV (безконтактний об'ємtagд) Виявлення
- Натисніть V ~ Оповіщення кнопку.
- Move the top end of the multimeter (V~Alert sensor area) close to an AC voltage source. The meter will beep and the display will indicate the presence of AC voltage.
6.10 Live Wire Detection
- Set the rotary switch to the “Live” position.
- Insert the red test lead into the live wire socket. The display will indicate if the wire is live.
6.11 Вимірювання частоти (Гц)
- Set the rotary switch to a voltage or current function.
- Натисніть Hz button. The meter will display the frequency of the measured signal.
6.12 Утримання даних та підсвічування
- Утримання даних: Натисніть ТРИМАТИ коротко натисніть кнопку, щоб зафіксувати поточне значення на дисплеї. Натисніть ще раз, щоб відпустити.
- Підсвічування: Тривале натискання ТРИМАТИ button to turn the display backlight ON or OFF.
7. Технічне обслуговування
7.1 Очищення
Протріть корпус рекламоюamp тканиною та м’яким миючим засобом. Не використовуйте абразивні засоби або розчинники. Захищайте вхідні клеми від бруду та вологи.
7.2 Заміна батареї
Коли на дисплеї з’являється індикатор низького заряду батареї, негайно замініть батареї, щоб забезпечити точність вимірювань. Інструкції щодо встановлення батарей дивіться в розділі 5.1.
7.3 Зберігання
If the meter is not used for an extended period, remove the batteries to prevent leakage and damage. Store the device in a cool, dry place, away from direct sunlight and extreme temperatures.
8. Вирішення проблем
If the multimeter does not function correctly, refer to the following common issues and solutions:
| проблема | Можлива причина | Рішення |
|---|---|---|
| Немає дисплея або дисплей тьмяний | Батареї розряджені або розряджені | Замініть батареї. |
| Неправильні показання | Incorrect function/range selected; poor test lead connection; damaged test leads. | Verify function/range; ensure secure connections; inspect and replace test leads if damaged. |
| Глюкометр не реагує | Internal fault; battery issue. | Вийміть та знову вставте батареї. Якщо проблема не зникає, зверніться до служби підтримки. |
| Continuity test always beeps | Test leads shorted. | Separate test leads; check for internal short in leads. |
9. Технічні характеристики
Technical specifications for the BSIDE ADM92CL Digital Multimeter:
- Тип вимірювання: мультиметр
- Дисплей: Color LCD, 6000 Counts
- Справжнє середньоквадратичне значення: так
- Автоматичний діапазон: так
- Джерело живлення: Працює від батареї
- Стиль: цифровий
- Виробник: Китай
- Номер моделі товару: BSIDE ADM92CL
- UPC: 630282713741
10. Гарантія та підтримка
For warranty information or technical support, please refer to the documentation included with your purchase or contact the retailer. Keep your purchase receipt as proof of purchase.


