1. Вступ
This manual provides detailed instructions for the installation, operation, maintenance, and troubleshooting of the Hikvision DS-9632NI-I8 32-Channel 4K Network Video Recorder (NVR). Please read this manual thoroughly before using the product to ensure proper and safe operation. Keep this manual for future reference.
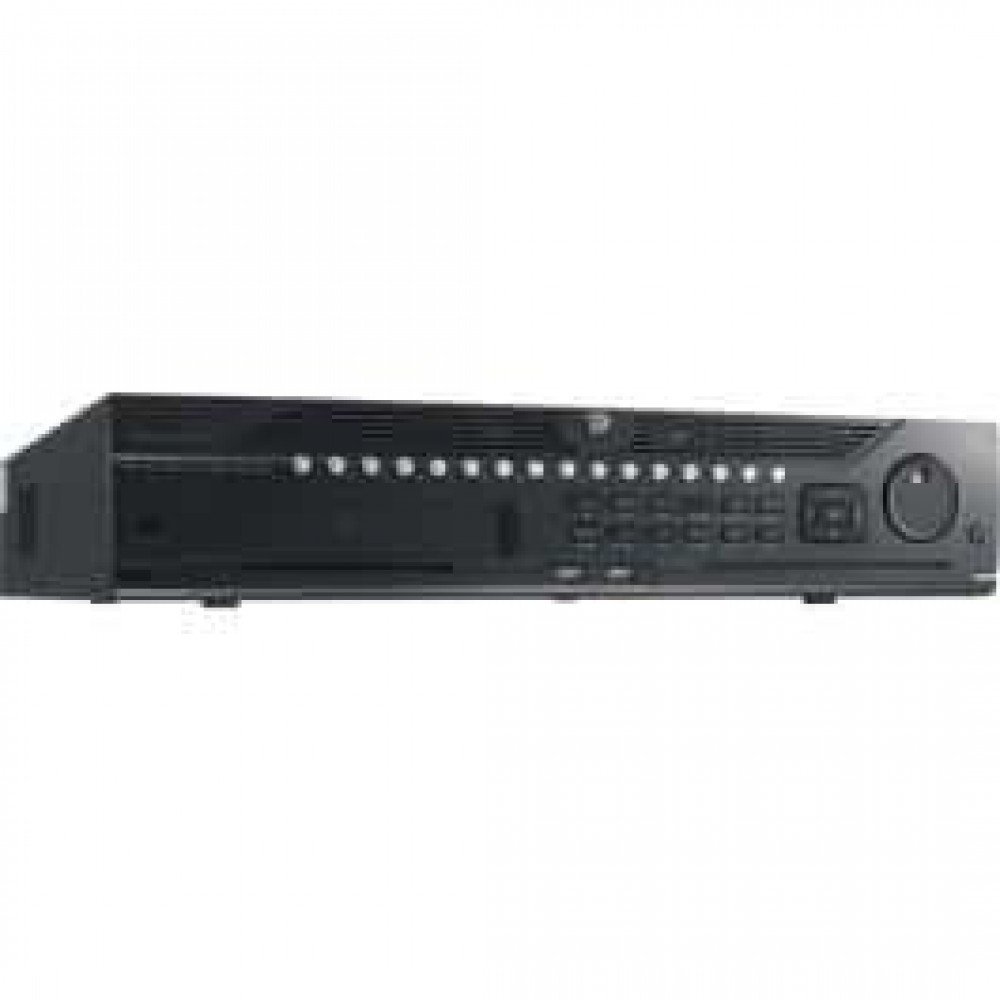
Малюнок 1: Спереду view of the Hikvision DS-9632NI-I8 NVR, showing its robust chassis and various interface ports.
2. Інформація про безпеку
Always follow basic safety precautions to reduce the risk of fire, electric shock, and injury to persons. This includes, but is not limited to:
- Use only the power adapter specified by the manufacturer.
- Забезпечте належну вентиляцію, щоб запобігти перегріву.
- Do not expose the NVR to water or moisture.
- Avoid placing the NVR near heat sources or in direct sunlight.
- Звертайтеся до кваліфікованого сервісного персоналу.
3. Вміст упаковки
Verify that all items are present and in good condition. If any item is missing or damaged, contact your dealer immediately.
- Hikvision DS-9632NI-I8 NVR Unit
- Адаптер/кабель живлення
- USB миша
- Гвинти для встановлення жорсткого диска
- Короткий посібник
- CD-ROM (containing software and full manual)
4. Налаштування
4.1 Встановлення обладнання
- Prepare Hard Disk Drives (HDDs): The DS-9632NI-I8 supports up to 8 SATA HDDs. Install HDDs into the NVR chassis using the provided screws. Ensure each HDD is securely mounted.
- Підключення периферійних пристроїв:
- Підключіть монітор до вихідного порту HDMI або VGA.
- Connect the included USB mouse to a USB port.
- Підключіть NVR до мережі за допомогою кабелю Ethernet.
- Увімкнення: Connect the power adapter to the NVR and then to a power outlet. Press the power button on the front panel.
4.2 Початкова конфігурація
Upon first boot, the NVR will guide you through an initial setup wizard.
- Встановити пароль адміністратора: Create a strong password for the 'admin' user.
- Налаштування мережі: Configure network parameters (DHCP or Static IP). Ensure the NVR is accessible on your local network.
- Дата і час: Встановіть правильну дату, час і часовий пояс.
- Ініціалізація жорсткого диска: The NVR will prompt you to initialize the installed HDDs. This process will format the drives for recording.
- Add IP Cameras: Use the wizard to search for and add compatible Hikvision IP cameras to the NVR.
5. Інструкція з експлуатації
5.1 Живий View
Після входу в систему, відеореєстратор відображатиме прямий ефір view interface, showing feeds from connected cameras. You can switch between different camera viewта макети.
- Одна камера View: Double-click a camera window to view це на весь екран.
- Layout Selection: Use the layout icons at the bottom of the screen to choose different grid arrangements (e.g., 4-channel, 9-channel).
5.2 Керування записами
The NVR supports continuous, scheduled, and event-triggered recording.
- Configure Recording Schedule: Перейдіть до Configuration > Storage > Schedule Settings to define recording times for each camera.
- Ручний запис: Натисніть значок запису в прямому ефірі view інтерфейс для запуску/зупинки ручного запису.
5.3 Відтворення
Повторноview записаний footage:
- Перейти до Відтворення меню.
- Select the desired camera(s) and date/time range.
- Use the timeline to navigate through recordings.
- Playback controls (play, pause, fast forward, rewind) are available.
5.4 Віддалений доступ
Доступ до NVR можна отримати віддалено через web browser or Hik-Connect mobile app.
- Web Браузер: Enter the NVR's IP address into a web браузер.
- Hik-Connect: Download the Hik-Connect app, register an account, and add your NVR by scanning its QR code or entering its serial number.
6. Технічне обслуговування
6.1 оновлень мікропрограми
Regularly check for and install firmware updates to ensure optimal performance and security. Firmware can be downloaded from the official Hikvision webсайт.
- Перейдіть до Configuration > System > Maintenance > Upgrade.
- Follow the on-screen instructions to perform the upgrade. Do not power off the NVR during the update process.
6.2 Керування жорсткими дисками
Monitor the health of your HDDs and manage storage space.
- HDD Status: Check HDD status in Configuration > Storage > HDD Management.
- Режим перезапису: Configure the NVR to overwrite old recordings when storage is full (default behavior).
6.3 Очищення
Keep the NVR clean to prevent dust buildup, which can affect performance and lifespan.
- Power off and unplug the NVR before cleaning.
- Використовуйте м’яку, суху тканину для протирання зовнішньої поверхні.
- Використовуйте стиснене повітря для очищення вентиляційних отворів від пилу.
7. Вирішення проблем
| проблема | Можлива причина | Рішення |
|---|---|---|
| Немає відеовиходу на монітор. | Нещільне з'єднання кабелю, неправильне джерело вхідного сигналу на моніторі, відеореєстратор не ввімкнено. | Check HDMI/VGA cable connections. Ensure monitor is set to correct input. Verify NVR power. |
| Немає віддаленого доступу до NVR. | Network configuration issues, firewall blocking, incorrect port forwarding. | Verify NVR network settings. Check router firewall and port forwarding rules. Ensure Hik-Connect is properly configured. |
| Cameras not recording. | HDD not initialized, recording schedule not set, HDD full. | Initialize HDDs. Configure recording schedule. Check HDD status and capacity. |
| Забув пароль адміністратора. | Пароль загублено. | Refer to the full manual or Hikvision support for password reset procedures. This often involves a security code or a physical reset button. |
8. Технічні характеристики
| Особливість | Деталь |
|---|---|
| Модель | DS-9632NI-I8 |
| Відео вхід | 32-Channel IP Video Input |
| Відеовихід | HDMI (up to 4K), VGA |
| Формат декодування | Н.265 + / Н.265 / Н.264 + / Н.264 |
| Аудіо вхід/вихід | 1-ch, RCA (2.0 Vp-p, 1 kΩ) / 2-ch, RCA (Linear, 1 kΩ) |
| SATA | 8 SATA interfaces for 8 HDDs |
| Ємність | Up to 10 TB for each HDD (example, actual capacity may vary) |
| Мережевий інтерфейс | 2 RJ-45 10M/100M/1000M self-adaptive Ethernet interfaces |
| Інтерфейс USB | Front panel: 2 × USB 2.0; Rear panel: 1 × USB 3.0 |
| Розміри (Ш × Г × В) | 23 x 22 x 8 дюйми (приблизно) |
| Джерело живлення | 100–240 В змінного струму, 50–60 Гц |
9. Гарантія та підтримка
9.1 Обмежена гарантія
Hikvision products are covered by a limited warranty. The specific terms and duration of the warranty may vary by region and product type. Please refer to the official Hikvision webна сайті або в документації до покупки для отримання детальної інформації про гарантію.
- Зберігайте докази покупки для гарантійних претензій.
- Unauthorized repairs or modifications may void the warranty.
9.2 Технічна підтримка
For technical assistance, product inquiries, or service requests, please contact Hikvision support through the following channels:
- Офіційний Webсайт: Відвідайте www.hikvision.com для отримання ресурсів підтримки, поширених запитань та контактної інформації.
- Обслуговування клієнтів: Refer to the contact details provided on the Hikvision webсайт для вашого конкретного регіону.
- Авторизовані дилери: Your authorized Hikvision dealer can also provide support and service.


