1. Вступ
This manual provides detailed instructions for the assembly, operation, and maintenance of your Sharkoon VS4-W Series ATX/MicroATX Mid-Tower PC Case, model SHA-VS4-WBK. Please read this manual thoroughly before beginning installation to ensure proper setup and to maximize the lifespan of your product.
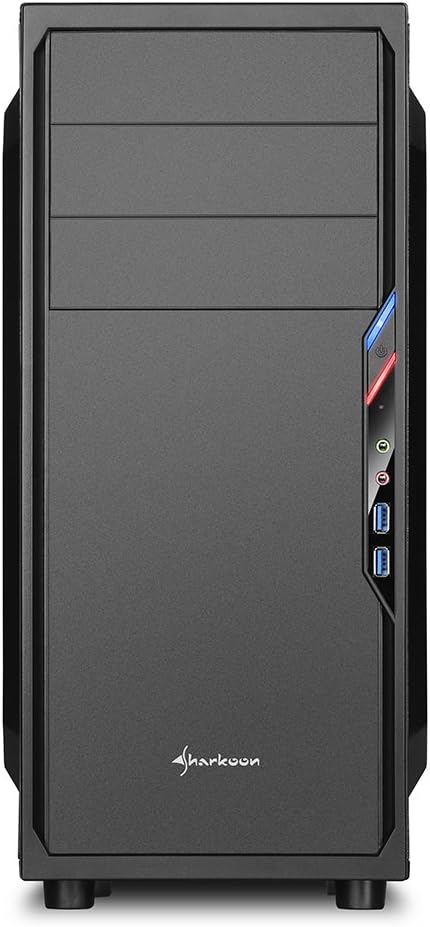
The Sharkoon VS4-W Series is designed for users seeking a cost-effective and functional PC case. It features a full-black aesthetic with an acrylic side window panel, offering a clear view of your internal components. The case supports ATX and Micro-ATX motherboards and provides ample space for various components, including multiple storage drives and long graphics cards.
2. Продукт закінчивсяview
2.1. Ключові характеристики
- Acrylic side window panel for component visibility.
- Full-black interior and exterior design.
- Support for ATX and Micro-ATX motherboards.
- Three 5.25-inch drive bays, two with tool-less mechanisms.
- Seven drive bays for storage: three 3.5-inch and four 2.5-inch.
- Generous expansion card space, up to 385mm with 2.5-inch cage removed.
- Cable management space behind the motherboard tray due to a bulged side panel design.
- Підтримує кулери процесора висотою до 160 мм.
- Front I/O panel with 2x USB 3.0 and 2x USB 2.0 ports, plus HD Audio.
- Pre-installed 120mm front fan and 120mm blue LED rear fan.
2.2. Ідентифікація компонента


3. Налаштування та встановлення
3.1. Підготовка справи
- Unpack the PC case and remove all packaging materials.
- Поставте корпус на стійку, рівну поверхню.
- Зніміть бічні панелі, відкрутивши гвинти з накатною головкою на задній панелі корпусу.
3.2. Встановлення материнської плати
- Встановіть кришку вводу/виводу, що постачається з материнською платою, у виріз у задній частині корпусу.
- Ensure standoffs are correctly aligned for your ATX or Micro-ATX motherboard. Install additional standoffs if necessary.
- Обережно помістіть материнську плату в корпус, вирівнявши її з виступами та екраном вводу/виводу.
- Закріпіть материнську плату гвинтами.
3.3. Установка джерела живлення
- Mount the power supply unit (PSU) in the designated area at the bottom rear of the case.
- Закріпіть блок живлення гвинтами ззаду корпусу.
- Route necessary power cables through the cable management cutouts.
3.4. Встановлення диска
- 5.25-дюймові накопичувачі: For tool-less bays, slide the drive in until it clicks into place. For other bays, secure with screws.
- 3.5-дюймові накопичувачі: Slide the 3.5-inch drives into the designated bays and secure them.
- 2.5-дюймові накопичувачі: Mount 2.5-inch SSDs/HDDs onto the dedicated mounting points.
3.5. Встановлення плати розширення
- Зніміть необхідні кришки слотів PCI із задньої панелі корпусу.
- Вставте відеокарту або інші карти розширення у відповідні слоти PCI-E на материнській платі.
- Secure the cards with screws. For longer graphics cards, the 2.5-inch drive cage can be removed to provide up to 385mm of space.
3.6. Кабельний менеджмент
Utilize the space behind the motherboard tray and the various cable routing holes to organize cables. This improves airflow and aesthetics.
4. Інструкція з експлуатації
Once all components are installed and connected, replace the side panels and secure them with the thumbscrews. Connect your peripherals (monitor, keyboard, mouse, etc.) to the motherboard's I/O ports. Connect the power cable to the PSU and a wall outlet. Press the power button on the front panel to start your system.
5. Технічне обслуговування
5.1. прибирання
- Regularly clean dust filters (if present) to maintain optimal airflow.
- Use compressed air to remove dust from internal components and fans.
- Протріть зовнішню частину корпусу м’якою тканиноюamp тканина. Уникайте абразивних очищувачів.
5.2. Технічне обслуговування вентилятора
Ensure fans are free from obstructions and spinning correctly. If a fan becomes noisy or stops working, consider replacing it to maintain proper cooling.
6. Вирішення проблем
6.1. Система не вмикається
- Check all power connections, including the PSU to the wall, and internal connections to the motherboard and components.
- Переконайтеся, що кабель кнопки живлення від корпусу правильно підключений до роз'єму на передній панелі материнської плати.
- Переконайтеся, що перемикач блоку живлення знаходиться в положенні «УВІМК.».
6.2. Poor Airflow/Overheating
- Очистіть будь-які пилові фільтри та внутрішні компоненти.
- Ensure fans are operating correctly and oriented for optimal airflow (intake/exhaust).
- Покращте управління кабелями, щоб зменшити перешкоди для потоку повітря.
6.3. Front Panel USB/Audio Not Working
- Verify that the front panel USB and HD Audio cables are securely connected to the corresponding headers on your motherboard.
7. Технічні характеристики
| Назва моделі | VS4-W Series |
| Номер моделі товару | SHA-VS4-WBK |
| Тип корпусу | Середній вежі |
| матеріал | Сталь, пластик, акрил |
| Колір | чорний |
| Сумісність материнської плати | ATX, Micro-ATX |
| Відсіки для накопичувачів 5.25 дюйма | 3 (2 with tool-less mechanism) |
| 3.5-дюймові внутрішні відсіки для накопичувачів | 3 |
| Відсіки для накопичувачів 2.5 дюйма | 4 |
| Слоти розширення PCI | 7 |
| Макс. Довжина відеокарти | 310mm (385mm with 2.5" cage removed) |
| Макс. Висота кулера процесора | 160 мм |
| Макс. Довжина БП | 260 мм |
| Передні порти вводу-виводу | 2x USB 3.0, 2x USB 2.0, HD Audio (Mic/Headphone) |
| Попередньо встановлені вентилятори | Front: 1x 120mm, Rear: 1x 120mm Blue LED |
| Спосіб охолодження | Повітряне охолодження |
| Розміри продукту (Д x Ш x В) | 44.5 х 20 х 43 см |
| Вага товару | 3.5 кг |
8. Гарантія та підтримка
Щоб отримати інформацію про гарантію та технічну підтримку, зверніться до офіційного сайту Sharkoon. webсайт або зверніться до місцевого продавця. Зберігайте чек про покупку для гарантійних випадків.
Official Sharkoon Webсайт: www.sharkoon.com


