вступ
This manual provides instructions for the installation and features of the Leviton REWP4-WB Renu Four-Gang Screwless Snap-On Wallplate. The Renu series offers a modern, sleek design for electrical devices, allowing for easy color changes and a clean aesthetic.
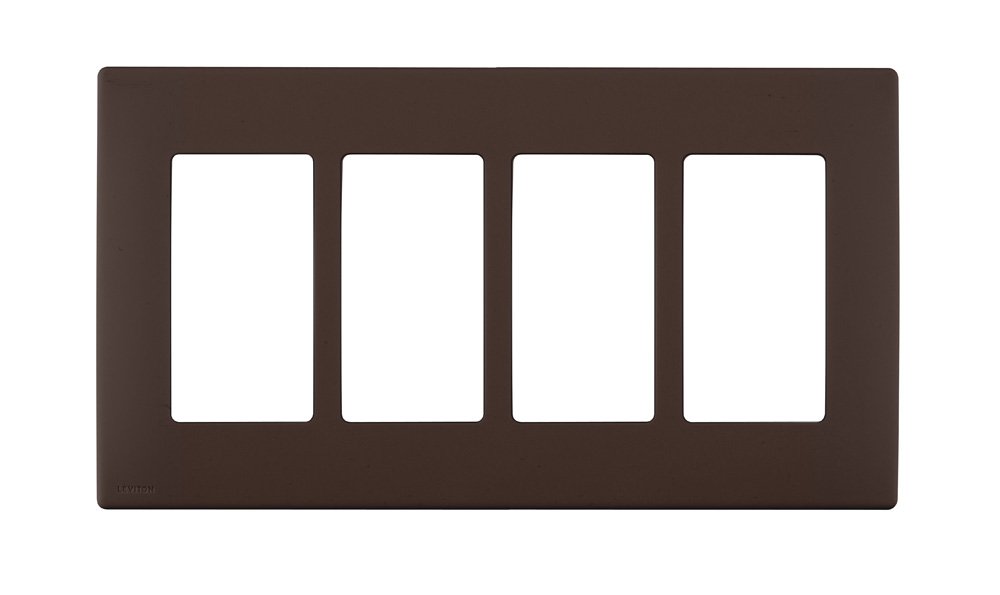
Figure 1: Leviton REWP4-WB Renu Four-Gang Screwless Snap-On Wallplate in Walnut Bark.
особливості
- Безгвинтовий дизайн: Provides a clean, modern appearance without visible screws.
- Snap-On Installation: Designed for fast and easy installation without the need for a subplate.
- Four-Gang Configuration: Accommodates up to four Renu devices.
- Walnut Bark Color: A specific color variant within the Renu collection.
- Larger Size: Slightly larger than standard wallplates to help cover minor wall imperfections.
- Renu System Compatibility: Exclusively designed for use with Leviton Renu devices.
- Decora Compatibility (with adapter): Can be used with standard Decora devices when paired with a Renu adapter ring REA00 (sold separately). Adapter rings are available in White on White, Navajo Sand, and Onyx Black.
- Міцний матеріал: Constructed from engineering-grade polymer material.

Figure 2: The range of 20 designer colors available for Leviton Renu wallplates and devices.

Малюнок 3: Впрamples of Renu wallplates matching or complementing various paint and surface colors.
Налаштування та встановлення
The Leviton Renu wallplate is designed for straightforward installation. Ensure power is turned off at the circuit breaker before beginning any electrical work.
- Підготуйте пристрій: Ensure your Leviton Renu electrical device (switch, outlet, dimmer, GFCI) is properly wired and mounted in the electrical box.
- Вирівняйте настінну панель: Position the Renu wallplate over the installed Renu device(s). The wallplate is designed to snap directly onto the device(s) without requiring a separate subplate.
- Зафіксувати на місці: Gently press the wallplate firmly against the device(s) and the wall until it snaps securely into place. Ensure all edges are flush with the wall.
- For Decora Devices: If using a standard Decora device, first install the Renu adapter ring REA00 (sold separately) onto the Decora device, then snap the Renu wallplate onto the adapter ring.
For a visual guide on changing Renu device colors, which involves similar snap-on/off mechanisms for the faceplates and wallplates, please refer to the video below:
Video 1: Demonstrates the ease of changing colors on Leviton Renu devices, including the snap-on wallplate mechanism. This process is similar for installing the wallplate.
Операційна
The Leviton Renu wallplate is a passive component designed to cover electrical devices. Its primary function is aesthetic and protective. Once installed, no specific operation is required from the wallplate itself. The operation of the underlying electrical devices (switches, outlets, dimmers) remains unchanged.
Технічне обслуговування
To maintain the appearance and functionality of your Leviton Renu wallplate:
- Прибирання: Протріть поверхню м’якою, damp тканиною. Уникайте абразивних засобів для чищення, розчинників або агресивних хімікатів, оскільки вони можуть пошкодити покриття.
- Огляд: Periodically check the wallplate for any signs of damage, cracks, or discoloration. If damage is observed, consider replacing the wallplate.
- Зміна кольору: The Renu system allows for easy color changes. To change the color, gently pry off the existing wallplate using a flathead screwdriver in the removal notch (if present) or by carefully pulling from the edges. Then, snap on a new Renu wallplate of your desired color. Ensure power is off before removing the wallplate if it exposes any live electrical components.
Усунення несправностей
Most issues related to the Renu wallplate are minor and can be resolved easily:
- Wallplate Does Not Snap On:
- Ensure the underlying electrical device is a Leviton Renu device. Renu wallplates are designed specifically for Renu devices.
- If using a standard Decora device, confirm that a Renu adapter ring REA00 (sold separately) is correctly installed.
- Check for any obstructions or debris around the device or in the wallplate's snapping mechanism.
- Gaps Around the Wallplate:
- Ensure the electrical box and device are mounted flush with the wall surface. While Renu wallplates are slightly larger to cover imperfections, significant unevenness may still result in gaps.
- Verify the wallplate is fully snapped into place on all sides.
- Wallplate Appears Loose:
- Re-press the wallplate firmly to ensure all clips are engaged.
- Inspect the clips on the back of the wallplate and the device for any damage. Damaged clips may prevent a secure fit.
Технічні характеристики
| Специфікація | Деталь |
|---|---|
| Номер моделі | REWP4-WB |
| Бренд | Левітон |
| Конфігурація | Four-Gang (Quad) |
| Колір | Walnut Bark |
| матеріал | Engineering Grade Polymer Material |
| Тип установки | Snap-On |
| Вага товару | 0.8 унції |
| Дозволи | UL (Канада та США) |
| UPC | 078477528402 |
Гарантія та підтримка
For warranty information and customer support, please refer to the official Leviton webсайт або безпосередньо зверніться до служби підтримки клієнтів Leviton. Зберігайте чек про покупку для гарантійних претензій.
- Левітон Webсайт: www.leviton.com
- Обслуговування клієнтів: Зверніться до розділу контактів на офіційному сайті webсайт для номерів телефонів та підтримки електронною поштою.


