
1. Вступ
This manual provides essential information for the safe and efficient use of your Kyocera ECOSYS MZ3201ix A3 Laser Multifunction Printer. Please read this manual thoroughly before operating the device and keep it for future reference.
Продукт закінченийview
The Kyocera ECOSYS MZ3201ix is a versatile A3 laser multifunction printer designed for both office and home office environments. It offers high-resolution printing, copying, scanning, and faxing capabilities, ensuring efficient document management.
Ключові характеристики:
- Print resolution up to 1200 dpi.
- Print speed up to 32/17 pages A4/A3 per minute in black and white.
- 100-sheet universal feeder and 500-sheet cassette.
- Duplex unit for double-sided printing (DIN A5 - DIN A3).
- Integrated high-level security features.
- Automatic Document Feeder (ADF).
- Network-ready with Ethernet and USB connectivity.
- Scan to email functionality.
- Intuitive touch screen interface.
2. Інформація про безпеку
Завжди дотримуйтесь наступних запобіжних заходів, щоб запобігти травмуванню або пошкодженню пристрою.
- Джерело живлення: Підключайте принтер лише до заземленої розетки з належною напругоюtage. Не перевантажуйте розетки.
- Розміщення: Place the printer on a stable, level surface. Ensure adequate ventilation around the device. Avoid placing it near water or heat sources.
- Обробка: Не намагайтеся розбирати або модифікувати принтер. Звертайтеся до кваліфікованого персоналу з будь-яким обслуговуванням.
- Витратні матеріали: Use only genuine Kyocera toner and parts. Keep toner cartridges out of reach of children.
- Переміщення пристрою: The printer is heavy (49 kg). Use appropriate lifting techniques or assistance when moving it to prevent injury.
3. Що в коробці
Обережно розпакуйте коробку та переконайтеся, що всі предмети є в наявності:
- Kyocera ECOSYS MZ3201ix Multifunction System
- Тонер-картридж
- Контейнер для відпрацьованого тонера
- Силовий кабель
- Інструкції з техніки безпеки
- Короткий посібник
If any items are missing or damaged, please contact your vendor or Kyocera support.
4. Налаштування
4.1 Розпакування та розміщення
- Зніміть з принтера всі пакувальні матеріали, стрічки та захисні плівки.
- Place the printer on a sturdy, level surface capable of supporting its weight (approximately 49 kg). Ensure there is sufficient space around the printer for ventilation and access to trays and covers.
4.2 Підключення кабелю живлення
- Connect the power cable to the power input on the rear of the printer.
- Підключіть інший кінець кабелю живлення до заземленої електричної розетки.
4.3 Installing Toner and Waste Toner Container
- Відкрийте передню кришку принтера.
- Insert the toner cartridge according to the instructions provided on the cartridge and inside the printer.
- Insert the waste toner container into its designated slot.
- Надійно закрийте передню кришку.
4.4 Завантаження паперу
- Pull out the paper cassette (standard 500-sheet tray or 100-sheet universal feeder).
- Відрегулюйте напрямні для паперу відповідно до розміру паперу, який ви завантажуєте (підтримуються формати від A5 до A3).
- Завантажте стопку паперу, переконавшись, що вона не перевищує позначку максимального заповнення.
- Обережно вставте касету для паперу назад у принтер.
4.5 Мережеве та USB-підключення
- Для мережевого підключення (Ethernet): Connect an Ethernet cable from your network router/switch to the LAN port on the printer.
- For Direct Connection (USB): Connect a USB 2.0 cable from your computer to the USB port on the printer.
4.6 Встановлення програмного забезпечення
- Увімкніть принтер за допомогою кнопки живлення.
- Follow the on-screen instructions on the printer's touch screen for initial setup, including language and network settings.
- On your computer, insert the driver CD (if provided) or download the latest drivers and utility software from the official Kyocera webсайт.
- Run the installer and follow the prompts to install the printer drivers and software.
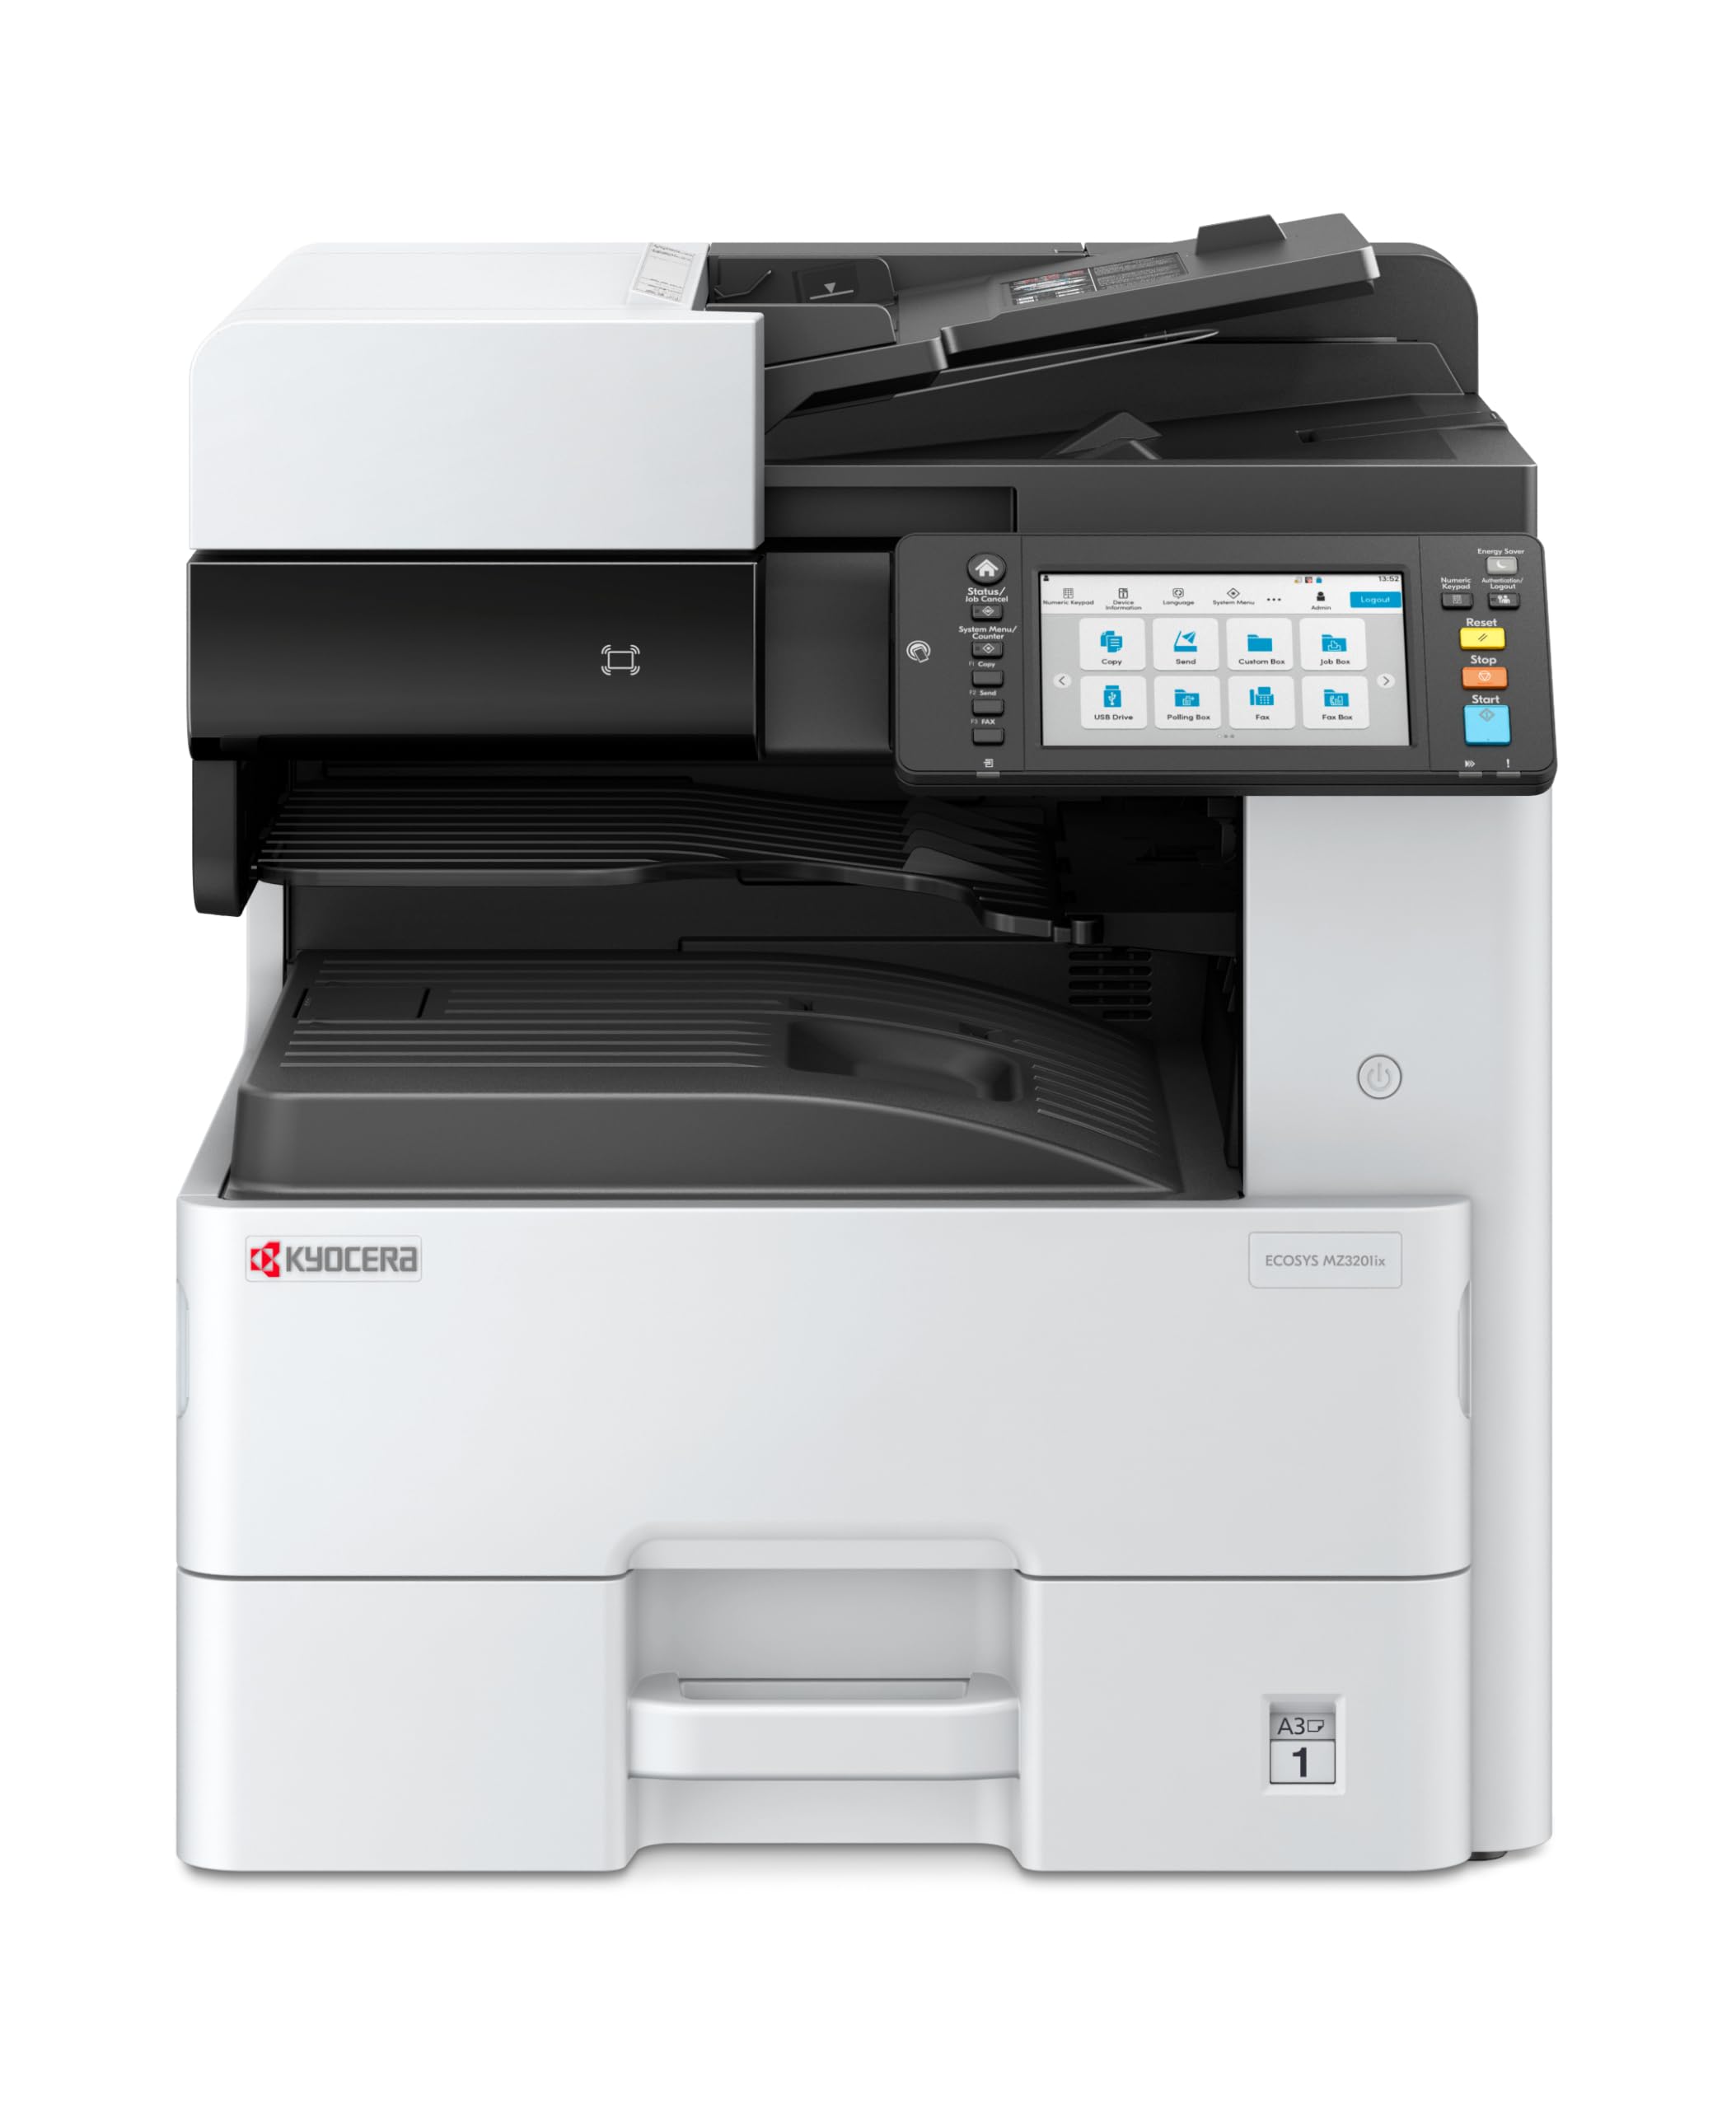
Image 1: Kyocera ECOSYS MZ3201ix A3 Laser Multifunction Printer. This image shows the front view of the printer, highlighting its compact design and the integrated touch screen panel.
5. Інструкція з експлуатації
5.1 Базовий друк
- Відкрийте на комп’ютері документ, який потрібно роздрукувати.
- Виберіть File > Друк.
- Choose the Kyocera ECOSYS MZ3201ix from the list of available printers.
- За потреби налаштуйте параметри друку (наприклад, кількість копій, розмір паперу, двосторонній друк).
- Натисніть Роздрукувати.
5.2 Копіювання документів
- Помістіть документ лицьовою стороною вниз на скло сканера або лицьовою стороною вгору в автоматичний подавач документів (АПД).
- On the printer's touch screen, select the Копія функція.
- Adjust settings such as number of copies (up to 999), zoom, and paper type.
- Натисніть старт кнопку, щоб почати копіювання.
5.3 Сканування документів
- Помістіть документ на скло сканера або в АПД.
- On the printer's touch screen, select the Сканувати функція.
- Choose your desired scan destination (e.g., Scan to PC, Scan to Email, Scan to USB).
- Configure scan settings such as resolution (up to 1200 x 1200 dpi), color mode, and file формат.
- Натисніть старт кнопку, щоб почати сканування.
5.4 Надсилання документів факсом
(Note: Fax functionality requires a telephone line connection, not detailed in this manual.)
- Помістіть документ на скло сканера або в АПД.
- On the printer's touch screen, select the Факс функція.
- Введіть номер факсу одержувача за допомогою клавіатури.
- Налаштуйте всі необхідні параметри факсу.
- Натисніть старт щоб надіслати факс.
6. Технічне обслуговування
Регулярне технічне обслуговування забезпечує оптимальну продуктивність та подовжує термін служби вашого принтера.
6.1 Очищення принтера
- Зовні: Протріть зовнішні поверхні м’якою, damp, тканина без ворсу. Не використовуйте абразивні засоби для чищення або розчинники.
- Скло сканера: Gently clean the scanner glass with a soft cloth and a non-abrasive glass cleaner.
- Ролики АПД: Periodically clean the ADF rollers with a lint-free cloth dampened with isopropyl alcohol to prevent paper jams.
6.2 Заміна картриджа з тонером
- When the printer indicates low toner, order a new Kyocera toner cartridge.
- Відкрийте передню кришку принтера.
- Вийміть порожній картридж із тонером, потягнувши його.
- Розпакуйте новий картридж із тонером і обережно струсіть його, щоб розподілити тонер.
- Insert the new toner cartridge firmly into its slot until it clicks into place.
- Закрийте передню кришку.
6.3 Replacing Waste Toner Container
- When the printer indicates the waste toner container is full, prepare a new one.
- Open the cover that provides access to the waste toner container.
- Carefully remove the full waste toner container. Seal it in a plastic bag for proper disposal.
- Insert the new waste toner container into its slot.
- Закрийте кришку.
7. Вирішення проблем
У цьому розділі розглядаються поширені проблеми, з якими ви можете зіткнутися під час використання принтера.
7.1 Зминання паперу
- Симптом: Принтер зупиняється, і повідомлення про помилку вказує на зминання паперу.
- рішення: Turn off the printer. Open all covers and trays. Carefully remove any jammed paper, pulling in the direction of the paper path. Ensure no small pieces of paper remain. Close all covers and restart the printer.
7.2 Погана якість друку
- Симптом: Faded prints, streaks, or spots on pages.
- рішення: Check toner level and replace if low. Perform a print head cleaning or calibration from the printer's maintenance menu. Ensure you are using appropriate paper for your print job.
7.3 Принтер не відповідає
- Симптом: Printer is online but does not print documents sent from the computer.
- рішення: Check all cable connections (USB/Ethernet). Restart both the printer and your computer. Verify that the correct printer driver is installed and selected. Check the printer's network settings if connected via Ethernet.
7.4 Коди помилок
If an error code appears on the touch screen, refer to the comprehensive user manual (available on the Kyocera website) for specific instructions related to that code. Many codes indicate specific issues like open covers, paper jams, or consumable replacement needs.
8. Технічні характеристики
| Особливість | Специфікація |
|---|---|
| Бренд | Kyocera |
| Назва моделі | ECOSYS MZ3201ix |
| Номер моделі | 110C2V3NL0 |
| Технологія підключення | Ethernet, USB 2.0 |
| Технологія друку | Лазерна |
| Особливості | Automatic Document Feeder, Auto-Duplex, Network Ready, Scan to Email, Touch Screen |
| Вихід на принтер | Монохромний |
| Max Print Speed Black & White | 32 Pages per minute (A4) |
| Вага товару | 49 кілограма |
| Розміри продукту (ДxШxВ) | 58.5 дюйма x 59 дюймів x 68.8 дюйми заввишки |
| Max Print Resolution Black & White | 1200 x 1200 dpi |
| Роздільна здатність сканера | 1200 x 1200 dpi |
| Двосторонній друк | Автоматичний |
| Max Copy Count | 999 |
| Час виведення першої сторінки | 5.2 секунд |
| Max Supported Paper Size | A3 |
| Максимальна ємність вхідного аркуша | 1600 |
| Printing Media Type | Звичайний папір |
| Функції | Copy, Fax, Scan, Print |
9. Гарантія та підтримка
Your Kyocera ECOSYS MZ3201ix printer comes with a standard manufacturer's warranty. For detailed information regarding warranty terms, duration, and coverage, please refer to the warranty card included with your product or visit the official Kyocera webсайт.
Підтримка клієнтів:
If you encounter any issues that cannot be resolved using this manual or require technical assistance, please contact Kyocera customer support. You can find contact information on the Kyocera webсайті або в документації, що додається до вашого принтера.
When contacting support, please have your printer's model name (ECOSYS MZ3201ix) and serial number ready. The serial number is typically located on a label on the back or bottom of the printer.