
1. Вступ
This manual provides detailed instructions for the installation, operation, and maintenance of your ELUSH 60Amp MPPT Solar Charge Controller. This device is designed to efficiently manage power from your solar panels to charge various battery types, including LiFePO4, AGM, and Gel batteries, in 12V, 24V, and 48V systems.
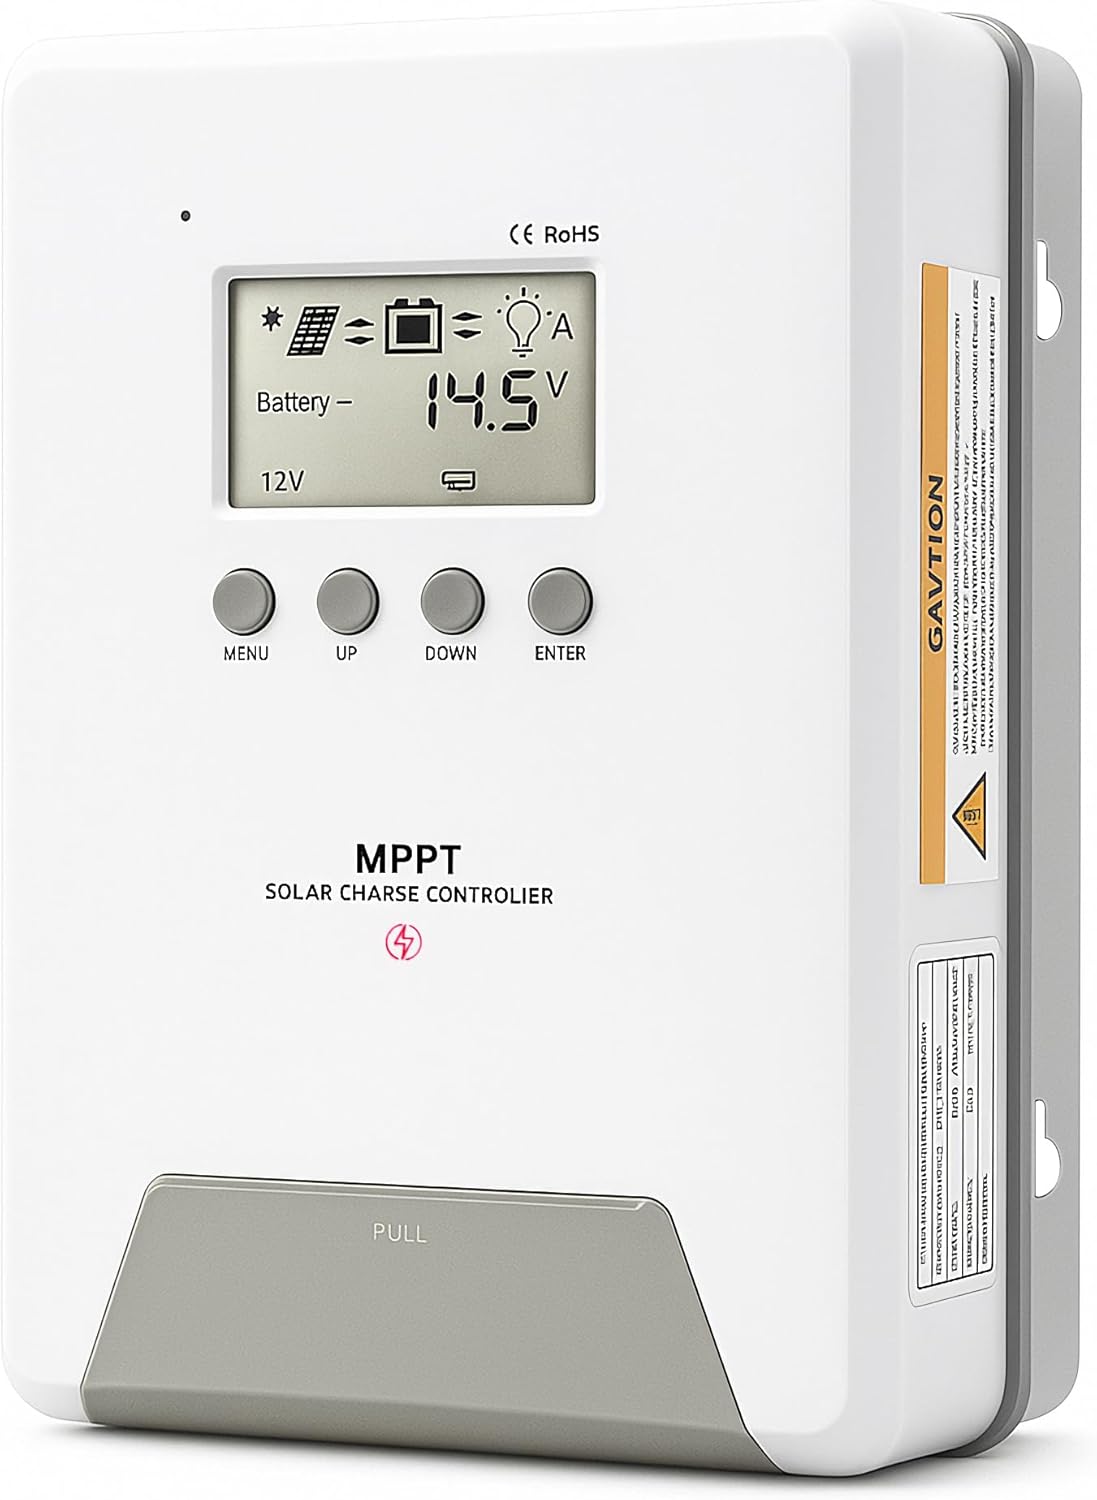
Image 1.1: ELUSH 60Amp MPPT контролер заряду сонячної енергії.
2. Ключові характеристики
- Передова технологія MPPT: Maximizes energy harvest from solar panels with tracking efficiency no less than 99% and peak conversion efficiency up to 98%.
- System Auto-Detection: Automatically detects 12V, 24V, and 48V DC system voltages upon startup.
- Широка сумісність з акумуляторами: Supports Sealed (AGM), Gel, Flooded lead-acid batteries, and Lithium batteries (LiFePO4, Ternary Lithium/Li-ion).
- Чіткий РК-дисплей: Забезпечує моніторинг об'єму фотоелектричних систем у режимі реального часуtage, об’єм батареїtage/current, charging power, accumulated energy generation, and load status.
- Essential Built-in Protections: Includes safeguards against overvoltage, надструм, undervoltagе, і висока температура.
- Ефективне розсіювання тепла: Features a high-quality aluminum heatsink for stable operation and optimal performance.

Image 2.1: MPPT Technology highlighting 99% tracking efficiency and 98% peak conversion efficiency.
3. Safety Information and System Protection
The ELUSH MPPT Solar Charge Controller is equipped with multiple protection features to ensure safe and reliable operation of your solar power system. Always adhere to local electrical codes and safety guidelines during installation and operation.
- Захист від перерозрядки: Prevents batteries from being discharged below a safe voltage рівень.
- Захист від перевантаження: Safeguards against excessive current draw from the load terminals.
- Short-circuiting Protection: Protects against short circuits in the solar panel, battery, or load circuits.
- Захист від зворотної полярності: Prevents damage from incorrect battery or solar panel connections.
- Захист від перезаряджання: Ensures batteries are not overcharged, extending their lifespan.
- Температурна компенсація: Adjusts charging parameters based on battery temperature for optimal charging.
- Захист від зворотного струму: Запобігає зворотному потоку струму від акумулятора до сонячної панелі вночі.

Image 3.1: Visual representation of the controller's system protection features.
4. Установка та підключення
Правильне встановлення є вирішальним для безпечної та ефективної роботи вашого контролера сонячного заряду. Уважно виконайте ці кроки.
4.1 Connection Sequence
Завжди підключайте компоненти в такому порядку, щоб запобігти пошкодженням:
- Підключіть батарею: Connect the battery to the controller's battery terminals. Ensure correct polarity (+ to + and - to -). The battery terminals should be installed with safety fuses. Ensure the distance does not exceed 150mm.
- Підключіть навантаження: Підключіть навантаження постійного струму до клем навантаження контролера.
- Connect the solar panel: Connect the solar panel to the controller's solar energy terminals. Ensure correct polarity.
- Power on the controller: The controller will automatically power on once all connections are secure.
Примітка: If you want to connect an inverter, connect it directly to the battery, not to the load terminal of the controller.

Image 4.1: Diagram showing the connection points for solar energy, battery, and load.

Image 4.2: Step-by-step visual guide for connecting the system components.
4.2 Hidden Installation Wiring
For a clean and secure installation, the wiring can be routed and hidden. After all connections are properly made and tested, tighten the screws on the terminals and close the bottom cover of the controller to complete the installation. This protects the wiring and provides a neat appearance.
5. Інструкція з експлуатації
The controller features an intuitive LCD display and buttons for monitoring and configuration.
5.1 РК-дисплей та кнопки
The LCD screen provides real-time information about your system. The buttons allow you to navigate menus and adjust settings.
- Датчик температури: Located on the controller, it measures ambient temperature for accurate charging compensation.
- РК-дисплей: Shows PV voltage, об’єм батареїtage, charging current, load status, and other system parameters.
- Кнопка МЕНЮ: Used to enter and exit menu settings.
- Кнопка ВВЕРХ: Navigates upwards through menu options or increases values.
- Кнопка ВНИЗ: Navigates downwards through menu options or decreases values.
- Кнопка ENTER: Підтверджує вибір або входить до підменю.
Image 5.1: The controller's LCD display and button layout for user interaction.
5.2 Автоматична випtage Recognition and Battery Compatibility
The controller automatically detects the system voltage (12V, 24V, or 48V) upon startup. It is compatible with a wide range of battery types, ensuring efficient and safe charging for your specific setup.
- Lithium-ion batteries (Li): For standard lithium-ion chemistries.
- Lithium Iron Phosphate batteries (LiFePO4): Specifically designed for LiFePO4 batteries.
- Lead-acid batteries (BAT): Includes Sealed (AGM), Gel, and Flooded types.

Image 5.2: Illustration of automatic voltage recognition and compatibility with various battery types.
6. Технічні характеристики
| Бренд | ELUSH |
| Номер моделі | DM60A |
| Поточний рейтинг | 60А |
| System Voltage | Автоматичне виявлення 12 В/24 В/48 В |
| Макс. вхідний об’єм фотоелементуtage | 150 В |
| матеріал | Алюміній |
| Тип дисплея | ЖК |
| Колір | чорний |
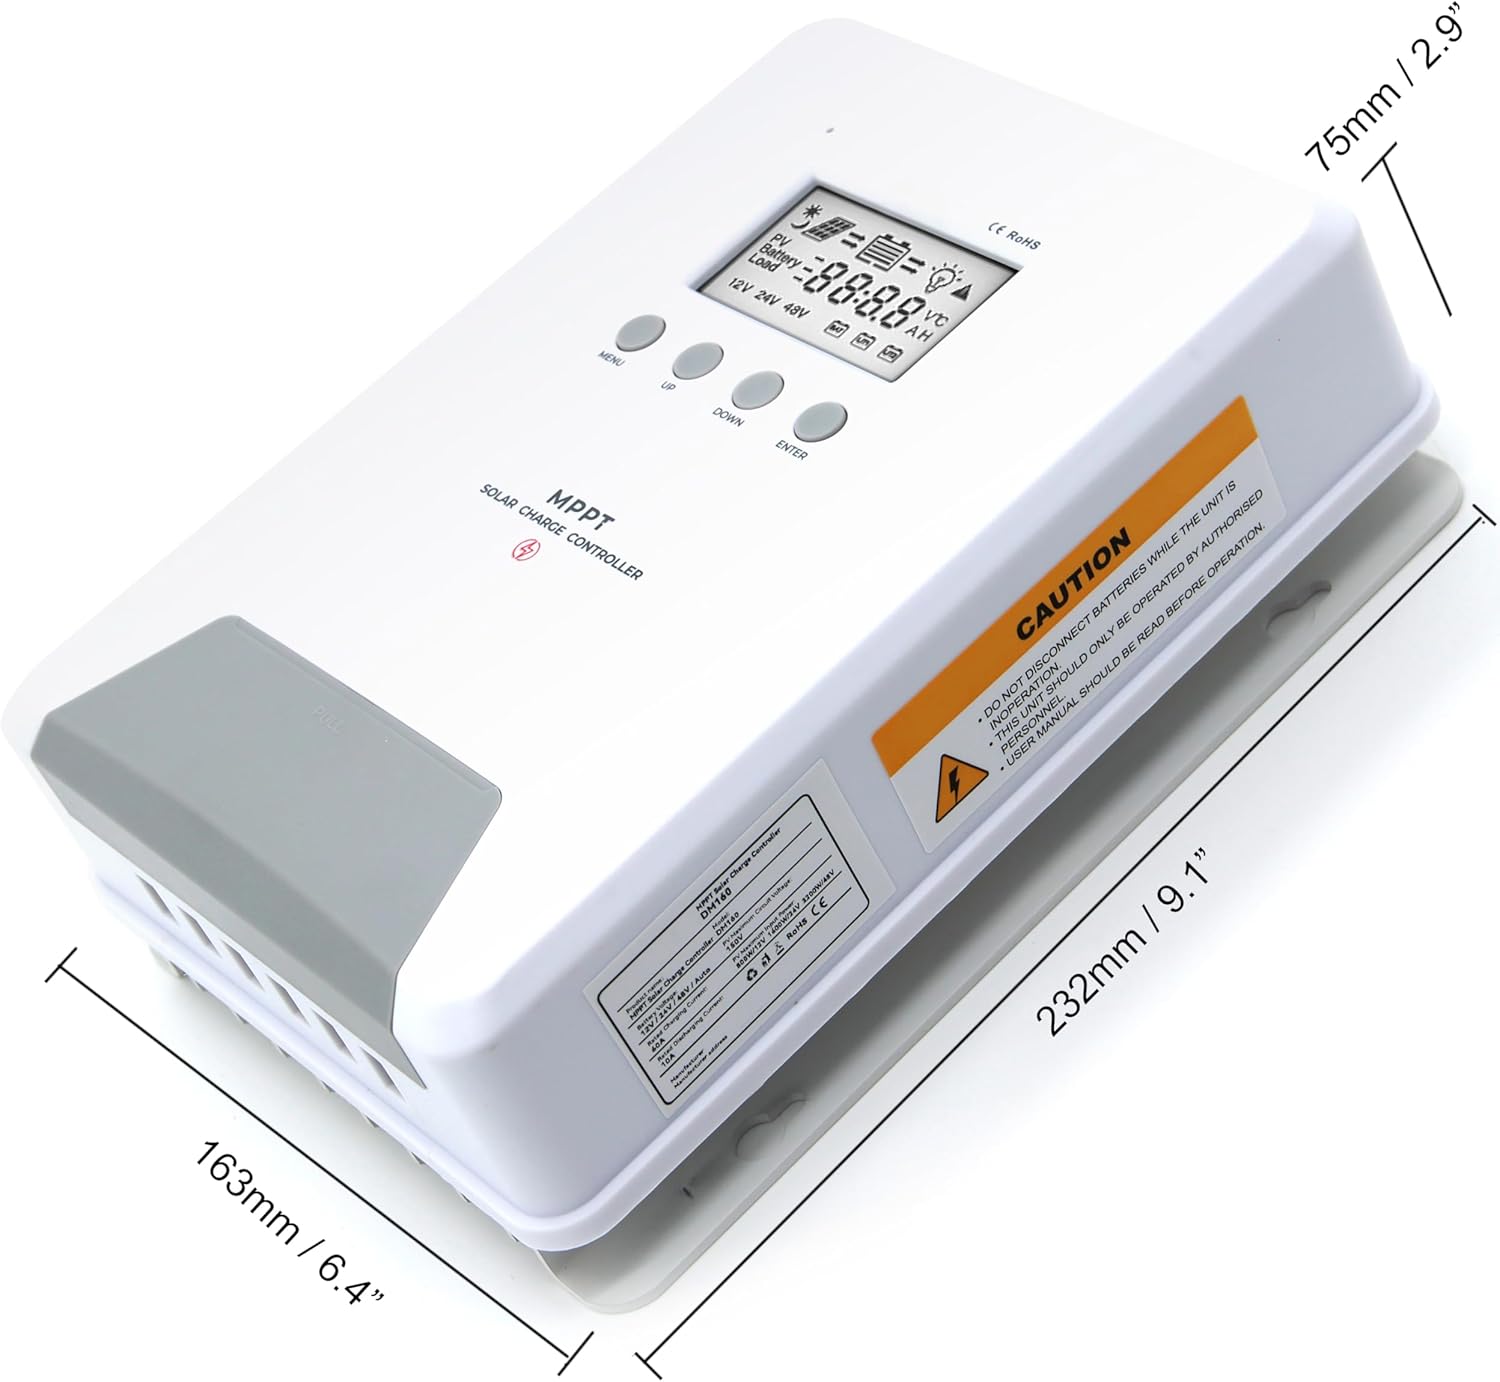
Image 6.1: Physical dimensions of the ELUSH 60Amp MPPT контролер заряду сонячної енергії.
7. Технічне обслуговування
Для забезпечення оптимальної продуктивності та довговічності вашого контролера сонячного заряду рекомендується регулярне технічне обслуговування:
- Перевірте підключення: Періодично перевіряйте всі з'єднання проводів на міцність та наявність корозії. Нещільні з'єднання можуть призвести до перегріву та пошкодження.
- Очистіть контролер: Тримайте контролер чистим та без пилу та сміття. Використовуйте суху тканину для протирання зовнішньої поверхні. Переконайтеся, що вентиляційні отвори не заблоковані.
- Монітор продуктивності: Regularly check the LCD display for normal operating parameters. Note any unusual readings or error codes.
- Здоров'я акумулятора: Переконайтеся, що ваші акумулятори належним чином обслуговуються відповідно до інструкцій виробника.
8. Вирішення проблем
If you encounter issues with your ELUSH MPPT Solar Charge Controller, refer to the following basic troubleshooting steps:
- Немає дисплея/немає живлення: Перевірте з'єднання акумулятора та переконайтеся, що акумулятор зарядженийtage is within the controller's operating range. Verify fuses are intact.
- Акумулятор не заряджається: Confirm solar panel connections and polarity. Check for sufficient sunlight and ensure solar panel voltage вище об'єму батареїtage. Verify battery type settings are correct.
- Навантаження не працює: Check load connections and ensure the load current does not exceed the controller's rating. Verify load output settings on the controller.
- Коди помилок: If the LCD displays an error code, consult the full product manual (if available) or contact technical support for specific guidance.
- Перегрів: Ensure the controller is installed in a well-ventilated area, away from direct sunlight or heat sources. Check for any obstructions to the heatsink.
9. Гарантія та підтримка
ELUSH provides professional technical support for its products. If you have any questions, require assistance with installation, operation, or troubleshooting, please feel free to contact us. Refer to your purchase documentation for specific warranty terms and contact information.