
вступ
This manual provides detailed instructions for the installation, operation, and maintenance of your Zyyini B150M V3 Computer Motherboard. Please read this manual thoroughly before proceeding with installation to ensure proper setup and to prevent damage to the components. This motherboard is designed for desktop computers, supporting LGA 1151 CPUs and DDR4 memory, offering a stable and efficient platform for various computing needs.
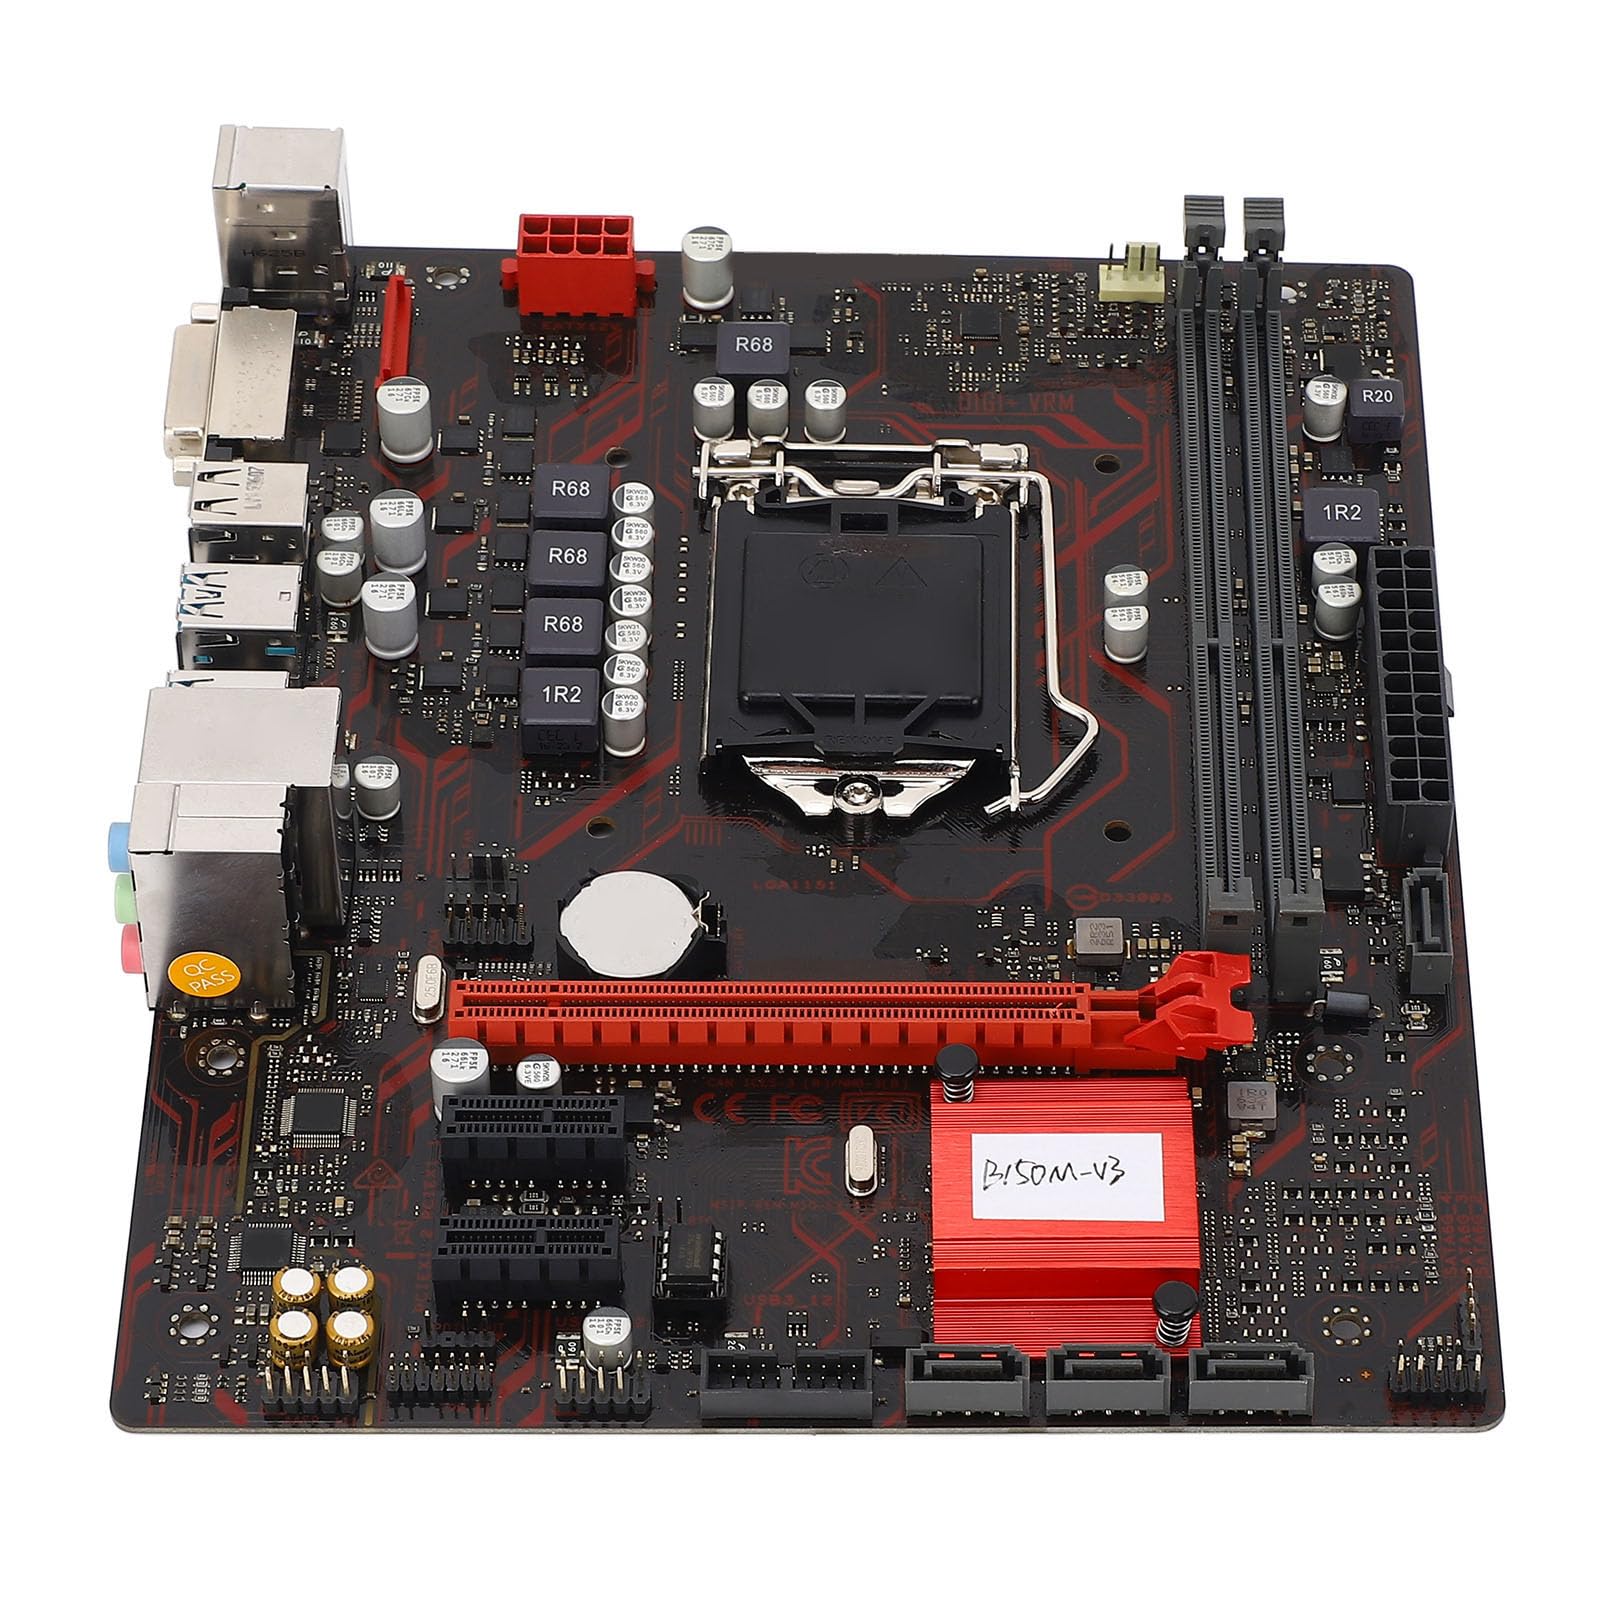
Малюнок 1: Закінченоview of the Zyyini B150M V3 Motherboard.
Налаштування та встановлення
Before beginning installation, ensure your workspace is clean and static-free. It is recommended to wear an anti-static wrist strap to prevent electrostatic discharge (ESD) damage to components.
1. Заходи безпеки
- Завжди від’єднуйте блок живлення від розетки перед встановленням або видаленням будь-яких компонентів.
- Тримайте компоненти за краї, щоб уникнути дотику до чутливих схем.
- Ensure proper grounding to prevent ESD.
- Refer to the CPU, memory, and other component manuals for specific installation instructions.
2. Компонування материнської плати

Рисунок 2: Зверху вниз view highlighting key components and connectors on the motherboard.
Familiarize yourself with the locations of the CPU socket, memory slots, PCI-E slots, SATA ports, and power connectors before installation.
3. Встановлення процесора (LGA 1151)
- Знайдіть роз'єм процесора LGA 1151 на материнській платі.
- Gently push down the load lever and pull it sideways to open the CPU socket cover.
- Carefully align the notches on your Intel Core i7/i5/i3/Pentium/Celeron (14nm) processor with the corresponding keys on the socket. Ensure the gold triangle on the CPU matches the triangle on the socket.
- Place the CPU gently into the socket without forcing it.
- Закрийте вантажну платформу та натисніть на важіль навантаження назад на місце до клацання.

Малюнок 3: Збільшений план view of the LGA 1151 CPU socket, ready for processor installation.
4. Memory Installation (DDR4 DIMM)
The motherboard features two DDR4 DIMM slots, supporting dual-channel DDR4 2133MHz memory up to a maximum of 32GB.
- Відкрийте затискачі з обох кінців гнізда DIMM.
- Зіставте виїмку на модулі пам'яті DDR4 з ключем у гнізді DIMM.
- Щільно вставте модуль пам’яті в слот, доки затискачі не зафіксуються. Переконайтеся, що обидва затискачі закриті.

Figure 4: The two DDR4 DIMM slots for memory installation.
5. Storage Device Installation (SATA III & M.2)
The motherboard provides 4 x Serial ATA III interfaces and 1 x M.2 slot for storage devices.
- Пристрої SATA: Connect one end of a SATA data cable to a SATA III port on the motherboard and the other end to your SATA hard drive or SSD. Connect the SATA power cable from your power supply to the drive.
- Пристрої M.2: Insert your M.2 SSD into the M.2 slot, securing it with the provided screw.
6. Expansion Card Installation (PCI-E)
The motherboard includes 1 x PCI-E x16 graphics card slot and 2 x PCI-E x1 slots for expansion cards.
- Align your PCI-E expansion card (e.g., graphics card, sound card, network card) with the desired PCI-E slot.
- Press the card firmly into the slot until it is fully seated. Secure the card with a screw to the chassis.
7. Підключення периферійних пристроїв та передньої панелі
Connect your USB devices, DVI display, audio devices, and Ethernet cable to the rear I/O panel. Connect the front panel connectors (power button, reset button, USB ports, audio jacks) from your PC case to the corresponding headers on the motherboard.

Малюнок 5: Детально view of the rear I/O panel, showing USB, DVI, Ethernet, and audio ports.
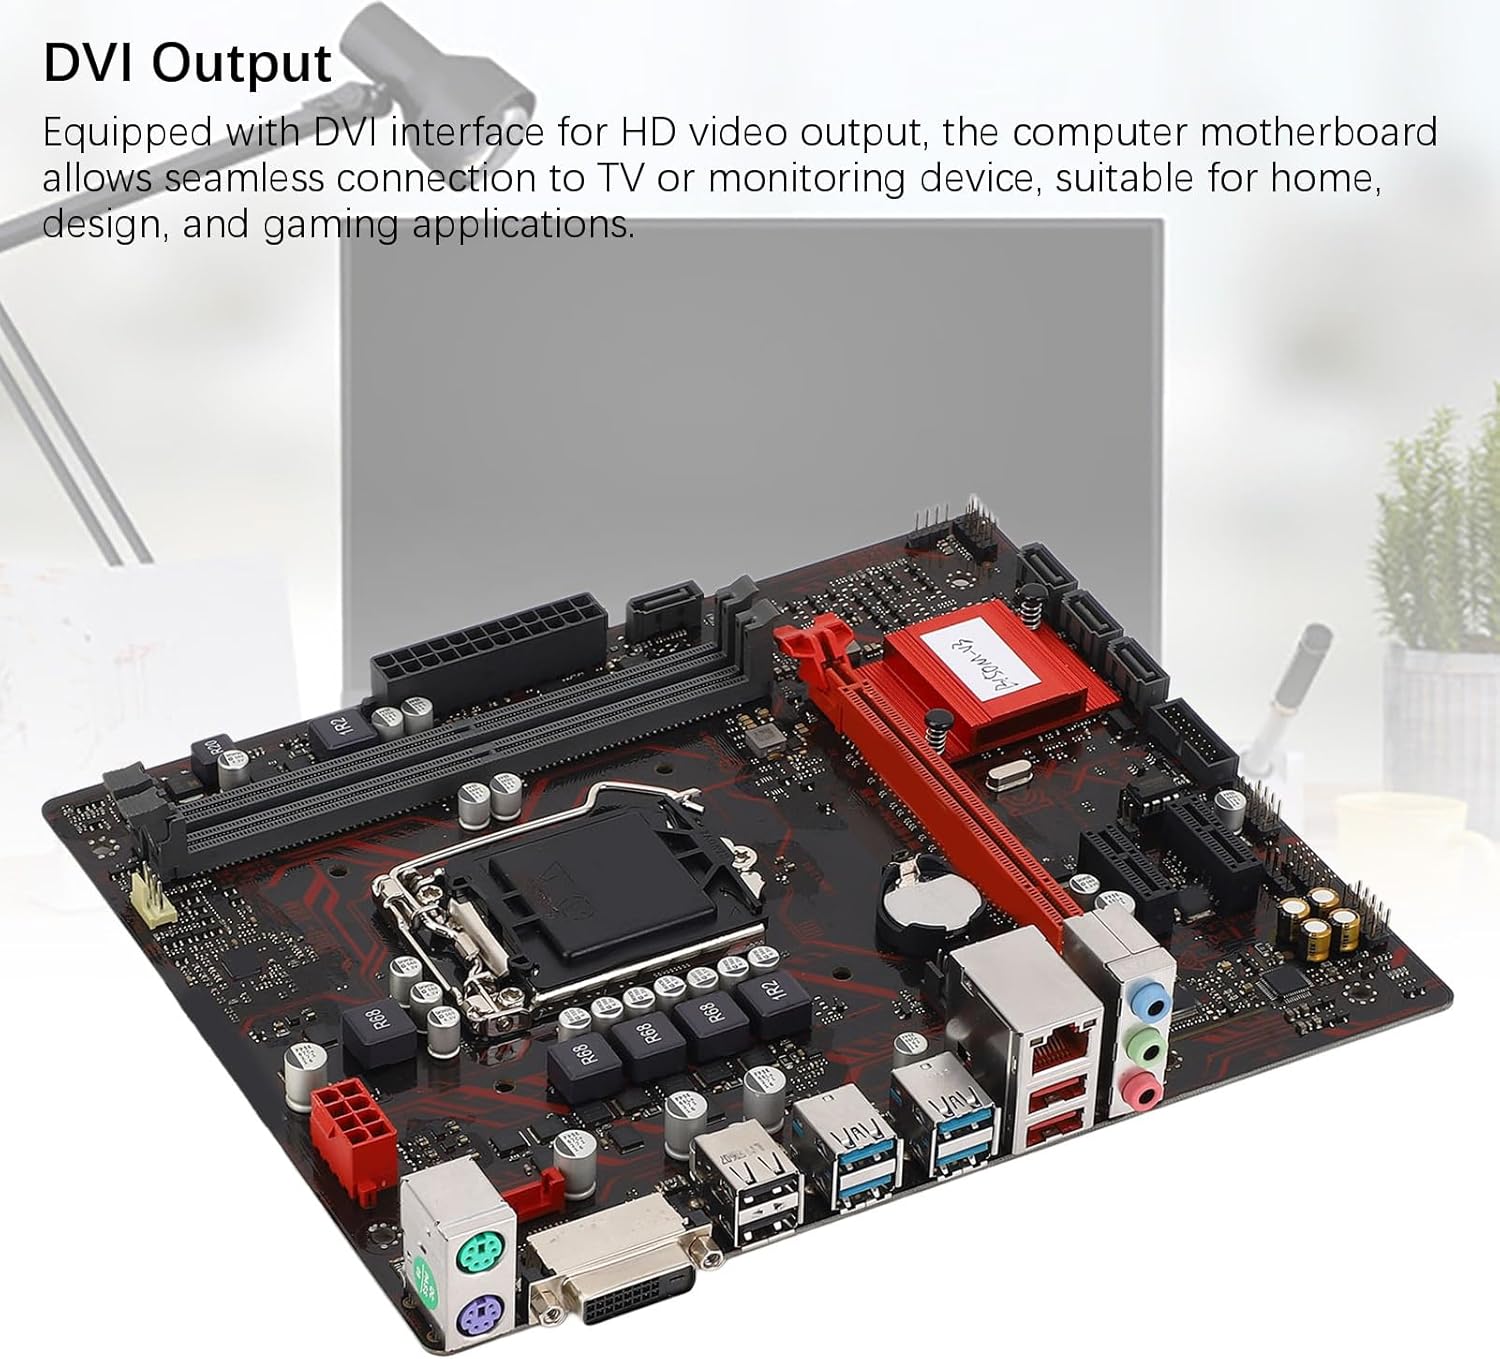
Figure 6: The DVI interface for connecting a display.
8. Підключення живлення
Connect the 24-pin ATX power connector and the 8-pin CPU power connector from your power supply to the respective ports on the motherboard. Ensure they are firmly seated.

Рисунок 7: Кутовий view showing the location of power connectors and other ports.
Інструкція з експлуатації
1. Початкове завантаження
After all components are installed and connected, power on your system. The system should initiate the boot process. If no display appears, refer to the troubleshooting section.
2. Конфігурація BIOS/UEFI
Під час завантаження натисніть призначену клавішу (зазвичай DEL or F2) to enter the BIOS/UEFI setup. Here you can configure boot order, system time, and other advanced settings. Save changes before exiting.
3. Встановлення драйвера
After installing your operating system, install the necessary drivers for the motherboard chipset, network, and audio. These are typically provided on a driver CD or available for download from the manufacturer's webсайт.
Технічне обслуговування
1. Очищення від пилу
Regularly clean the inside of your computer case to prevent dust buildup, which can lead to overheating and component failure. Use compressed air to gently remove dust from fans, heatsinks, and motherboard surfaces.
2. Оновлення BIOS
Періодично перевіряйте дані виробника webсайт для оновлень BIOS. Оновлення BIOS можуть покращити стабільність системи, додати підтримку нового обладнання або виправити помилки. Уважно дотримуйтесь інструкцій з оновлення, щоб уникнути пошкодження материнської плати.
Усунення несправностей
1. Немає живлення
- Ensure the power supply is connected to the wall outlet and switched on.
- Verify that the 24-pin and 8-pin power connectors are securely attached to the motherboard.
- Перевірте підключення вимикача живлення на передній панелі до материнської плати.
2. Немає дисплея
- Confirm that the monitor is connected to the correct video output (DVI) on the motherboard or graphics card and is powered on.
- Reseat the memory modules. Try booting with only one memory module installed.
- Reseat the graphics card (if applicable).
- Ensure the CPU is properly installed and the CPU cooler is securely attached.
3. Нестабільність системи / Збої
- Check for overheating. Ensure all fans are working and heatsinks are clean.
- Verify that all components (CPU, RAM, storage) are properly seated.
- Запустіть інструменти діагностики пам'яті, щоб перевірити наявність несправної оперативної пам'яті.
- Переконайтеся, що всі драйвери оновлені.
Технічні характеристики

Figure 8: The motherboard's robust construction ensures stable performance and longevity.
| Особливість | Деталь |
|---|---|
| Модель материнської плати | B150M-V3 |
| Чіпсет | Чіпсет B150 |
| Гніздо ЦП | LGA 1151 |
| Compatible CPU Type | Intel Core i7, i5, i3, Pentium, Celeron (14nm processors) |
| Тип пам'яті | 2 x DDR4 DIMM (Dual Channel) |
| Швидкість пам'яті | 2133 МГц |
| Максимальна ємність пам'яті | 32 ГБ |
| Стандарт PCI-E | PCI-E 3.0 |
| PCI-E x16 Slots | 1 |
| PCI-E x1 Slots | 2 |
| Інтерфейси зберігання даних | 4 x Serial ATA III, 1 x M.2 |
| USB Interfaces (Rear) | 4 x USB3.0, 4 x USB2.0 |
| USB Interfaces (Internal) | 1 x USB3.0 header, 1 x USB2.0 header |
| Відеоінтерфейс | 1 x DVI |
| Network Chip | Realtek RTL8111GR Gigabit Ethernet |
| Звуковий чіп | Realtek ALC887 8-Channel |
| Інтерфейси живлення | One 8-Pin, One 24-Pin |
| Форм-фактор | M-ATX |
| Режим живлення | 5 фаза |
| Інші інтерфейси | RJ45, Chassis Fan, Internal Speaker, System Panel, Sound, PS/2 Mouse, PS/2 Keyboard, COM |
Інформація про гарантію
For specific warranty terms and conditions, please refer to the documentation provided with your purchase or visit the official Zyyini webсайт. Гарантійне покриття зазвичай поширюється на дефекти матеріалів та виготовлення за умов нормального використання.
Підтримка клієнтів
If you encounter any issues that cannot be resolved using this manual, please contact your retailer or visit the Zyyini official support channels for assistance. Have your product model number (B150M-V3) and purchase details ready when seeking support.