
ScopeAround SA200S
ScopeAround SA200S Digital Otoscope with 1.85-inch IPS Screen User Manual
Model: SA200S | Brand: ScopeAround
1. Вступ
This manual provides detailed instructions for the safe and effective use of your ScopeAround SA200S Digital Otoscope. This device is designed for visual inspection of the ear canal and eardrum, featuring an integrated 1.85-inch IPS screen, a 720p HD camera, and adjustable LED lighting. It also supports photo and video capture for documentation.
Будь ласка, уважно прочитайте цей посібник перед використанням пристрою та збережіть його для подальшого використання.
2. Інформація про безпеку
- Do not insert the otoscope too deeply into the ear canal to avoid injury.
- Always use the provided specula to prevent direct contact with the ear canal.
- Clean the lens and accessories thoroughly before and after each use to prevent cross-contamination. Refer to the "Maintenance and Cleaning" section.
- Keep the device out of reach of children. Adult supervision is required if used on children.
- Do not use the device if you experience pain or discomfort. Consult a medical professional.
- Уникайте впливу екстремальних температур, прямих сонячних променів або вологи на пристрій.
- Не намагайтеся самостійно розібрати або відремонтувати пристрій. Зверніться по допомогу до служби підтримки клієнтів.
- The built-in battery pack is non-removable.

Figure 2.1: Safe and Dangerous Ear Canal Insertion
3. Вміст упаковки
Перевірте наявність усіх елементів в упаковці:
- SA200S Digital Otoscope with Screen
- Ear Picks (x4)
- Specula (x5)
- Прокладки з алкоголем
- Q-підказки
- Карта пам'яті 8 Гб
- Кабель USB (тип C)
- Посібник користувача

Малюнок 3.1: Вміст пакета
4. Продукт закінчивсяview
The ScopeAround SA200S Digital Otoscope is an all-in-one device designed for convenient ear examination. It features a high-resolution camera and an integrated display for direct viewінж.

Figure 4.1: ScopeAround SA200S Digital Otoscope
4.1 Компоненти пристрою

Figure 4.2: Labeled Components of the Otoscope
- Navigation Buttons UP: Used to navigate menus or adjust settings.
- Navigation Buttons Down: Used to navigate menus or adjust settings.
- Слот для карти пам'яті: For inserting the 8GB memory card (included).
- Photo / Video Button: Press to capture photos or start/stop video recording.
- Power Button / LED Light Adjustment: Long press to power on/off. Short press to cycle through LED brightness levels.
- 1.85" IPS LCD Screen: Integrated display for real-time viewінж.
- Кнопка налаштувань: Доступ до налаштувань пристрою.
- Кнопка ОК: Confirm selections in menus.
- Otoscope Camera: The camera probe for ear canal inspection.
- Порт типу C: Для зарядки та передачі даних.
5. Налаштування
5.1 Зарядка пристрою
Before first use, fully charge the otoscope. Connect the provided USB Type-C cable to the device's Type-C port and a compatible USB power adapter (not included). The charging indicator will show the charging status. A full charge provides approximately 3 hours of working time.
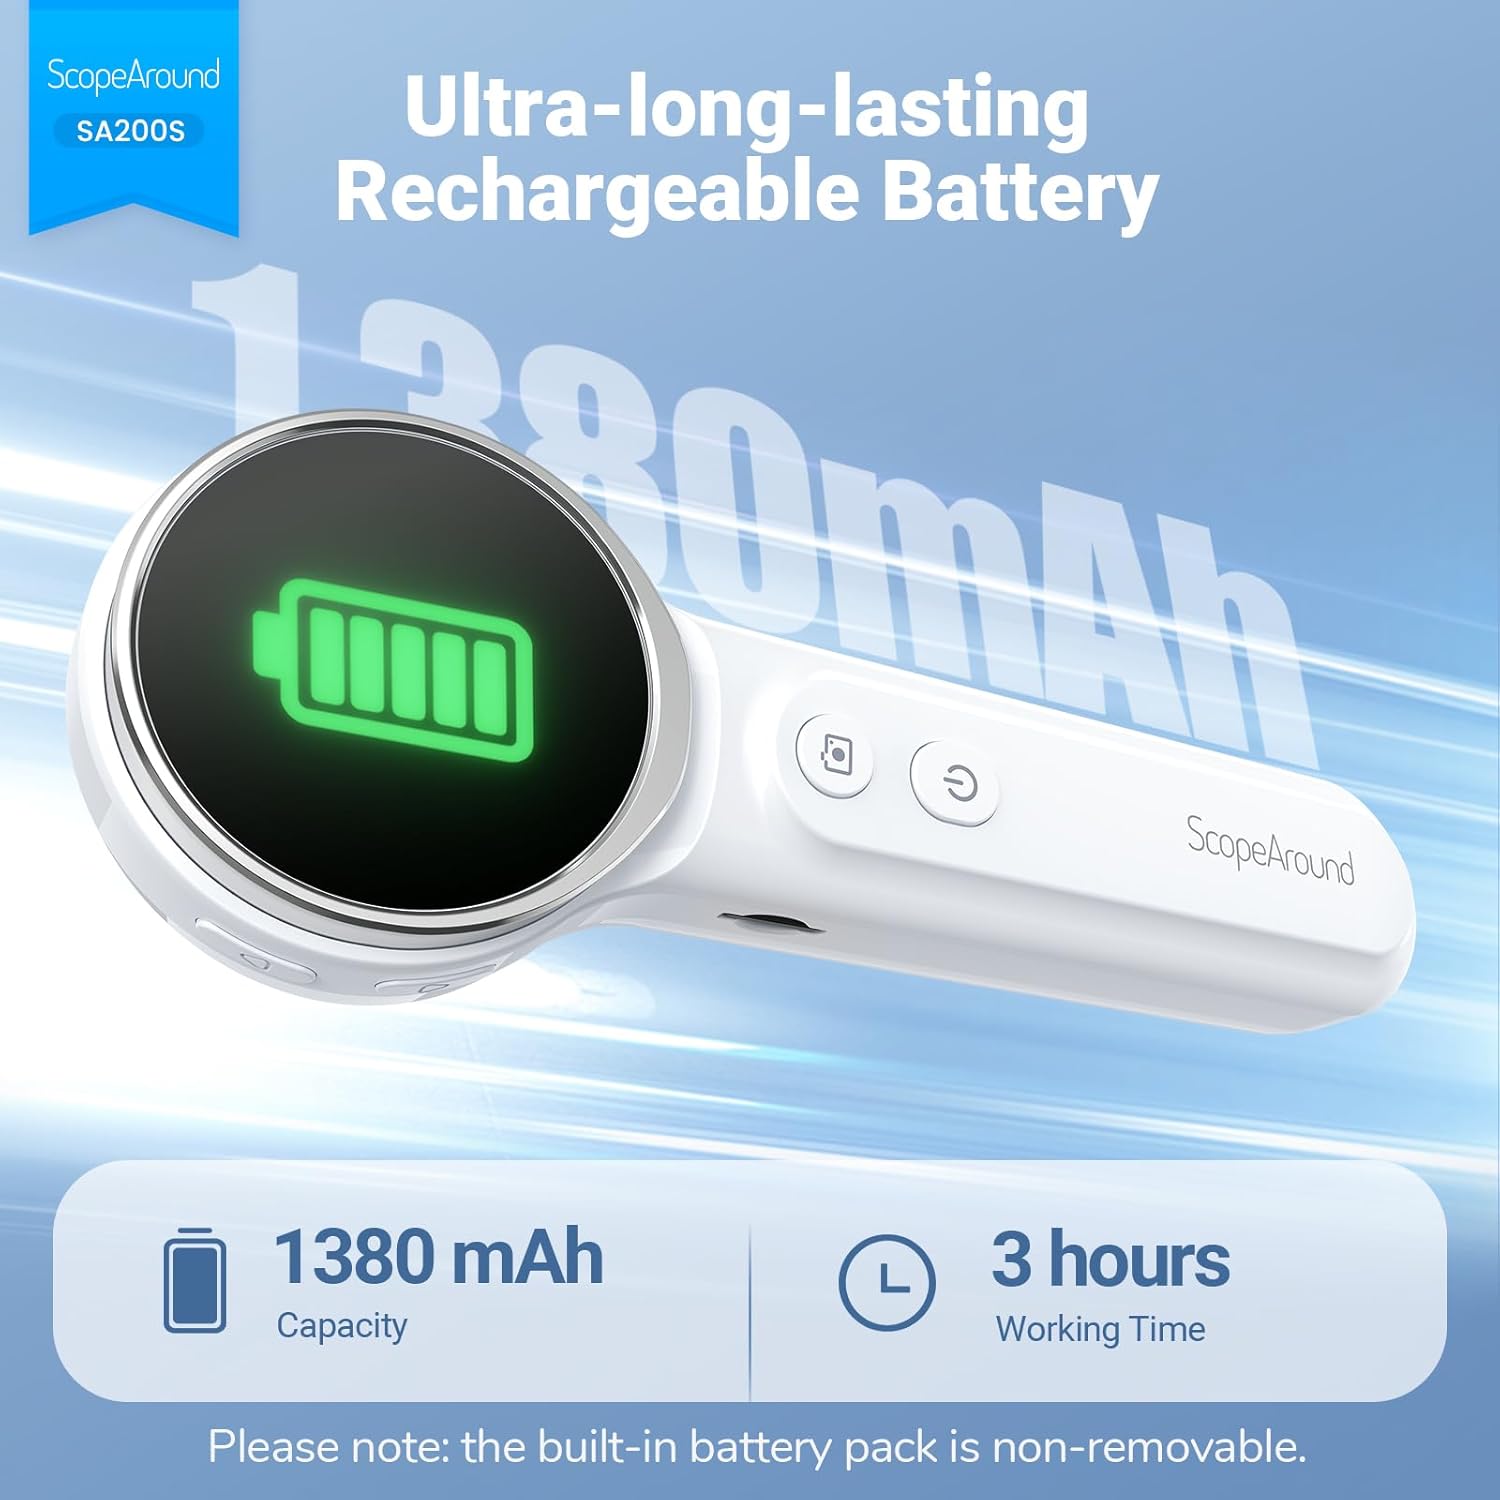
Рисунок 5.1: Заряджання та термін служби батареї
5.2 Приєднання аксесуарів
Select an appropriate speculum and ear pick. Gently attach the chosen speculum to the tip of the otoscope camera. If using an ear pick, ensure it is securely fitted over the camera tip, inside the speculum, before insertion into the ear.
5.3 Увімкнення/вимкнення
- To power on: Long press the Кнопка живлення (5) until the screen illuminates.
- Щоб вимкнути живлення: натисніть і довго Кнопка живлення (5) again until the screen turns off.
5.4 Connecting to the App (Optional)
For additional features and a larger viewing experience, you can connect the otoscope to your smartphone or tablet via Wi-Fi.
- Завантажте додаток: Scan the QR code provided in the manual or on the device packaging, or search for "Smart Otoscope" in the Apple App Store or Google Play Store. You can also visit gto.so/smart-otoscope.
- Power On Otoscope: Long press the power button on the otoscope to turn it on.
- Підключити Wi-Fi: On your smartphone or tablet, go to Wi-Fi settings and connect to the network named "Smart Otoscope_XXX". The default password is 55556666.
- Запустити додаток: Open the "Smart Otoscope" app. The live view from the otoscope camera should appear.

Figure 5.2: Wi-Fi Connection Steps
Note: Once connected to the app, you can operate the device and view the feed on your phone.
6. Інструкція з експлуатації
6.1 Basic Ear Examination
- Ensure a clean speculum is attached to the otoscope camera.
- Gently pull the outer ear up and back to straighten the ear canal.
- Carefully insert the speculum tip into the ear canal while observing the integrated 1.85-inch IPS screen. Do not force the device.
- Adjust the angle and depth slowly to get a clear view of the ear canal and eardrum.

Figure 6.1: Self-Examination with Integrated Screen
6.2 Adjusting LED Lights and Brightness
The otoscope features 6 adjustable LED lights with 3 brightness settings for optimal visibility.
- Коротко натисніть кнопку Кнопка живлення (5) to cycle through the 3 brightness levels.

Figure 6.2: Camera Specifications and Brightness Settings
6.3 Magnification Levels
The device supports 3 levels of magnification (1.0x, 1.3x, 1.5x) for detailed viewing. Use the Navigation Buttons UP/DOWN (1, 2) to adjust magnification.

Figure 6.3: Adjustable Magnification and Image Rotation
6.4 Фото- та відеозйомка
The otoscope allows you to capture images and record videos directly to the included 8GB memory card.
- Щоб зробити фотографію: Натисніть кнопку Кнопка фото / відео (4) один раз.
- To record a video: Long press the Кнопка фото / відео (4) to start recording. Long press again to stop recording.
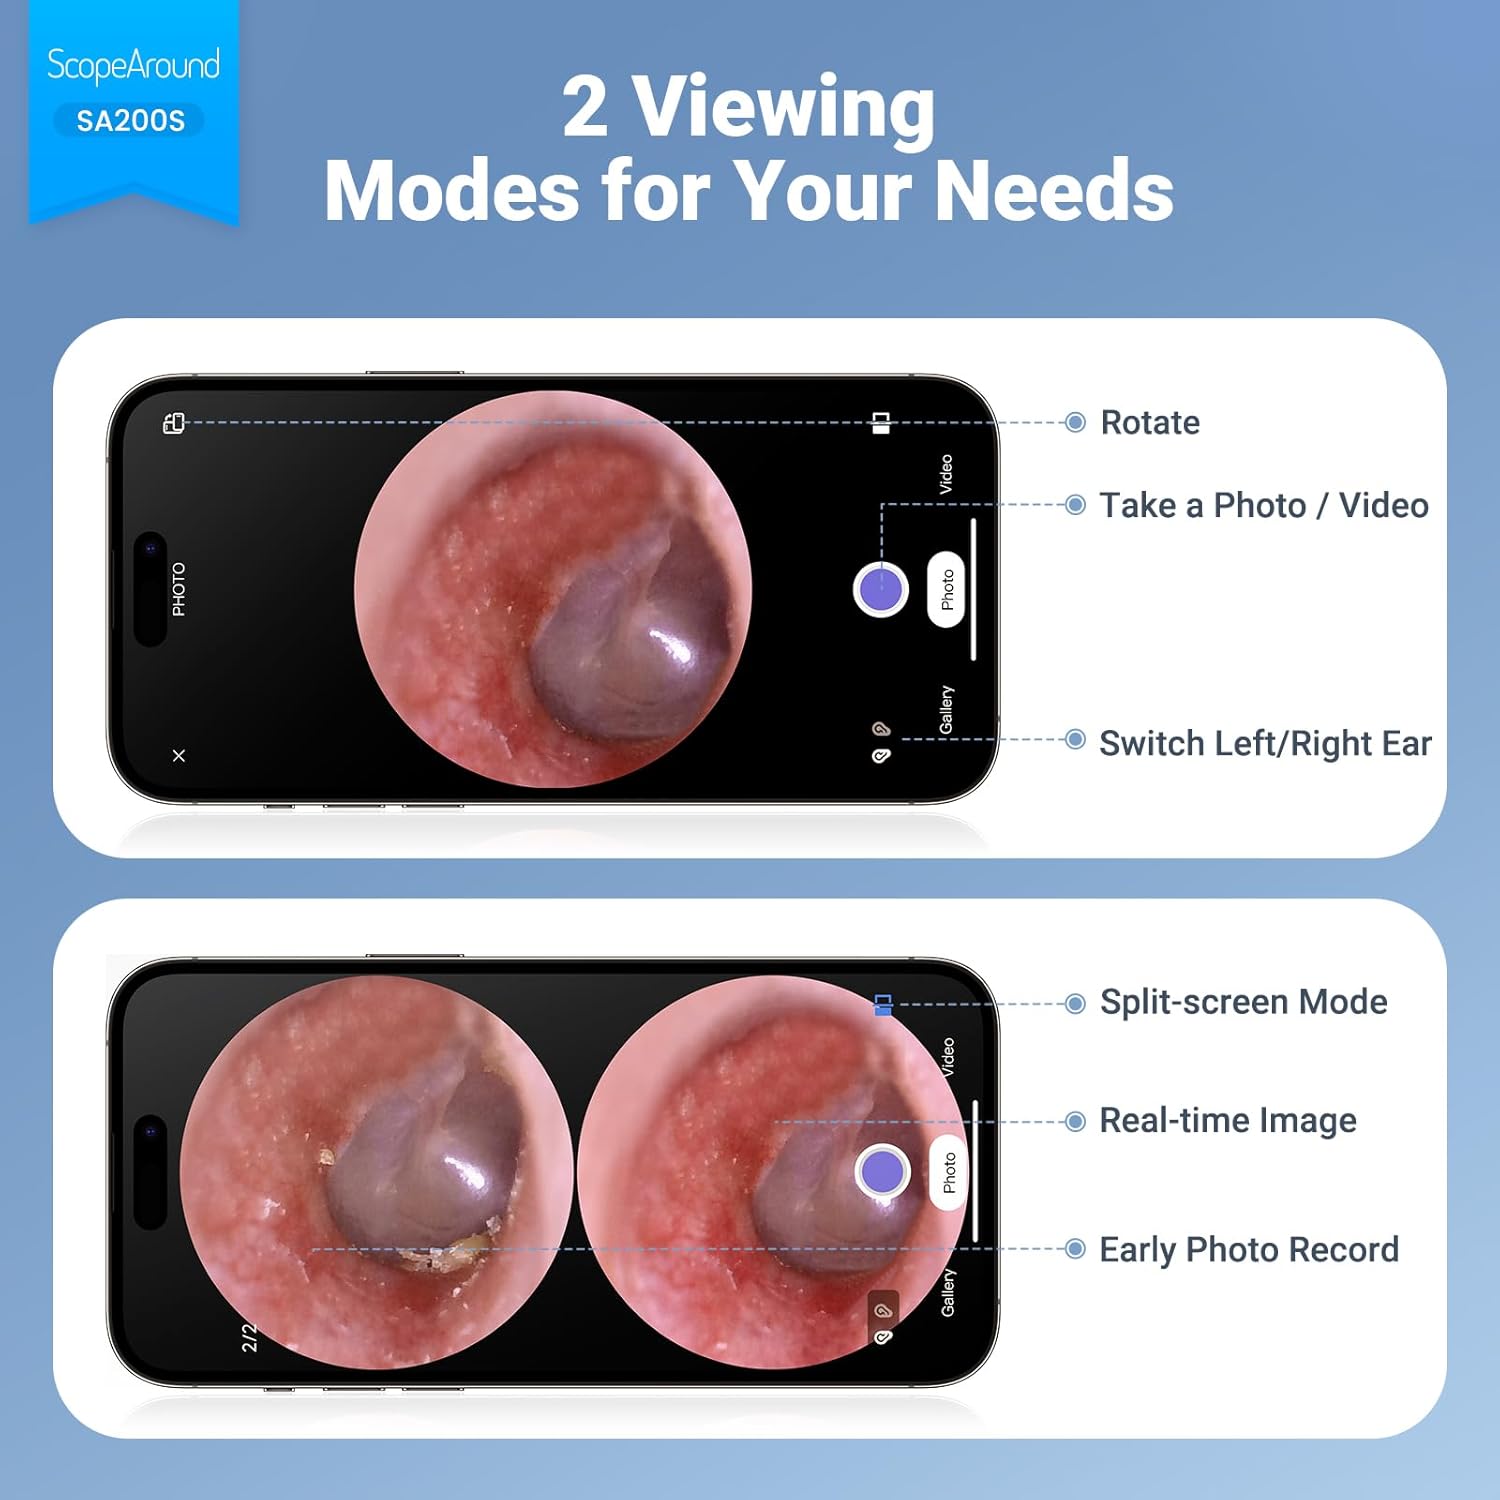
Figure 6.4: Photo and Video Capture Interface (App View)
6.5 Передача Files
To transfer captured photos and videos to a computer:
- Connect the otoscope to your computer using the provided USB Type-C cable.
- The device should appear as a removable storage device. You can then access the files on the 8GB memory card.
- Alternatively, remove the 8GB memory card from the slot (3) and insert it into a compatible card reader connected to your computer.

малюнок 6.5: File Transfer for Sharing Insights
7. Технічне обслуговування та очищення
Proper maintenance ensures the longevity and hygiene of your otoscope.
- Очищення лінзи: Use the provided Q-tips and alcohol pads to gently clean the camera lens before and after each use. Ensure no residue remains.
- Аксесуари для чищення: Wash the reusable ear picks and specula with soap and water, then sterilize them with alcohol pads. Allow them to dry completely before storage or reuse.
- Корпус пристрою: Wipe the main body of the otoscope with a soft, dry cloth. Do not immerse the device in water.
- Зберігання: Зберігайте пристрій у прохолодному, сухому місці, подалі від прямих сонячних променів та екстремальних температур.

Figure 7.1: Cleaning the Otoscope Lens
8. Вирішення проблем
| проблема | Можлива причина | Рішення |
|---|---|---|
| Пристрій не включається. | Низький заряд батареї. | Повністю зарядіть пристрій за допомогою USB-кабелю, що входить до комплекту. |
| Немає зображення на екрані. | Device not powered on; Camera lens obstructed. | Ensure device is powered on. Check and clean the camera lens. |
| Зображення розмите або нечітке. | Dirty lens; Incorrect focal distance; Magnification setting. | Clean the camera lens. Adjust the distance from the ear canal. Adjust magnification using navigation buttons. |
| Неможливо підключитися до Wi-Fi. | Incorrect Wi-Fi password; Device not in pairing mode; App issue. | Ensure the otoscope is powered on. Verify the Wi-Fi password (55556666). Restart the otoscope and your phone/tablet. Reinstall the app if necessary. |
| Не вдається зберегти фотографії/відео. | Memory card full or faulty; Memory card not inserted. | Check if the 8GB memory card is correctly inserted. Ensure there is sufficient space. Try formatting the card (if data is backed up) or using a different card. |
9. Технічні характеристики
| Особливість | Деталь |
|---|---|
| Назва моделі | SA200S |
| Розмір екрана | 1.85-дюймовий IPS LCD |
| Роздільна здатність камери | 720p HD |
| Діаметр лінзи | 3.9mm Ultra-thin Lens |
| Джерело світла | 6 LED Lights (3 brightness settings) |
| Фокусна відстань | 0.39 - 1.18 дюймів |
| Реальний кут View | 78 градусів |
| Збільшення | Up to 1.5x (1.0x, 1.3x, 1.5x) |
| Ємність акумулятора | Полімер літію 1380mAh |
| Час роботи | Приблизно 3 годин |
| Підключення | Wi-Fi (for app connection) |
| Зберігання | Карта пам'яті на 8 ГБ (в комплекті) |
| Порт зарядки | Тип-C |
| Сумісні пристрої | Android/iPhone smartphones and tablets (Not compatible with Macbook & Windows PC) |
| Вага товару | 12 унції |
| Розміри | 7.52 x 4.61 x 2.68 дюйма (упаковка) |
| матеріал | пластик |
| Колір | Білий |
10. Гарантія та підтримка
ScopeAround is committed to providing high-quality products and customer satisfaction. For any questions, technical support, or warranty inquiries, please contact our US-based after-sales support team.
Contact information can typically be found on the product packaging, the official ScopeAround webсайт або через вашу платформу для покупок.
Ask a question about this manual
Ask about setup, troubleshooting, compatibility, parts, safety, or missing instructions. Manuals+ will review the question and use this page’s manual context to help answer it.