
1. Важливі запобіжні заходи
Please read these instructions carefully before using your Salter Retro 4-Slice Toaster. Keep this manual for future reference.
- Не торкайтеся гарячих поверхонь. Завжди використовуйте ручки або ручки.
- Щоб запобігти ураженню електричним струмом, не занурюйте шнур, вилки або тостер у воду чи іншу рідину.
- Необхідний ретельний нагляд, коли будь-який прилад використовується дітьми або поблизу них.
- Від’єднуйте вилку від розетки, коли не використовуєте її та перед чищенням. Дайте охолонути, перш ніж надягати або знімати деталі.
- Не використовуйте будь-який прилад із пошкодженим шнуром чи вилкою, а також після того, як прилад вийшов з ладу чи був будь-яким чином пошкоджений.
- Не використовуйте на вулиці.
- Не дозволяйте шнуру звисати з краю столу чи прилавка та не торкатися гарячих поверхонь.
- Не ставте на гарячу газову чи електричну конфорку або поблизу неї, а також у розігріту духовку.
- Не використовуйте прилад не за призначенням.
- Не можна класти в тостер великогабаритні продукти, упаковки з металевої фольги або кухонне начиння, оскільки це може призвести до пожежі або ураження електричним струмом.
- Пожежа може виникнути, якщо під час роботи тостери накриті або торкнуться легкозаймистих матеріалів, включаючи штори, штори, стіни тощо.
- Не намагайтеся вийняти їжу, коли тостер увімкнено.
- Always unplug the toaster before cleaning the crumb tray.
2. Продукт закінчивсяview
The Salter Retro 4-Slice Toaster is designed for efficient and convenient toasting. It features four wide slots, allowing you to toast various bread types, including bagels and crumpets. With 6 browning levels and dedicated functions for defrosting, reheating, and canceling, you can achieve your desired toast consistency every time.
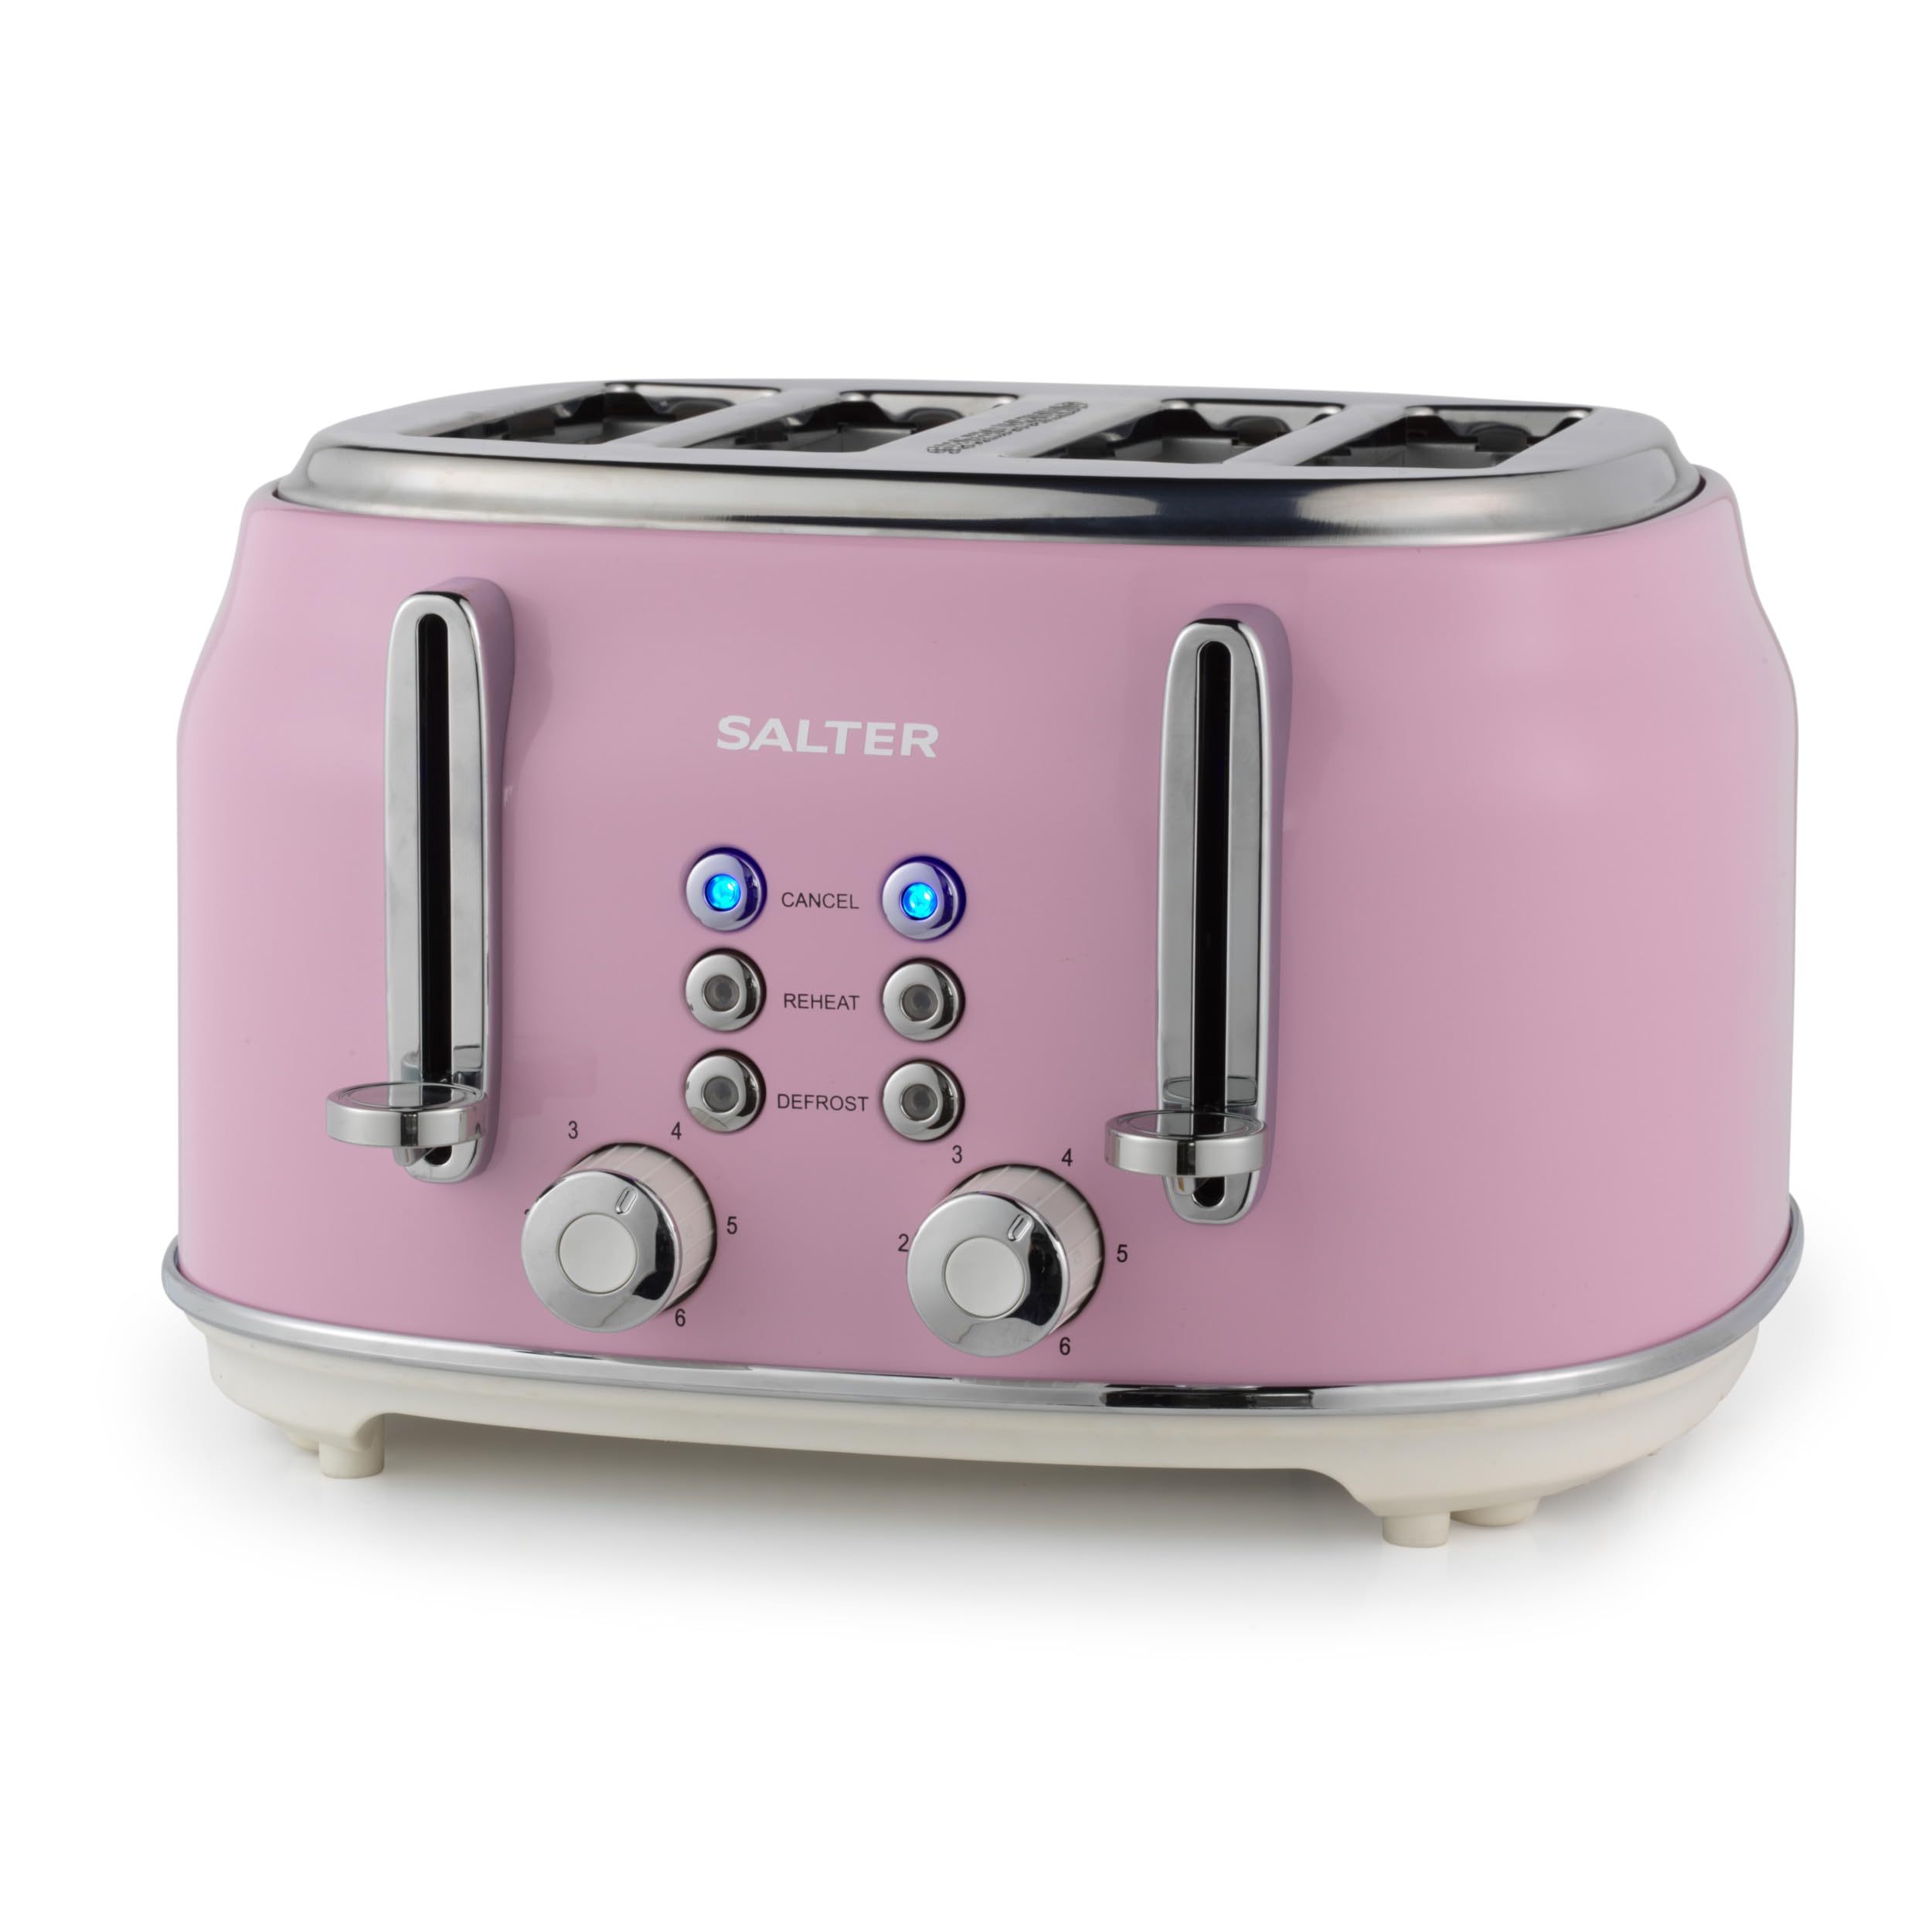
Image: The Salter Retro 4-Slice Toaster in a stylish pink finish, featuring chrome levers and control knobs, positioned on a kitchen counter.
3. Налаштування
- Розпакуйте тостер і видаліть усі пакувальні матеріали.
- Place the toaster on a stable, heat-resistant, and dry surface, away from flammable materials.
- Переконайтеся, що лоток для крихт правильно вставлений у нижню частину тостера.
- Before first use, operate the toaster without bread on the highest browning setting to burn off any manufacturing residues. This may produce a slight odor and smoke, which is normal. Ensure adequate ventilation.
4. Інструкція з експлуатації
4.1. Підсмажування хліба
- Insert up to four slices of bread into the toaster slots. The wide slots accommodate various bread types.
- Select your desired browning level using the browning control dial (1-6). Level 1 is for light toast, and Level 6 is for dark toast.
- Press down the toast lever until it locks into place. The indicator light will illuminate, and the toasting cycle will begin.
- Once the toasting cycle is complete, the toast will automatically eject, and the lever will return to its original position.

Image: Close-up of the toaster's control panel, showing the browning level dial and the 'Cancel', 'Reheat', and 'Defrost' buttons.
4.2. Спеціальні функції
The toaster includes three special functions:
- Скасувати: Press the 'CANCEL' button to stop the toasting cycle at any time. The toast will immediately eject.
- Розігріти: Use the 'REHEAT' button to warm up previously toasted bread without further browning. Insert the toast, press the lever, then press 'REHEAT'.
- Розморожування: The 'DEFROST' function allows you to toast frozen bread. Insert frozen bread, press the lever, then press 'DEFROST'. The toaster will automatically adjust the toasting time.

Image: The toaster with the 'CANCEL' button glowing blue, indicating the function is active or has been pressed.
4.3. High-Lift Ejection
The high-lift ejection feature allows you to easily retrieve smaller items like crumpets or bagels without burning your fingers. Simply lift the toast lever further up after the toasting cycle is complete.

Image: A hand demonstrating the high-lift function by pushing the toast lever upwards to raise the toast higher from the slots.
5. Технічне обслуговування та очищення
Регулярне чищення забезпечує оптимальну продуктивність і подовжує термін служби вашого тостера.
5.1. Cleaning the Crumb Tray
- Переконайтеся, що тостер відключений від мережі та повністю охолонув.
- Витягніть знімний піддон для крихт, розташований у нижній частині тостера.
- Викиньте накопичені крихти.
- Протріть лоток рекламоюamp тканиною та ретельно висушіть перед повторним встановленням.
- Ніколи не використовуйте тостер без встановленого піддону для крихт.

Image: A hand pulling out the removable crumb tray from the bottom of the toaster, showing accumulated crumbs.
5.2. Очищення зовнішньої частини
- Протріть зовнішню частину тостера м’якою тканиноюamp тканина. Не використовуйте абразивні чистячі засоби або мочалки.
- Переконайтеся, що тостер повністю висох, перш ніж знову підключати його до мережі.
6. Вирішення проблем
| проблема | Можлива причина | Рішення |
|---|---|---|
| Тостер не вмикається. | Not plugged in; power outlet faulty; toast lever not fully depressed. | Check power connection; try a different outlet; ensure toast lever is fully locked down. |
| Хліб застряг у тостері. | Bread slice too thick or uneven. | Unplug the toaster and carefully remove the bread using non-metallic tongs. Do not use metal objects. |
| Тост занадто світлий/темний. | Неправильне налаштування рівня підрум'янення. | Adjust the browning control dial to a higher or lower setting for future use. |
| Дим йде з тостера. | Crumbs accumulated; food stuck; first use burn-off. | Unplug immediately. Clean crumb tray. Remove any stuck food. If first use, ensure ventilation. |
7. Технічні характеристики
- Номер моделі: EK5739PNKVDE
- Бренд: Солтер
- колір: Роза
- матеріал: Алюміній
- Потужність: 1630 Вт
- Кількість скибочок: 4
- Налаштування браунінгу: 6
- Особливості: Wide Slots, Defrost, Reheat, Cancel Functions, Removable Crumb Tray, High-Lift Ejection, Auto-Centering
- вага: 3 кілограма
8. Гарантія та підтримка
Your Salter Retro 4-Slice Toaster comes with a standard manufacturer's warranty. For detailed warranty information, product support, or to inquire about replacement parts, please refer to the warranty card included in your product packaging or visit the official Salter website. Do not attempt to repair the appliance yourself, as this may void the warranty and pose a safety risk.