
1. Вступ
This manual provides detailed instructions for the safe installation, operation, and maintenance of your TWIG Farmhouse Chandelier 6-Light fixture. Designed for dining rooms and kitchen islands, this fixture combines vintage solid wood, matte black metal, and clear cylinder glass shades to create a warm and elegant lighting atmosphere. Please read this manual thoroughly before beginning installation or use.
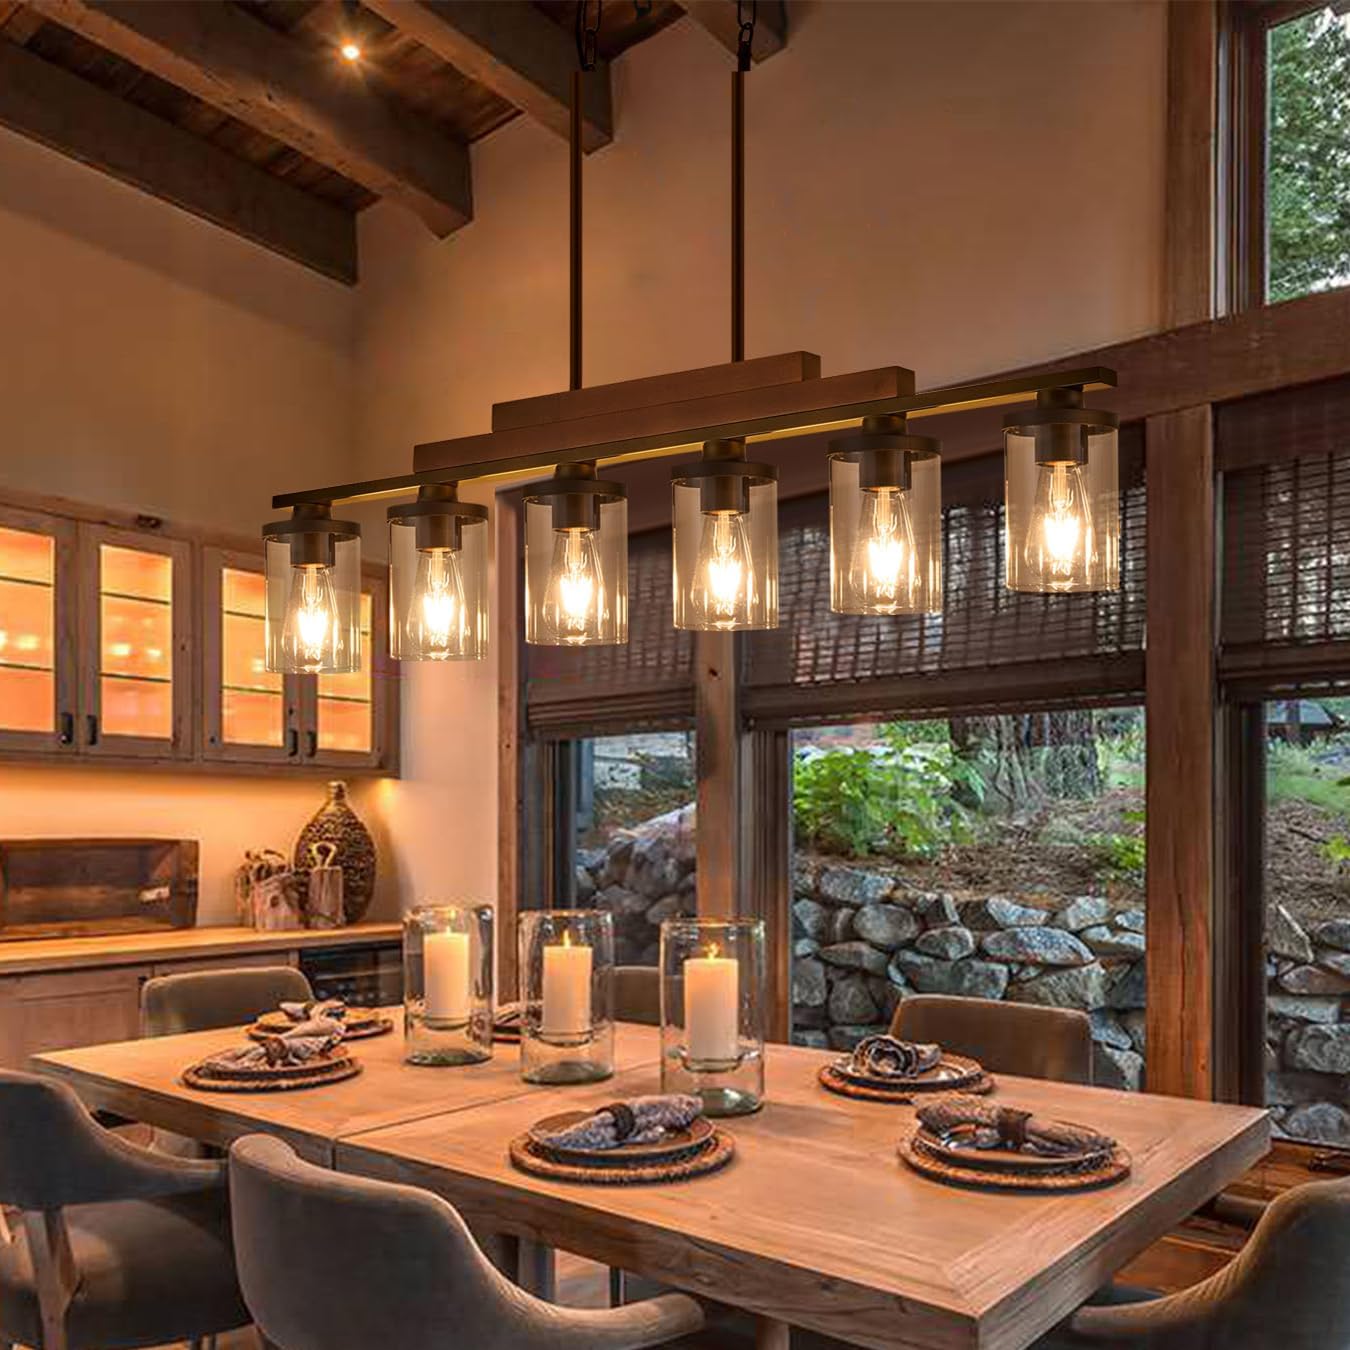
Image 1.1: The TWIG Farmhouse Chandelier 6-Light fixture installed above a dining table, showcasing its rustic design with wood accents and clear glass shades.
2. Інформація про безпеку
- УВАГА: Ризик ураження електричним струмом. Від’єднайте живлення за допомогою автоматичного вимикача або запобіжника перед встановленням або обслуговуванням.
- Усі електричні з’єднання мають відповідати місцевим нормам, постановам або Національному електричному кодексу (NEC). Зверніться до кваліфікованого електрика, якщо ви не знайомі з правильним встановленням електропроводки.
- Не перевищуйте рекомендовану ватtage for bulbs (E26 base, maximum 60W, 40W recommended).
- Обережно поводьтеся зі скляними компонентами, щоб уникнути їх розбиття.
- Переконайтеся, що світильник надійно закріплений на несучому елементі стелі.
- Тримайте легкозаймисті матеріали подалі від лампочок.
- The product is handmade and may have a slight odor upon unboxing due to environmental protective coatings. It is recommended to ventilate the product in an open area for a period before installation.
3. Вміст упаковки
Carefully unpack all components and inspect for any damage. Retain all packaging materials until you are satisfied with the product. The fixture is 95% pre-assembled for ease of installation.
- Chandelier main body (pre-assembled with wood beam, metal frame, and glass shades)
- Adjustable suspension rods (various lengths)
- Ceiling canopy with mounting hardware
- З'єднувачі проводів
- Інструкція з експлуатації
- Примітка: Лампочки не входять до комплекту.
4. Технічні характеристики
| Бренд | ГІЛОЧКА |
| Номер моделі | 2024072304 |
| Dimensions (L x W x Max H) | 42 см (Д) x 5 см (Ш) x 46 см (В) |
| Регульований діапазон висоти | Minimum 23", Maximum 45.7" (as per diagram) |
| матеріал | Скло, Метал, Дерево |
| Колір | Matte Black (Metal), Clear (Glass), Wood (Antique Painted) |
| Кількість вогнів | 6 |
| Основа лампи | E26 |
| Макс Ватtage на цибулину | 60W (40W recommended) |
| томtage | 120 вольт |
| Тип установки | Монтаж напіврівень |
| Використання в приміщенні/зовні | закритий |

Image 4.1: Detailed dimensions of the chandelier and its adjustable suspension rods, indicating a maximum height of 45.7 inches and a minimum of 23 inches.
5. Налаштування та встановлення
The fixture is 95% assembled. Only a simple assembly and electrical installation are required.
- Крок 1: Підготовка до встановлення
- Вимкніть живлення через автоматичний вимикач або блок запобіжників.
- Переконайтеся, що монтажна поверхня є структурно міцною, щоб витримати вагу приладу.
- Крок 2: Прикріпіть монтажний кронштейн
- Secure the mounting bracket to the junction box in the ceiling using the provided screws.
- Step 3: Adjust Suspension Rods
- Determine the desired hanging height. The fixture's height can be adjusted from 23 inches to 45.7 inches using the provided rods.
- Attach the appropriate length of suspension rods to the chandelier body and the ceiling canopy.
- Крок 4: Електричне підключення
- Connect the fixture's wires to the house wiring:
- Підключіть чорний дріт (фазний) від світильника до чорного дроту від розподільної коробки.
- Підключіть білий провід (нульовий) від світильника до білого проводу від розподільної коробки.
- Connect the ground wire from the fixture to the ground wire from the junction box (or to the green ground screw on the mounting bracket).
- Secure connections with wire connectors.
- Connect the fixture's wires to the house wiring:
- Крок 5: Встановлення приладу
- Carefully lift the chandelier and attach the ceiling canopy to the mounting bracket, securing it with the decorative nuts.
- Крок 6: Встановіть лампочки
- Screw E26 base bulbs (not included) into each socket. Do not exceed 60W per bulb; 40W is recommended.

Image 5.1: Installation diagram for the TWIG Farmhouse Chandelier, detailing steps from preparing the electrical box to mounting the fixture.
6. Інструкція з експлуатації
Once installed and bulbs are in place, restore power at the circuit breaker. The chandelier operates via a standard wall switch (toggle switch type). If connected to a dimmer switch, ensure the bulbs are compatible with dimming functionality.
- Тип лампочки: Supports any E26 screw bulbs. Filament, LED, incandescent, and halogen bulbs are compatible.
- Рекомендовано Wattage: 40W per bulb for optimal performance and longevity. Maximum 60W.
7. Технічне обслуговування
- Прибирання: Disconnect power before cleaning. Use a soft, dry cloth to wipe the metal and wood components. For glass shades, a slightly damp cloth can be used, followed by a dry cloth to prevent water spots. Do not use abrasive cleaners or solvents.
- Заміна лампи: Ensure power is off before replacing bulbs. Allow bulbs to cool completely before handling. Screw in new E26 base bulbs, ensuring they do not exceed 60W.
- Заміна шторки: In case of damage, replacement glass shades (3.94" diameter, 5.51" height) can be purchased separately.
8. Вирішення проблем
| проблема | Можлива причина | Рішення |
|---|---|---|
| Світло не вмикається. |
|
|
| Мерехтливі вогні. |
|
|
| Fixture smells after installation. |
|
|
9. Підтримка клієнтів
For any questions, concerns, or assistance with your TWIG Farmhouse Chandelier, please contact our customer support team. We are committed to providing timely responses and solutions.
- Контакти: Please refer to the contact information provided with your purchase or visit the official TWIG webсайт.
- Час відгуку: Ми прагнемо відповісти на всі запити протягом 24 годин.