
вступ
This manual provides detailed instructions for the assembly, operation, and maintenance of your Andonstar AD249S-Max 10.1-inch HDMI Digital Microscope. Designed for precision tasks such as electronics repair, soldering, and detailed observation of various specimens, this device offers high-resolution imaging and a versatile working environment. Please read this manual thoroughly before using the product to ensure proper function and longevity.
Що в коробці
Обережно розпакуйте всі компоненти та перевірте наявність усіх перелічених нижче елементів. Якщо будь-які елементи відсутні або пошкоджені, зверніться до служби підтримки клієнтів.
- 10.1'' Microscope Monitor with Lens A (pre-installed)
- Lens L (for soldering and repairing)
- Lens D (for biological slides)
- Column and Metal Base
- Beam for stand assembly
- Тримач інструменту
- Soldering Helping Hands with rotatable clamps
- Soldering Mat
- Bottom Light Stage
- Slides Kit
- Observation Box
- Пінцет
- Пульт дистанційного керування
- Карта Micro SD на 32 ГБ
- Адаптер живлення
- Кабель перемикача
- USB кабель
- Кабель HDMI
- Посібник користувача

Image: All components included with the Andonstar AD249S-Max digital microscope, laid out for inspection.
Особливості продукту
Versatile 3-Lens System
- Lens L (60-240x): Optimized for soldering and repair work, providing a suitable working distance.
- Lens A (18-720x): Ideal for observing larger objects such as coins, plants, and stones.
- Lens D (1560-2040x): Designed for high-magnification viewing of biological slides.
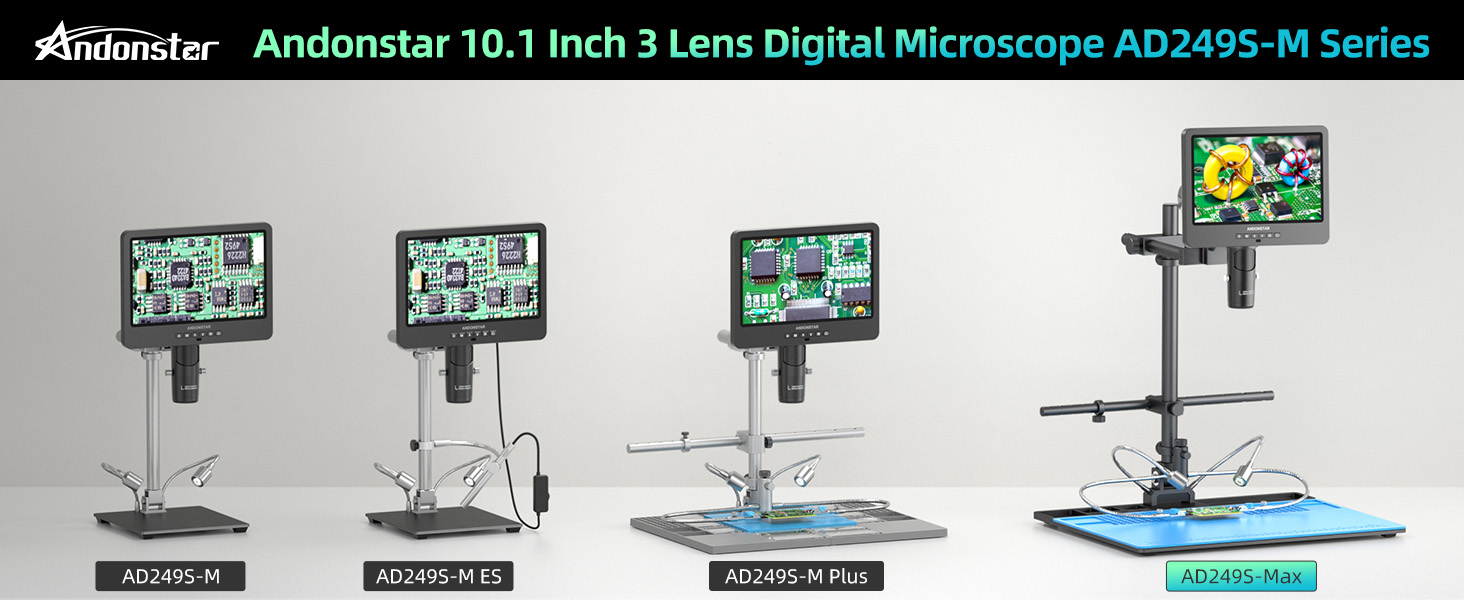
Image: An illustration of the three distinct lenses (L, A, D) and their recommended uses for various observation tasks.

Image: Visual comparison of 30x magnification (showing a coin) and 2000x magnification (showing a biological slide) as displayed on the microscope screen.
UHD 2160P Display and Output
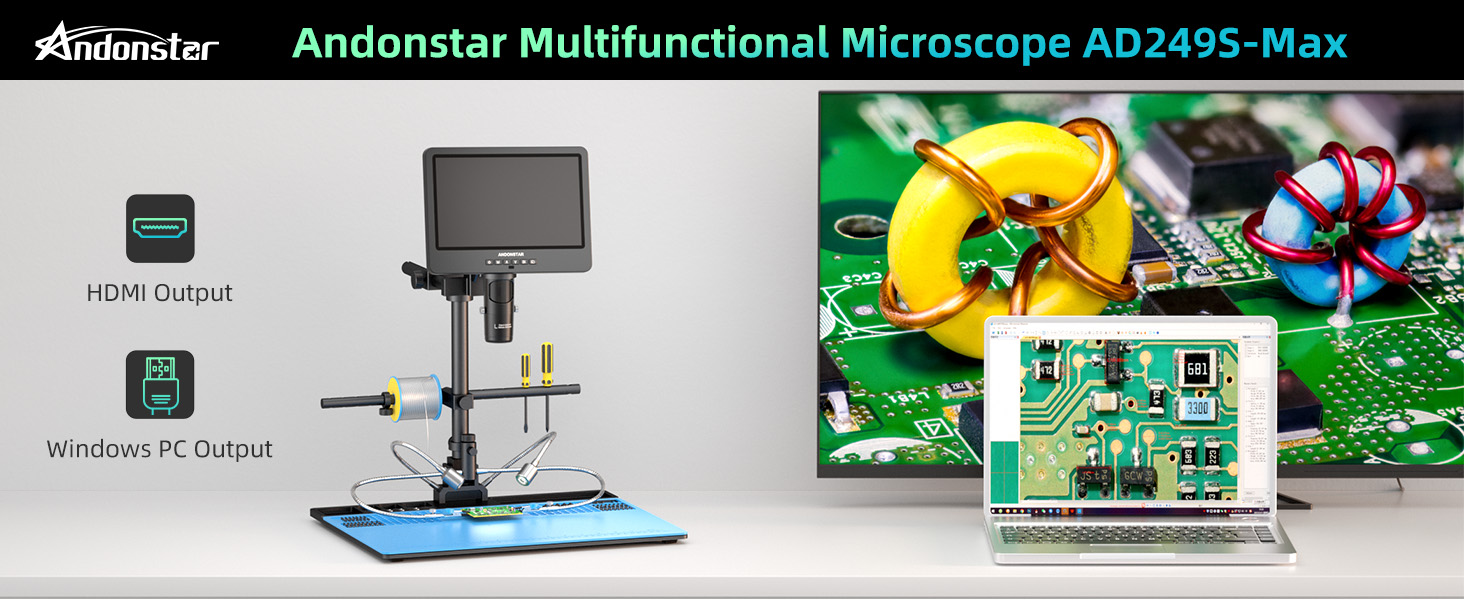
The microscope features a 10.1-inch LCD display for direct viewing. It supports ultra-high-definition 2160P video recording and offers HDMI output for seamless viewing on larger external screens, as well as USB output for PC connection.

Image: The microscope demonstrating its HDMI output to a large monitor and USB output to a laptop for PC software use.
Super Max Soldering Station
The AD249S-Max includes an upgraded oversized Max station, providing a significantly larger working area (370% increase compared to previous models). This station is equipped with a tool holder and flexible soldering helping hands with rotatable clamps, enhancing efficiency for professional soldering and repair tasks.
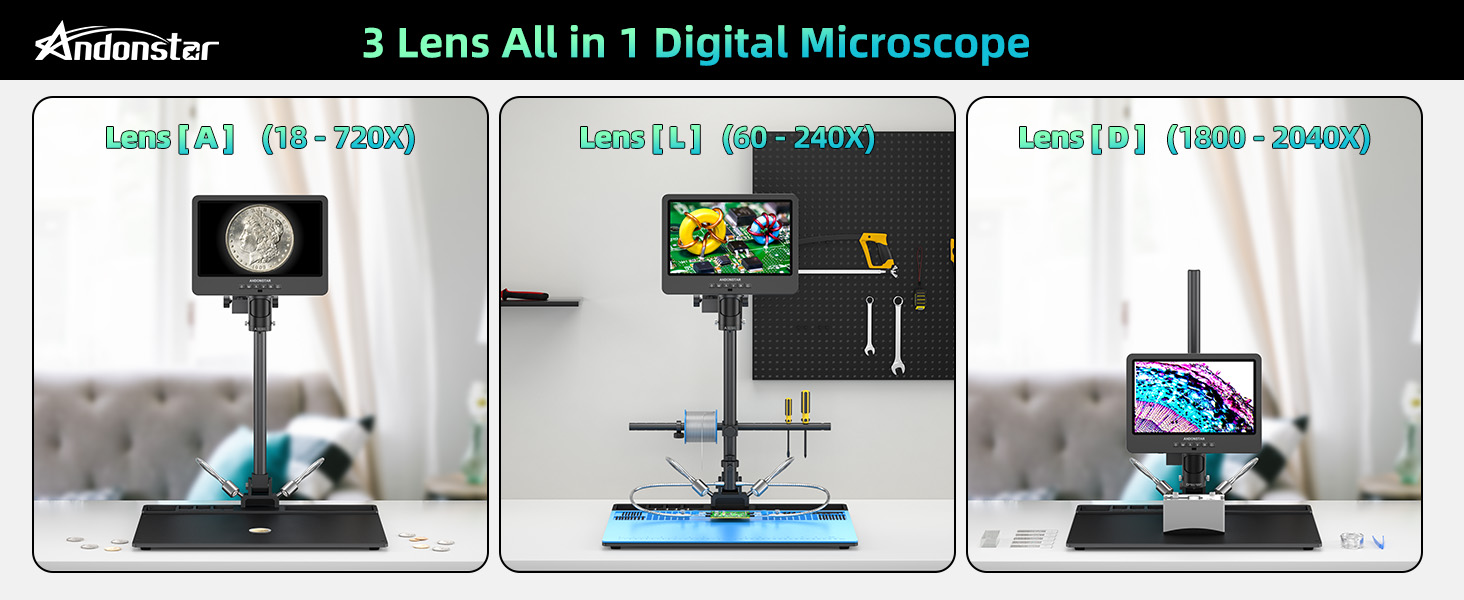
Image: A visual comparison illustrating the larger metal base area of the AD249S-Max soldering station compared to the standard AD249S-M.
Зображення: Детальне view of the integrated tool holder for easy access to tools and the flexible soldering helping hands with 360-degree rotatable clamps.
Регульовані світлодіодні ліхтарі
Eight intensity levels of LED lighting are available to meet various image brightness requirements, ensuring optimal illumination for your observations.
Фото- та відеозапис
Capture and store images and videos of your micro-world observations directly onto the provided 32GB Micro SD card.
Налаштування
Збірка
- Attach the column to the metal base using the provided screws.
- Mount the microscope monitor assembly onto the column.
- Install the beam, tool holder, and soldering helping hands onto the column as desired for your workspace.
- Select the appropriate lens (L, A, or D) and screw it onto the microscope camera.
- Place the soldering mat onto the metal base.

Зображення: Оверview of the assembled microscope, highlighting its dimensions and the placement of components like the tool holder and soldering helping hands.
Adjusting the Boom Arm Stand
The innovative Max boom arm stand allows for 360-degree rotation and flexible adjustments in height and horizontal position. Use the bracket knob and thumb screws to secure the desired position for optimal viewing and working distance.

Image: Visual guide demonstrating the flexibility of the boom arm stand, including height, horizontal, and rotational adjustments.
Підключення живлення
Connect the power adapter to the microscope and plug it into a suitable power outlet. Use the switch cable to power the device on or off.
Інструкція з експлуатації
Основна операція
- Увімкнення/вимкнення живлення: Press the power button (1) on the monitor to turn the device on or off.
- Навігація по меню: Use the Mode/Menu button (2) to access settings and navigate through options.
- Фокусування: Rotate the focusing wheel on the microscope body to achieve a clear image.
- Відстань до об'єкта: Rotate the bracket knob to adjust the distance between the lens and the object.
- Цифрове збільшення: Use the Up/Down buttons (3, 4) to apply digital zoom to the image.
- Регулювання світлодіодних ламп: Use the controls on the switch cable or remote to adjust the intensity of the LED lights.

Зображення: Спереду та ззаду views of the microscope monitor, detailing the function of each button and port, including power, menu, zoom, SD card slot, USB, and HDMI.
Lens Exchange
To change lenses, carefully unscrew the currently installed lens from the microscope camera. Select the desired lens (L, A, or D) and screw it firmly into place. Ensure the lens is securely attached before operation.
Зйомка фотографій і відео
Insert the provided 32GB Micro SD card into the SD card slot (10). Use the 'Take pictures' button (6) for still images or the 'OK/Start recording' button (5) to begin and end video recording. Captured media will be saved to the SD card.
Функції дистанційного керування
The remote control allows for convenient operation from a distance. Functions include image discoloration, digital zoom, and other menu navigations. Point the remote towards the remote signal receiver (7) on the monitor.
PC Connection and Measurement Software
To connect the microscope to a Windows PC and utilize the professional measurement software:
- Download and install the 'Microscope Measure' software from the official Andonstar website according to the provided instructions.
- Connect the microscope to your computer using the separate USB cable (not the one with the dimmer).
- On the microscope screen, when the mode box pops up, press the 'Down' and 'OK' buttons to select 'PC Camera'.
- Open the 'Microscope Measure' software on your PC, select 'Device', and then choose 'USB Camera' to display the image and access measurement, photo, and video capture functions.

Image: Step-by-step instructions for connecting the microscope to a Windows PC and using the 'Microscope Measure' software.
Вихід HDMI
Connect the provided HDMI cable from the microscope's HDMI port (12) to an HDMI input on a larger monitor or TV for an expanded view ваших спостережень.
Технічне обслуговування
- Keep the lenses clean using a soft, lint-free cloth specifically designed for optical surfaces. Avoid abrasive materials.
- Регулярно очищайте екран монітора м’якою сухою тканиною.
- Зберігайте мікроскоп у сухому, безпиловому середовищі, коли він не використовується.
- Переконайтеся, що всі з'єднання надійно закріплені, але не перетягуйте гвинти.
Усунення несправностей
- Немає живлення: Check if the power adapter is securely connected and the switch cable is turned on. Ensure the power outlet is functional.
- Немає зображення на екрані: Verify that the lens is correctly installed and the microscope is powered on. Adjust focus and object distance.
- Розмите зображення: Rotate the focusing wheel and adjust the bracket knob to find the optimal focus and working distance for the selected lens. Ensure the lens is clean.
- Проблеми з підключенням програмного забезпечення ПК: Ensure you are using the correct USB cable (not the dimmer cable). Confirm 'PC Camera' mode is selected on the microscope. If installation issues arise, check your PC's security settings or firewall, as some systems may block executable fileз невідомих джерел.
- Пульт дистанційного керування не відповідає: Check the battery in the remote control. Ensure there are no obstructions between the remote and the microscope's IR receiver.
Технічні характеристики
| Особливість | Деталь |
|---|---|
| Назва моделі | AD249S-Max |
| Розмір дисплея | 10.1 дюймів |
| Роздільна здатність відео | 2160P UHD |
| Magnification (on 28-inch HDMI monitor) | Lens A: 18-720x, Lens D: 1800-2040x, Lens L: 60-240x |
| Параметри виведення | HDMI, USB (PC) |
| Тип джерела світла | LED (8 intensity levels) |
| Зберігання | Карта Micro SD (до 32 ГБ у комплекті) |
| Розміри продукту | 18.1 см (Д) x 14.6 см (Ш) x 18.7 см (В) |
| Вага товару | 1.13 ounces (microscope unit) |
| матеріал | Metal stand, various components |
Гарантія та підтримка
Andonstar provides professional after-sales service. For any inquiries, technical assistance, or support needs, please contact our customer service team. While specific warranty details are not provided in this manual, please refer to your purchase documentation or the official Andonstar webінформацію про гарантію.