1. Вступ
The Walfront MPPT Solar Charge Controller is designed to efficiently manage power flow from your solar panels to your battery bank, optimizing charging performance for off-grid solar systems. This manual provides essential information for the safe and effective installation, operation, and maintenance of your 50A MPPT solar charge controller.

Image 1.1: Walfront MPPT Solar Charge Controller 50A. This image shows the front view of the orange and black controller, featuring an LCD screen displaying PV, Battery, and Load information, along with 'ESC' and 'SET' buttons.
2. Ключові характеристики
- High Efficiency MPPT Tracking: Features MPPT tracking efficiency greater than 99% and a maximum conversion efficiency of up to 98%, maximizing energy harvest from solar panels.
- Wide 180V PV Input and Auto Voltage Визнання: Supports a maximum solar input voltage of 180V (at 25℃) and automatically recognizes 12V, 24V, 36V, and 48V battery systems. Compatible with battery voltagвід 9В до 64В.
- Clear LCD Display and Smart Protection: Built-in LCD provides real-time system data (voltage, current, operating status). Includes temperature compensation and multiple protection features for safe operation.
- Low No-Load Loss and Reliable Performance: No-load loss of ≤0.4W conserves energy. Designed for reliable operation in temperatures from -10℃ to 65℃ and altitudes up to 3000 meters.
- Простота встановлення та використання: Auto-recognition feature simplifies setup. Compact design allows for straightforward mounting.

Image 2.1: Automatic Voltage Identification. This image highlights the controller's ability to automatically identify 12V, 24V, 36V, and 48V systems, shown with various solar panel application exampлес.
3. Інформація про безпеку
Please read all instructions carefully before installation and operation. Failure to follow these safety guidelines may result in personal injury, damage to the controller, or other equipment.
- Ensure all wiring is correctly polarized and securely connected. Loose connections can cause overheating and damage.
- Завжди спочатку підключайте акумулятор, потім сонячну панель і, нарешті, навантаження. Від’єднуйте у зворотному порядку.
- Do not connect the solar panel array to the controller without a battery connected.
- Переконайтеся, що система voltage of the solar panel and battery are compatible with the controller's specifications.
- Встановіть контролер у добре провітрюваному приміщенні, подалі від легкозаймистих матеріалів та прямих сонячних променів.
- Avoid touching live terminals. Use insulated tools during installation.
- This device is not waterproof. Protect it from moisture and water exposure.
4. Вміст упаковки
Перевірте, чи всі перелічені нижче предмети входять до вашої упаковки:
- 1 x Walfront MPPT Solar Charge Controller (50A)
- 4 х гвинти
- 4 х розпірних гвинтів
- 1 x Посібник користувача (цей документ)
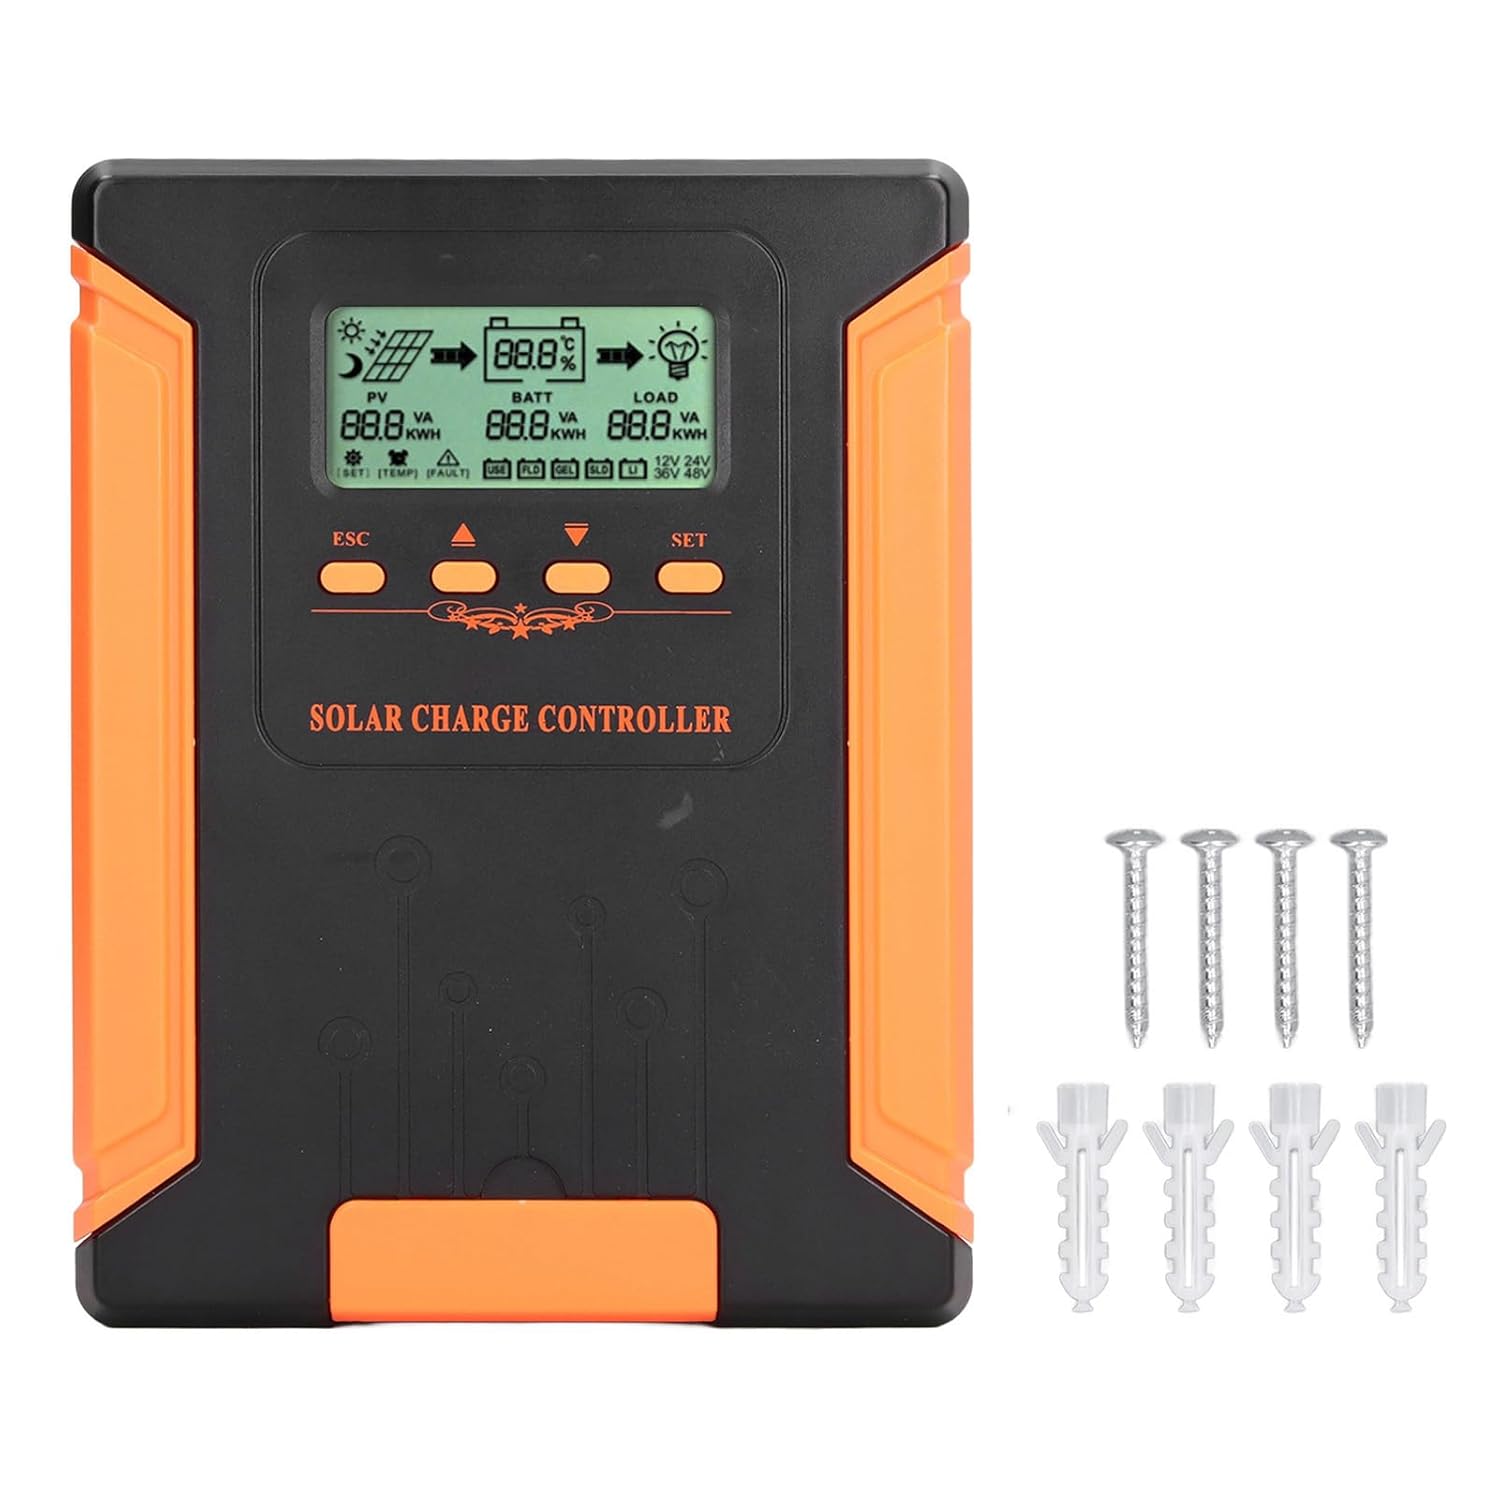
Image 4.1: Package Contents. This image displays the solar charge controller alongside the mounting screws and expansion screws provided in the package.
5. Налаштування та встановлення
Follow these steps for proper installation of your solar charge controller.
5.1 Встановлення контролера
- Виберіть сухе, добре провітрюване місце, захищене від прямих сонячних променів, високих температур та вологи.
- Ensure there is sufficient space around the controller for heat dissipation, especially around the cooling fins.
- Mount the controller vertically on a solid surface using the provided screws.
5.2 Підключення проводів
Refer to the wiring diagrams below for correct connection sequence. Always connect in the following order:
- Підключіть батарею: Підключіть акумулятор до клем контролера. Переконайтеся в правильній полярності (+ до + та - до -). Контролер автоматично визначить рівень заряду акумулятора.tage.
- Підключіть сонячну панель: Connect the solar panel array to the controller's PV terminals. Ensure correct polarity.
- Підключення навантаження постійного струму (необов'язково): Підключіть навантаження постійного струму до клем навантаження контролера. Переконайтеся в правильній полярності.
To disconnect the system, follow the reverse order: disconnect load, then solar panel, then battery.

Image 5.1: Basic System Connection Diagram. This diagram illustrates the connection order: 1. Battery Assembly, 2. Solar Panel Assembly, 3. DC Load. It also shows an AC Load and Inverter connected to the Battery Assembly.

Image 5.2: Detailed System Wiring Diagram. This diagram provides a more comprehensive view of a solar power system, including solar panels, battery, inverter (AC Output/Input), and various AC loads like laptops, lights, air conditioners, televisions, and fans.
6. Інструкція з експлуатації
The controller features an LCD display and control buttons for monitoring and configuration.
РК-дисплей 6.1
The LCD screen provides real-time information about your solar system, including:
- PV (Photovoltaic) Status: Вхідний обtage, current, and power from solar panels.
- BATT (Battery) Status: Акумулятор обtage, charging current, and state of charge.
- LOAD Status: Output current and power to the DC load.
- System Voltage: Automatically detected battery system voltagе (12 В/24 В/36 В/48 В).
- Індикатори помилок: Displays fault codes or warnings if issues occur.
6.2 Кнопки керування
The controller has three buttons: ESC, Up/Down arrows, and SET.
- Кнопка ESC: Використовується для виходу з поточного меню або скасування операції.
- Кнопки вгору/вниз: Used to navigate through menu options or adjust parameter values.
- Кнопка SET: Used to enter a menu, confirm a selection, or save changes to parameters.

Image 6.1: Control Buttons. This close-up image shows the 'ESC', 'Up arrow', 'Down arrow', and 'SET' buttons on the controller's front panel.
7. Технічне обслуговування
Регулярне технічне обслуговування забезпечує оптимальну продуктивність та довговічність вашого контролера сонячного заряду.
- Прибирання: Periodically clean the controller's exterior with a dry cloth. Ensure the cooling fins are free from dust and debris to maintain proper heat dissipation.
- Підключення: Check all wiring connections regularly to ensure they are tight and free from corrosion.
- Огляд: Inspect the controller for any signs of physical damage, overheating, or unusual odors.
- Середовище: Ensure the installation environment remains dry and well-ventilated.

Image 7.1: Cooling Fins. This close-up shows the cooling fins on the top of the controller, which are crucial for heat dissipation and require regular cleaning.
8. Вирішення проблем
Якщо у вас виникли проблеми з контролером, зверніться до наступних поширених проблем та способів їх вирішення:
| проблема | Можлива причина | Рішення |
|---|---|---|
| Дисплей контролера вимкнений | Акумулятор не підключено або заряд батареї низькийtage занадто низький. | Ensure battery is connected correctly and has sufficient charge (above 9V). |
| Немає зарядного струму від фотоелектричного обладнання | Solar panels not connected, insufficient sunlight, or PV polarity reversed. | Перевірте підключення фотоелектричних систем та полярність. Забезпечте достатнє сонячне освітлення. Перевірте об'єм фотоелектричних систем.tage знаходиться в межах діапазону. |
| Навантаження не працює | Load disconnected, load current too high, or load polarity reversed. | Check load connections and polarity. Ensure load current does not exceed controller's rating. |
| Акумулятор заряджений не повністю | Insufficient solar input, undersized solar array, or battery issues. | Increase solar panel capacity or check for shading. Inspect battery health. |
9. Технічні характеристики
Below are the technical specifications for the Walfront MPPT Solar Charge Controller 50A.
| Параметр | Специфікація |
|---|---|
| System Voltage | 12 В / 24 В / 36 В / 48 В Автоматичний режим |
| Номінальний зарядний струм | 50А |
| No Load Loss | ≤0.4 Вт |
| Solar Maximum Input Voltage | 180V (at 25℃), 150V (at -25℃) |
| Акумулятор Voltage Дальність | 9-64В |
| Максимальний обсяг Power Pointtage Дальність | Акумулятор Voltage від +2 до 150 В |
| Ефективність перетворення | ≤98% |
| Ефективність відстеження MPPT | >99% |
| Коефіцієнт температурної компенсації | -2mv/℃/2V (default value) |
| Робоча температура | -10℃ до 65℃ |
| Рівень захисту | IP21 |
| Висота | ≤3000 Meter / 9842.5ft |

Image 9.1: Model Comparison Table. This table provides a comparison of rated charging current and solar panel maximum input power for CM-50 (50A) and CM-60 (60A) models across different system voltagес.
10. Гарантія та підтримка
Щоб отримати інформацію про гарантію та технічну підтримку, зверніться до документації, наданої під час покупки, або зверніться до продавця. Зберігайте чек про покупку як підтвердження покупки.