
1. Вступ
Thank you for choosing the Diydeg 30A MPPT Solar Controller and 50W Solar Panel Kit. This kit is designed to provide efficient solar charging for 12V and 24V battery systems in various applications such as RVs, marine vessels, trailers, and camping setups. This manual provides essential information for the safe and effective installation, operation, and maintenance of your solar kit.
2. Інформація про безпеку
Будь ласка, уважно прочитайте всі інструкції з техніки безпеки перед встановленням та експлуатацією. Недотримання цих інструкцій може призвести до ураження електричним струмом, пожежі або серйозних травм.
- Переконайтеся, що всі з'єднання надійно закріплені та належним чином ізольовані, щоб запобігти коротким замиканням.
- Do not attempt to disassemble or repair the solar panel or controller. Contact qualified personnel for service.
- Під час встановлення використовуйте відповідні засоби індивідуального захисту (ЗІЗ), такі як рукавички та засоби захисту очей.
- Avoid touching exposed wires or terminals when the system is connected to a power source.
- Встановіть сонячну панель у місці з достатньою вентиляцією та подалі від легкозаймистих матеріалів.
- The solar controller is designed for 12V/24V lead-acid batteries (Flooded, GEL, Deep Cycle). Do not use with other battery types unless specified.
3. Вміст упаковки
Перевірте, чи всі перелічені нижче предмети входять до вашої упаковки:
- 1 x 50 Вт сонячна панель
- 1 x 30A MPPT Solar Charge Controller
- 1 x Connecting Wire (DC output cable for solar panel)
- 4 х присоски
- 1 x User Specification (this manual)
- 1 x Car Charging Cable (cigarette lighter adapter)
- 1 x Output Clip (alligator clips for battery connection)

Image: Complete contents of the Diydeg 50W Solar Panel Kit, including the solar panel, controller, cables, and suction cups.
4. Налаштування та встановлення
4.1 Розміщення сонячних панелей
Position the 50W solar panel in a location that receives maximum direct sunlight throughout the day. Avoid shaded areas. The panel is designed to be portable and can be mounted using the included suction cups or other suitable mounting hardware (not included).
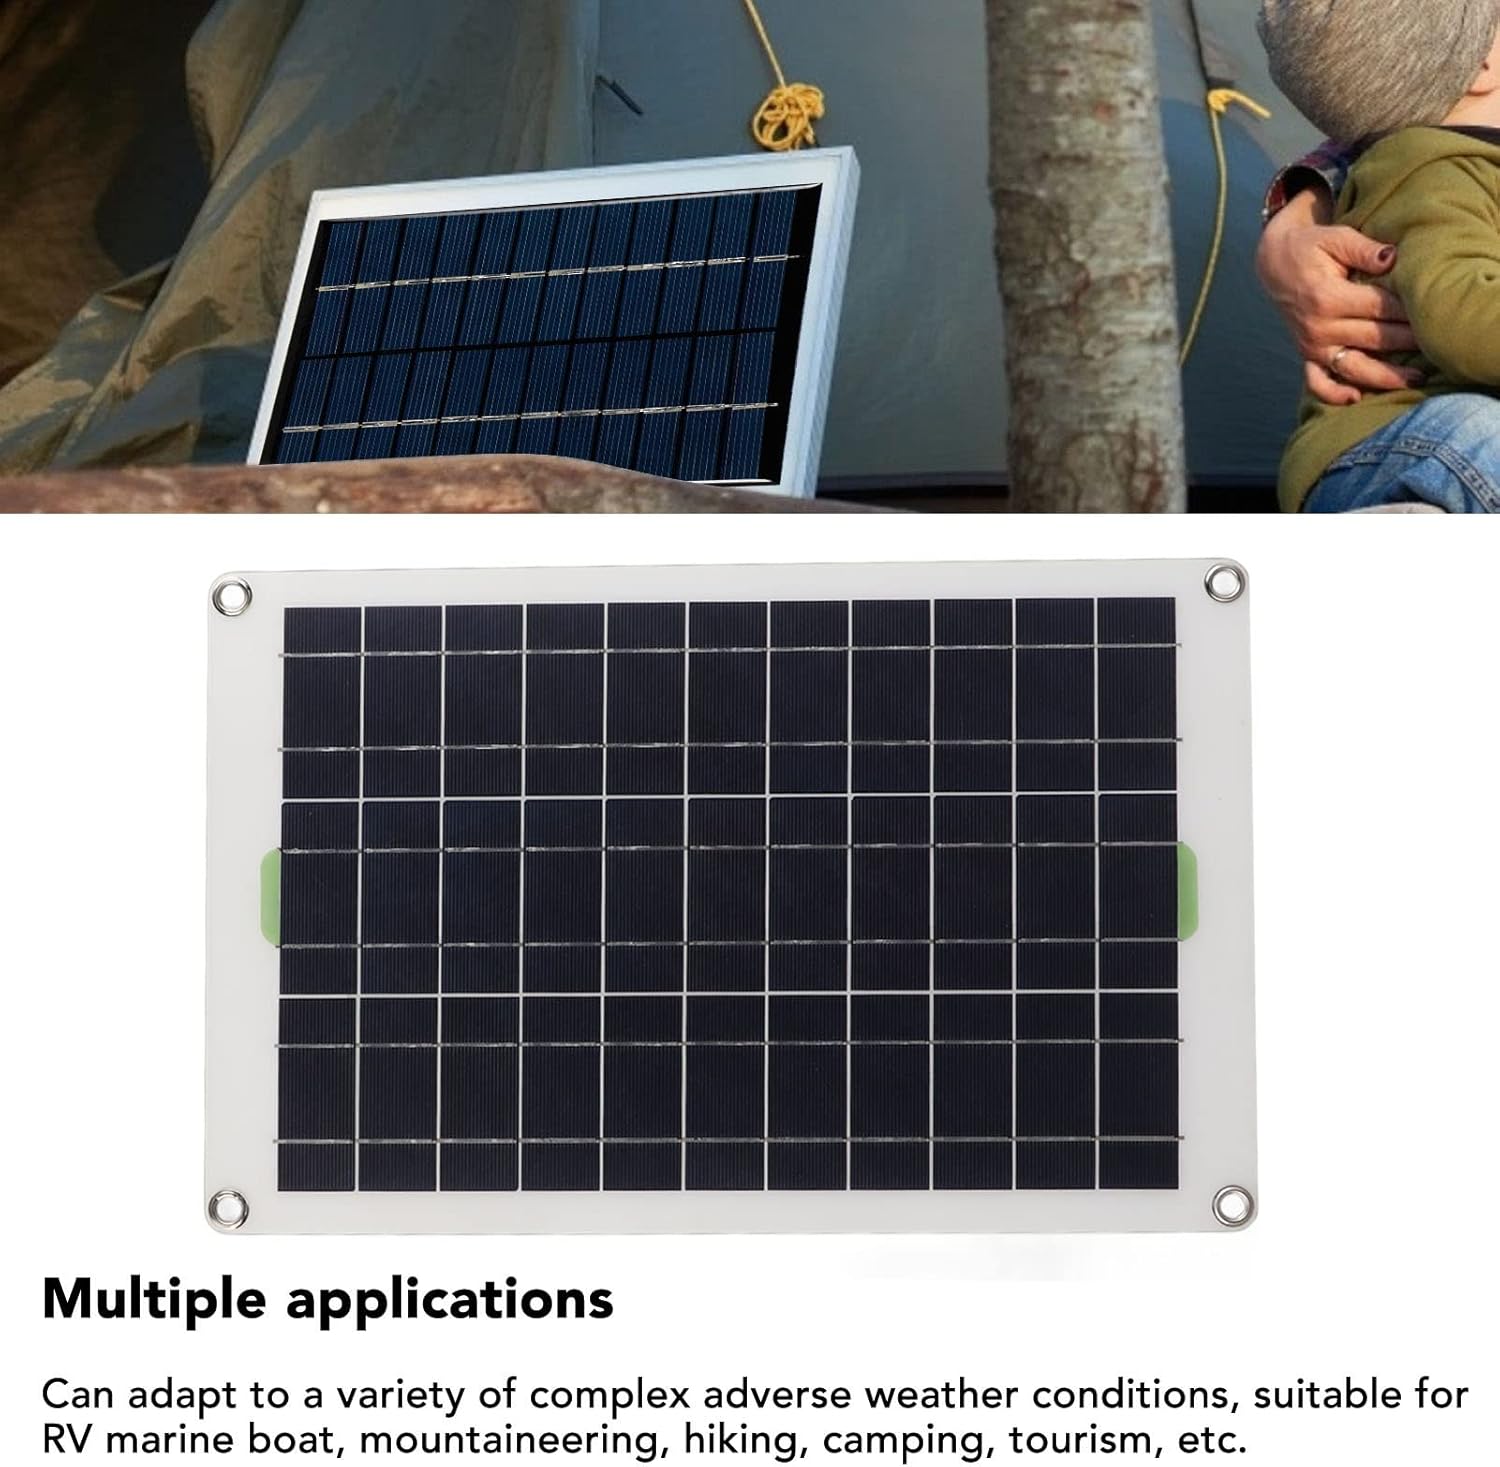
Image: The 50W solar panel set up outdoors next to a tent, demonstrating a typical campзастосування.

Зображення: Крупний план view of the monocrystalline silicon solar panel, highlighting its construction and efficiency.
4.2 Підключення контролера
Follow these steps to connect the solar panel to the controller and then to your battery:
- Connect the Battery First: Connect the alligator clips (output clip) to your 12V or 24V battery terminals. Ensure correct polarity: red to positive (+), black to negative (-). Then, connect the other end of the alligator clip cable to the DC output port on the solar charge controller.
- Підключіть сонячну панель: Connect the DC output cable from the 50W solar panel to the solar input port on the charge controller.
- Optional: Car Charging Cable: If charging via a car's cigarette lighter, connect the car charging cable to the controller and then to the vehicle's cigarette lighter socket.
Важливо: Завжди підключайте акумулятор до контролера раніше connecting the solar panel. Disconnect in the reverse order: solar panel first, then battery.

Image: The 30A MPPT solar charge controller, showing its display and connection ports.

Image: Various connection cables included with the kit, such as the car charging cable and alligator clips, along with the suction cups.
5. Інструкція з експлуатації
5.1 Початкове ввімкнення
Once the battery and solar panel are connected, the controller will automatically detect the battery voltage (12V or 24V) and begin charging. The display on the controller will show charging status, battery voltage, and other relevant parameters.

Зображення: Детальний view of the solar charge controller's display and control buttons, indicating various functions like MCU control, set voltage, full protect, and built-in timer.
5.2 Функції контролера
The 30A solar controller is equipped with multiple protective functions to ensure battery longevity and system safety:
- Захист від перезарядки: Запобігає перезарядженню акумулятора понад його ємність.
- Переволtage Захист: Запобіжні заходи проти надмірного обсягуtage введення.
- Discharge Protection: Prevents deep discharge of the battery.
- Захист від короткого замикання: Захищає систему від пошкоджень через короткі замикання.
- Захист зворотного підключення: Запобігає пошкодженням через неправильну полярність підключення.
The controller also features a built-in timer and options for setting voltage, which can be adjusted via the buttons on the unit. Refer to the controller's specific instructions for detailed programming.
6. Технічне обслуговування
Regular maintenance ensures optimal performance and extends the lifespan of your solar kit.
- Очищення сонячних панелей: Періодично очищуйте поверхню сонячної панелі м’якою губкоюamp cloth to remove dust, dirt, and debris. A clean panel ensures maximum light absorption.
- Перевірки підключення: Annually inspect all electrical connections for tightness and corrosion. Ensure wires are not frayed or damaged.
- Перевірка контролера: Keep the controller free from dust and moisture. Ensure adequate ventilation around the controller to prevent overheating.
- Здоров'я акумулятора: Слідкуйте за станом акумулятора та рівнем електроліту (для залитих акумуляторів) відповідно до рекомендацій виробника акумулятора.
7. Вирішення проблем
If you encounter issues with your solar kit, refer to the following common problems and solutions:
| проблема | Можлива причина | Рішення |
|---|---|---|
| No charging indicated on controller | No sunlight; Loose connections; Reversed polarity; Faulty panel/controller. | Ensure panel is in direct sunlight. Check all wiring for secure connections and correct polarity. Test components if possible. |
| Low charging current/voltage | Partial shading on panel; Dirty panel surface; Insufficient sunlight; Undersized panel. | Relocate panel to avoid shade. Clean panel surface. Ensure clear skies. Consider a larger panel if output is consistently low. |
| Дисплей контролера вимкнений | Battery not connected or discharged; Loose battery connection. | Ensure battery is connected and has sufficient charge. Check battery connections. |
| Metal grommets rusting (as per user feedback) | Non-stainless steel material exposed to moisture. | Apply rust-inhibiting coating or replace with stainless steel grommets if possible. Store in dry conditions when not in use. |
If the problem persists after attempting these solutions, please contact Diydeg customer support.
8. Технічні характеристики
Key technical specifications for the Diydeg 30A MPPT Solar Controller and 50W Solar Panel Kit:
| Особливість | Специфікація |
|---|---|
| Бренд | Diydeg |
| Номер моделі | Diydegf5wt308os6 |
| Solar Panel Maximum Power | 50 Вт |
| Матеріал сонячної панелі | Монокристалічний кремній |
| Тип контролера | MPPT (Відстеження точки максимальної потужності) |
| Controller Current Rating | 30А |
| System Voltage | 12 В / 24 В з автоматичним визначенням |
| Відповідні типи батарей | Lead-acid (Flooded, GEL, Deep Cycle) |
| Особливості | Portable, Overcharge Protection, Overvoltage Protection, Discharge Protection, Short Circuit Protection, Reverse Connection Protection |
| Вага товару | 680 г |
| Розміри посилки | 45.08 х 29.21 х 3.81 см |
9. Гарантія та підтримка
For warranty information, technical support, or service inquiries, please contact Diydeg customer service through your original point of purchase. Keep your purchase receipt as proof of purchase.