
1. Вступ
This manual provides essential information for the safe and effective use of your Laserliner 082.262A Inspection Camera. Please read these instructions carefully before operating the device and keep them for future reference. The Laserliner 082.262A is a robust inspection camera designed for visual inspection of inaccessible areas, featuring a 5mm diameter and 1m length probe.
2. Інформація про безпеку
Завжди дотримуйтесь наступних запобіжних заходів, щоб запобігти травмам та пошкодженню пристрою:
- Do not immerse the main unit in water. The camera probe is water-resistant, but the display unit is not.
- Do not use the device in explosive atmospheres or near flammable gases or liquids.
- Тримайте пристрій у недоступному для дітей місці.
- Do not attempt to modify or disassemble the device. Refer all servicing to qualified personnel.
- Переконайтеся, що батарейки вставлені з дотриманням правильної полярності. Виймайте батарейки, якщо пристрій не використовуватиметься протягом тривалого часу.
- Avoid direct eye exposure to the camera's LED lights.
3. Вміст упаковки
Переконайтеся, що всі предмети присутні під час розпакування:
- Laserliner 082.262A Inspection Camera (main unit with display)
- Flexible camera probe (5mm diameter, 1m length)
- Батарейки (лужні)
- Посібник користувача
4. Продукт закінчивсяview
Familiarize yourself with the components of your inspection camera.
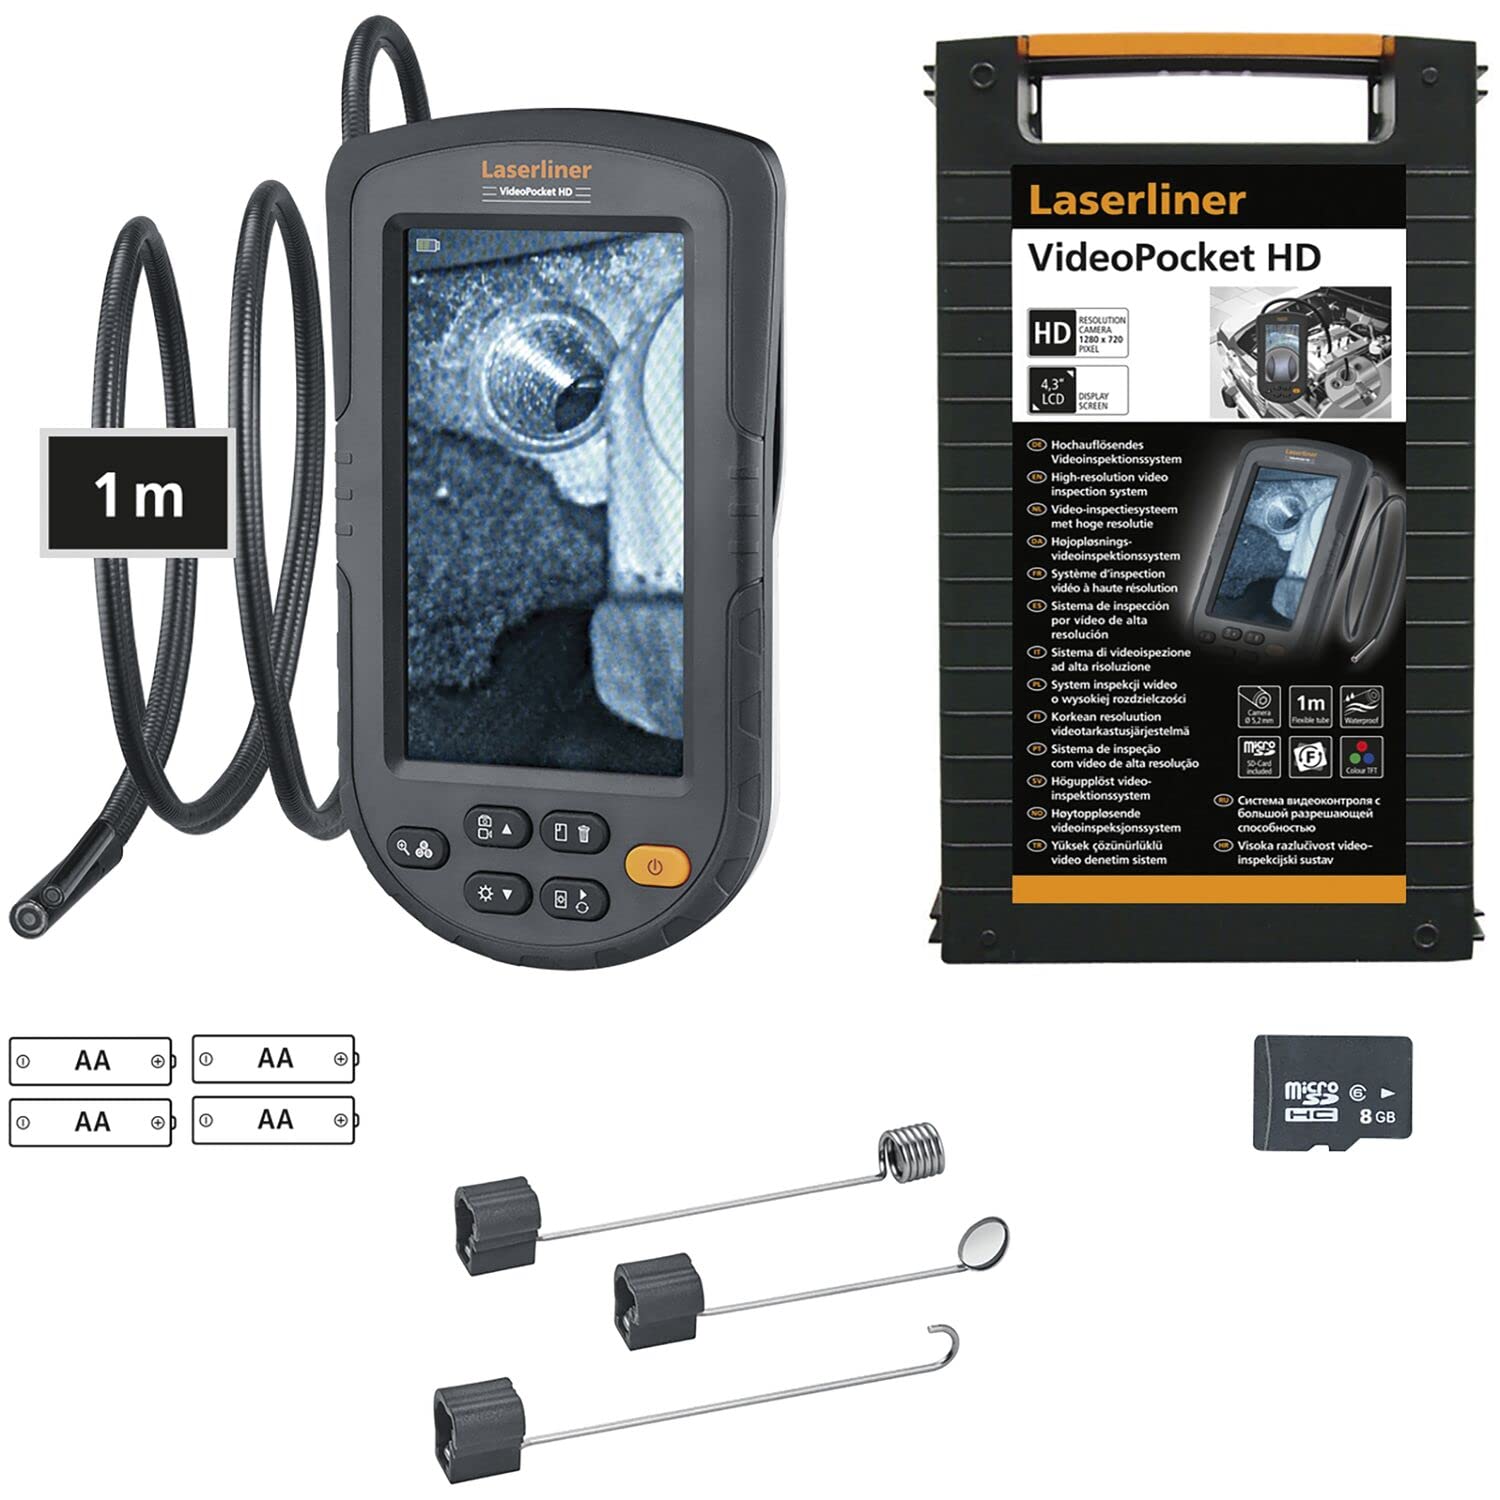
Figure 1: Laserliner 082.262A Inspection Camera. The image shows the handheld display unit connected to the flexible camera probe, ready for use.
The device consists of a main display unit with control buttons and a flexible probe with an integrated camera and LED lighting at its tip. The probe is designed to navigate tight spaces and transmit live video to the display.
5. Налаштування
Follow these steps to prepare your inspection camera for first use:
- Установка батареї: Open the battery compartment on the rear of the main unit. Insert the provided alkaline batteries, ensuring correct polarity (+/-). Close the compartment securely.
- Підключення зонда: Connect the flexible camera probe to the designated port on the main unit. Ensure a firm connection.

Малюнок 2: Задня частина view of the inspection camera. This image illustrates the back of the device, including the product label and the area where the flexible probe connects.
6. Інструкція з експлуатації
This section details how to operate your Laserliner 082.262A Inspection Camera.
6.1 Увімкнення/вимкнення
- To power on: Press and hold the power button (usually orange) until the display illuminates.
- Щоб вимкнути живлення: знову натисніть і утримуйте кнопку живлення, доки дисплей не вимкнеться.
6.2 Основні елементи керування
The main unit features several buttons for controlling the camera and display functions:
- Яскравість світлодіода: Adjust the intensity of the camera's LED lights for optimal visibility in dark environments.
- Поворот зображення: Rotate the image on the display for correct orientation, especially when the probe is twisted.

Figure 3: Image Rotation. This diagram illustrates how the image can be rotated on the display, showing 0, 90, 180, and 270-degree orientations.
6.3 Optimal Focus Distance
The camera has a fixed focus. For clear images, position the camera tip within the optimal focus range, typically a few centimeters from the object.
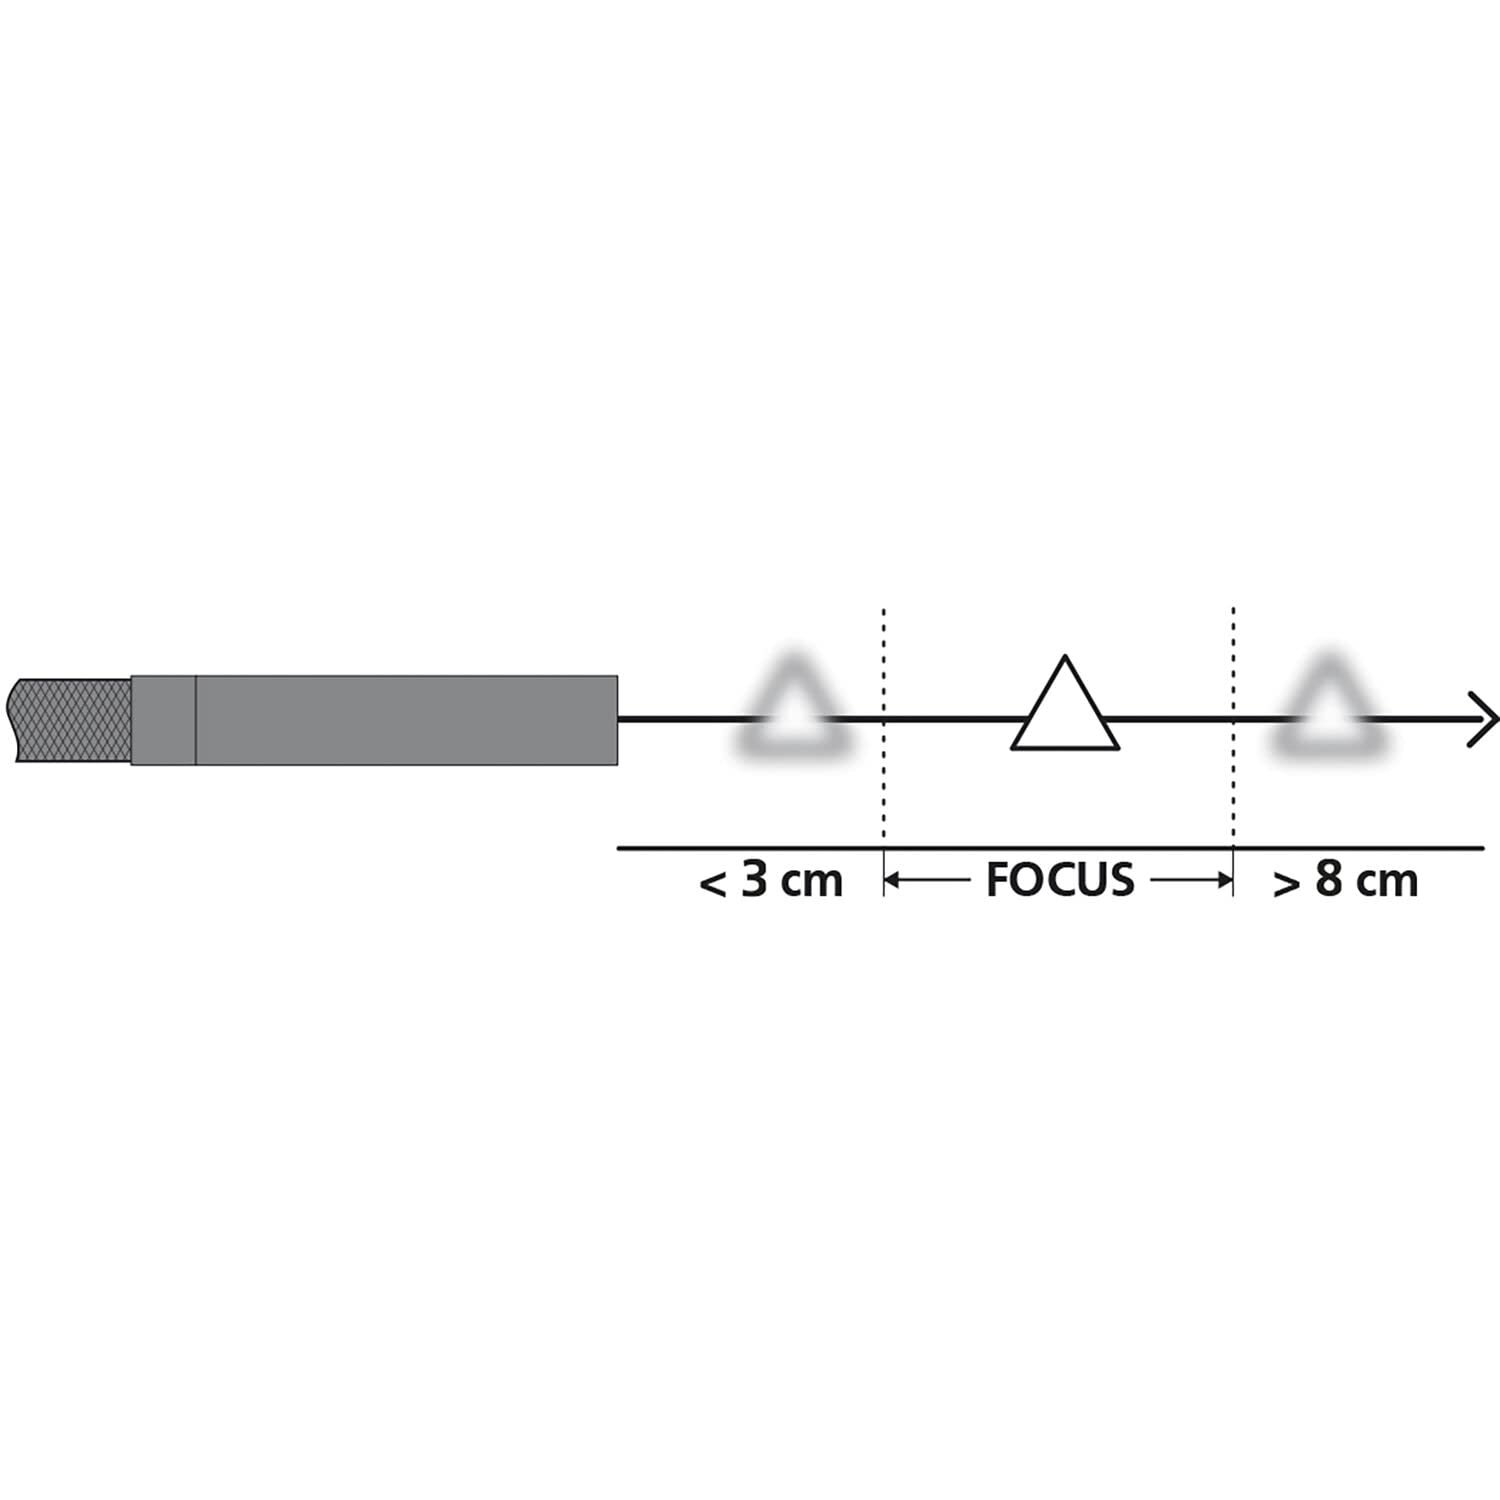
Figure 4: Focus Range. This diagram shows the recommended distance for clear imaging, indicating that objects too close (less than 3 cm) or too far (greater than 8 cm) may appear blurry, with an optimal focus zone in between.
6.4 Практичне застосування
The inspection camera is versatile for various tasks:
- Перевірка приладу: Examine internal components of dishwashers or other household appliances.
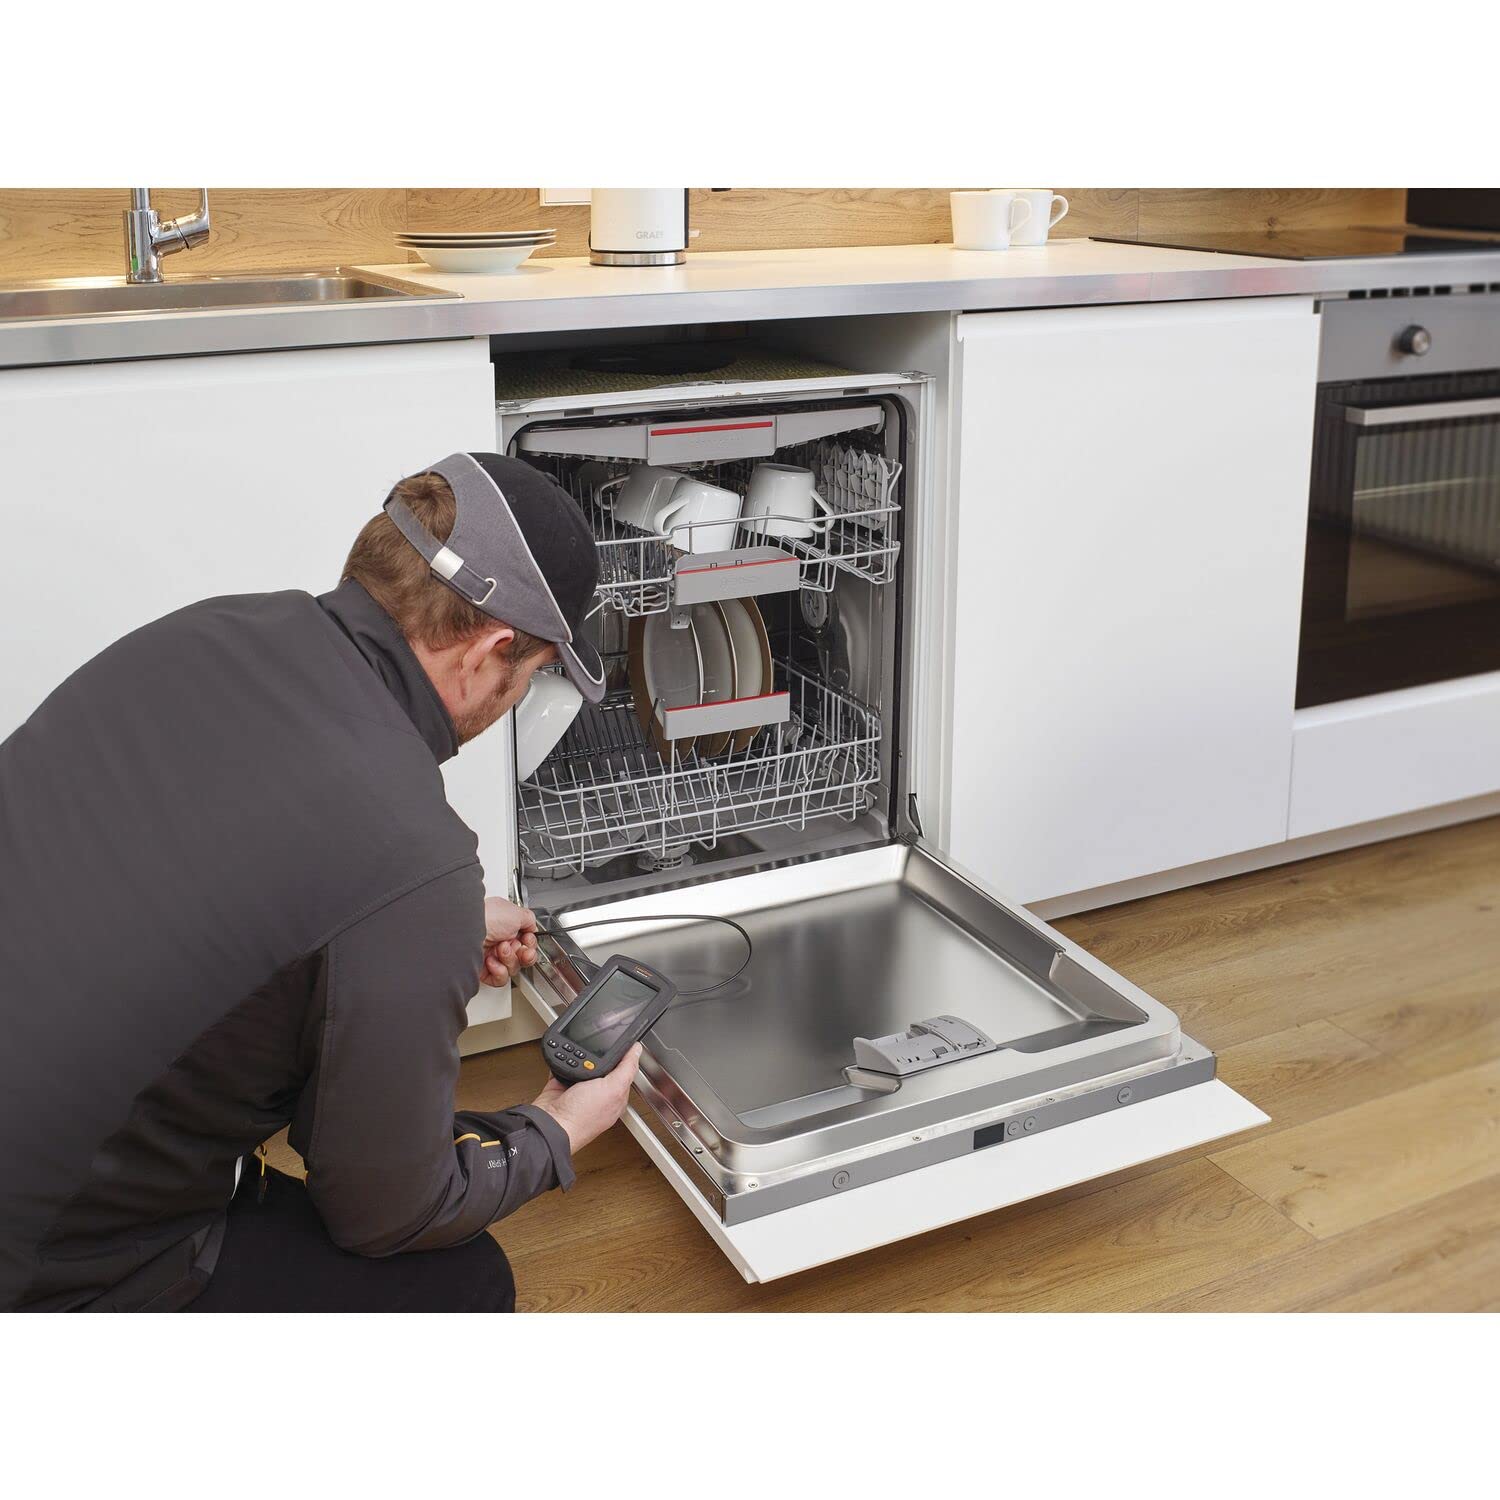
Figure 5: Dishwasher Inspection. A technician uses the inspection camera to view the internal workings of a dishwasher, checking for blockages or damage.
- Автомобільна діагностика: Inspect engine compartments, cylinders, or other vehicle parts.

Figure 6: Engine Inspection. The camera probe is inserted into an engine bay, allowing for visual inspection of internal components without extensive disassembly.
- Plumbing and Drainage: Check pipes, drains, and sewage systems for clogs or damage.

Figure 7: Drain Inspection. The camera is used to inspect a floor drain, providing a clear view of the pipe's interior.
- Cavity and Wall Inspections: Explore behind walls, ceilings, or other enclosed spaces.

Figure 8: Ceiling Cavity Inspection. The camera probe is inserted into a ceiling opening to inspect the hidden space above.
- Sink and Shower Drains: Доступ і view blockages or issues in bathroom plumbing.

Figure 9: Sink Drain Inspection. The camera is positioned to inspect the U-bend of a sink drain, revealing any obstructions.

Figure 10: Shower Drain Inspection. The camera probe is inserted into a shower drain to check for blockages or pipe conditions.
- Gutter and Downspout Inspection: Identify debris or damage in exterior drainage systems.
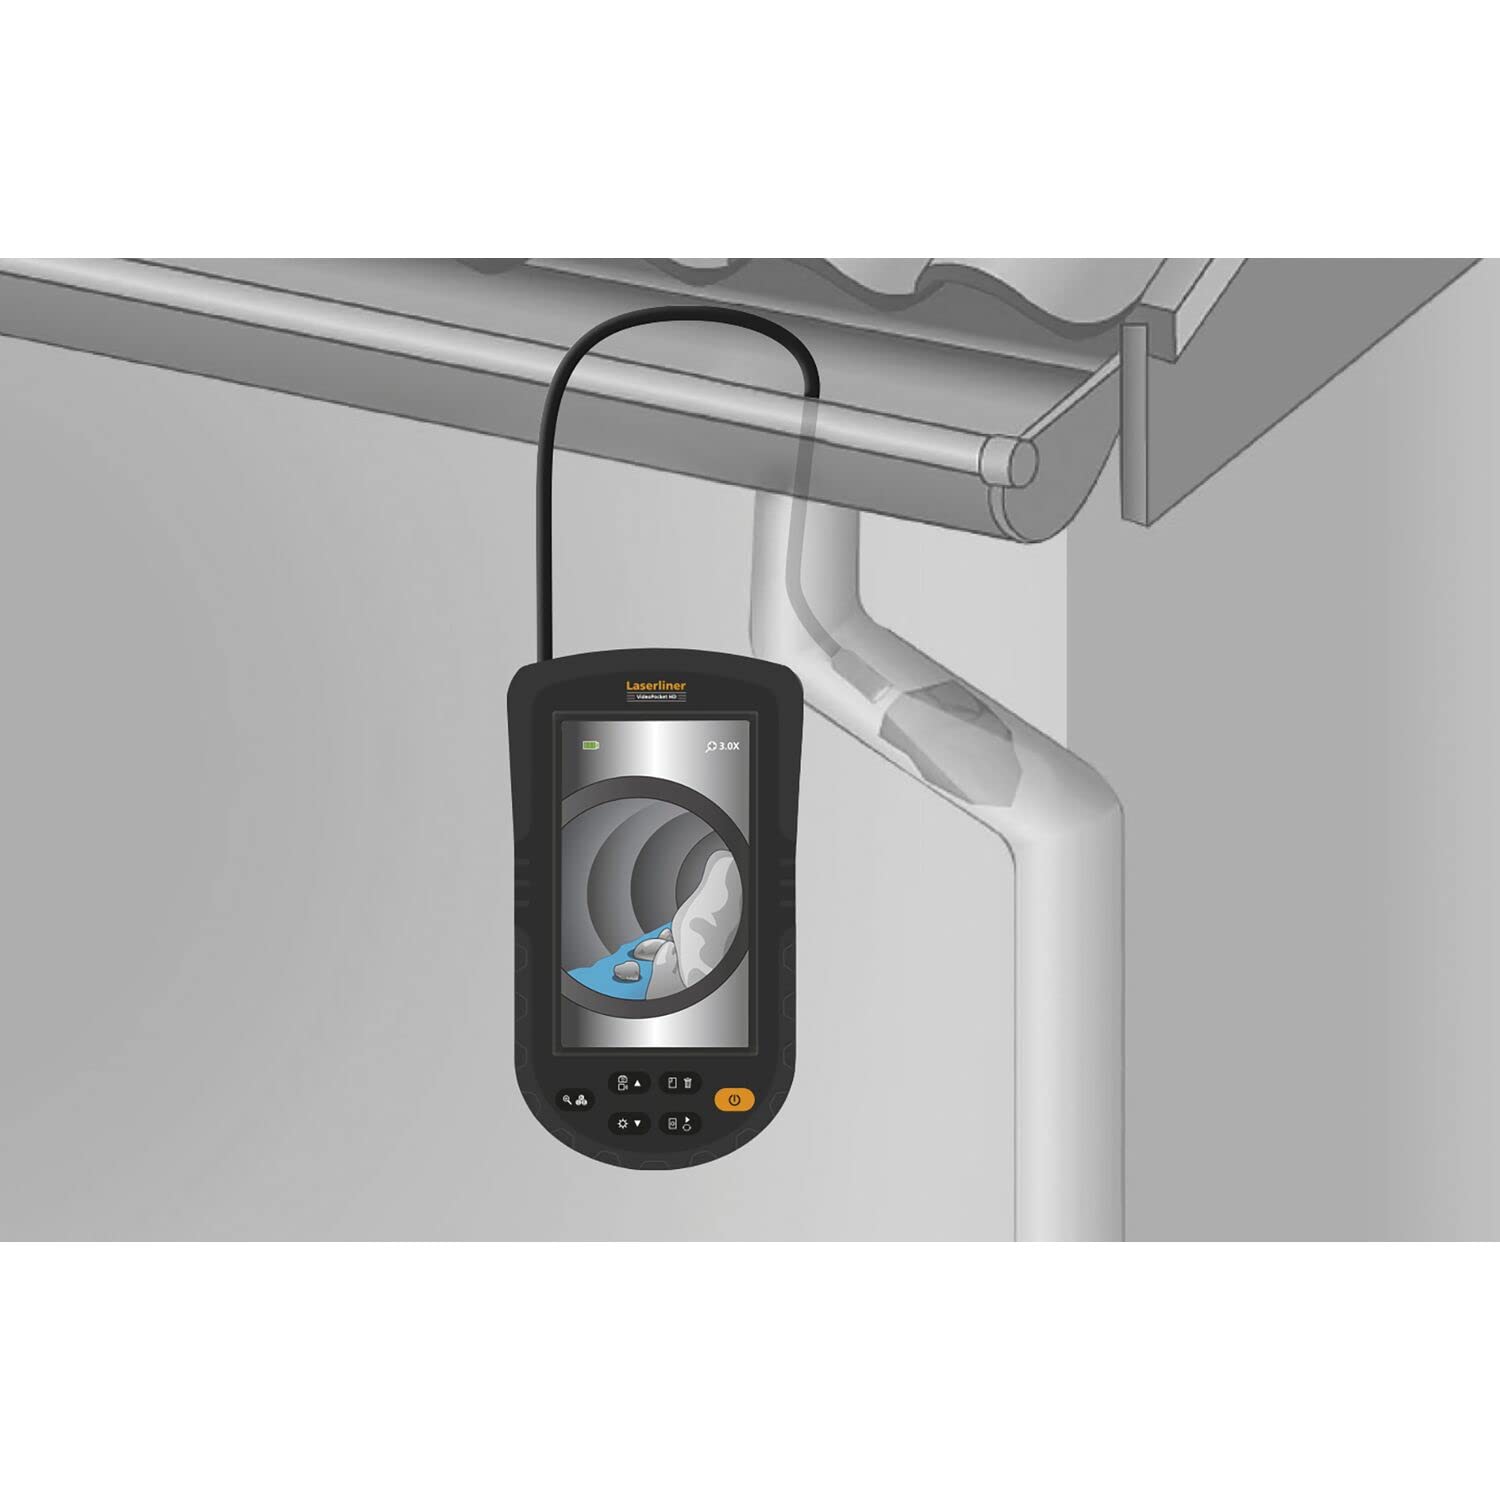
Figure 11: Gutter Inspection. The camera is used to inspect a gutter and downspout, showing the presence of leaves and debris.
7. Технічне обслуговування
Proper maintenance ensures the longevity and performance of your device.
- Прибирання: Протріть основний блок м’якою сухою тканиною. Зонд камери можна очистити за допомогою рекламиamp cloth and mild detergent. Ensure no liquid enters the main unit.
- Догляд за акумулятором: Replace batteries when the low battery indicator appears. Remove batteries if the device is not used for extended periods to prevent leakage.
- Зберігання: Store the device in a cool, dry place, away from direct sunlight and extreme temperatures. Coil the probe loosely to avoid kinking.
8. Вирішення проблем
Якщо у вас виникли проблеми, зверніться до наступних поширених проблем та способів їх вирішення:
| проблема | Можлива причина | Рішення |
|---|---|---|
| Пристрій не включається | Розряджені або низькі батареї; неправильне встановлення батарейок | Замініть батарейки; перевірте полярність батарейок |
| Немає зображення на дисплеї | Зонд неправильно підключений; пошкоджений зонд | Переконайтеся, що зонд надійно підключено; зверніться до служби підтримки, якщо зонд пошкоджено. |
| Зображення розмите | Object too close or too far from camera; Dirty camera lens | Adjust distance to object (refer to focus diagram); Clean camera lens gently |
| Світлодіодні лампи не працюють | LED brightness set to minimum; Faulty LEDs | Increase LED brightness using controls; Contact support |
If the problem persists after trying these solutions, please contact Laserliner customer support.
9. Технічні характеристики
Detailed technical specifications for the Laserliner 082.262A Inspection Camera:
| Особливість | Специфікація |
|---|---|
| Виробник | Laserliner |
| Розміри продукту (Д x Ш x В) | 12 х 19 х 14 см |
| Номер моделі товару | 082.262А |
| матеріал | пластик |
| Форма | Квадратний |
| Кількість предметів в упаковці | 1 |
| Система вимірювання | Індикатор |
| Батарейки в комплекті | так |
| Потрібні батареї | так |
| Склад батареї | лужні |
| Вага товару | 370 грамів |
| Країна походження | Китай |
| ASIN | B0BYKBV8ZC |
10. Гарантія та підтримка
For warranty information, please refer to the documentation provided with your purchase or visit the official Laserliner website. For technical support or service inquiries, contact Laserliner customer service directly.
Spare parts availability: Information unavailable.
11. Інформація про утилізацію
Electronic devices and batteries must not be disposed of with household waste. Please dispose of them according to local regulations at designated collection points for electronic waste and batteries. Proper disposal helps protect the environment and human health.