
1. Вступ
This manual provides detailed instructions for the setup, operation, and maintenance of your TOMLOV DM209 Digital Microscope. This device is designed for detailed observation and analysis, featuring a 7-inch IPS display, 2K HDMI output, and a 26MP Sony CMOS sensor, offering up to 1200x magnification. Please read this manual thoroughly before using the microscope to ensure proper function and longevity.
2. Інформація про безпеку
- Переконайтеся, що мікроскоп встановлено на стійкій рівній поверхні, щоб запобігти його перекиданню.
- Не піддавайте пристрій дії екстремальних температур, вологості або прямих сонячних променів.
- Тримайте мікроскоп подалі від води та інших рідин.
- Використовуйте лише наданий адаптер живлення.
- Avoid touching the lens directly with your fingers. Use a soft, lint-free cloth for cleaning.
- Не намагайтеся розбирати або ремонтувати мікроскоп самостійно. Зверніться до служби підтримки клієнтів для отримання допомоги.
3. Вміст упаковки
Перевірте наявність усіх елементів в упаковці:
- TOMLOV DM209 Digital Microscope Unit
- Регульована підставка
- Пульт дистанційного керування
- USB кабель
- Кабель HDMI
- Адаптер живлення
- Калібрувальна лінійка
- Посібник користувача (цей документ)
- Карта MicroSD на 32 ГБ (попередньо встановлена або входить до комплекту)
4. Продукт закінчивсяview
The TOMLOV DM209 Digital Microscope consists of a main microscope unit with an integrated 7-inch IPS display, a sturdy metal stand, and a base with adjustable LED lights. Key components include the focus wheel, magnification adjustment, lens, and various ports for connectivity.

Figure 4.1: Fully assembled TOMLOV DM209 Digital Microscope with its stand and adjustable lights.
5. Налаштування
- Зберіть підставку: Attach the microscope unit to the adjustable stand. Ensure all screws are tightened securely.
- Підключіть живлення: Plug the power adapter into the microscope's DC input port and then into a power outlet.
- Вставте картку MicroSD: If not already inserted, gently push the 32GB MicroSD card into the designated slot until it clicks.
- Позиціонування: Place the object to be observed on the base plate. Adjust the height of the microscope unit using the stand's adjustment knob to get a preliminary focus.
6. Інструкція з експлуатації
6.1 Увімкнення/вимкнення
Press and hold the power button on the microscope unit for a few seconds to turn it on. Repeat the action to turn it off.
6.2 Налаштування збільшення та фокусування
Rotate the focus wheel on the side of the microscope unit to achieve a clear image. The DM209 offers a magnification range from 2X to 1200X. Adjust the distance between the lens and the object for optimal magnification and clarity.

Figure 6.1: Illustration of the microscope's 2X-1200X zoom capability, showing magnified views of a fabric texture and a coin.
6.3 Using the 7-inch IPS Monitor
The integrated 7-inch IPS monitor provides a clear and wide viewing angle for direct observation. Use the buttons below the screen to navigate menus and adjust settings.
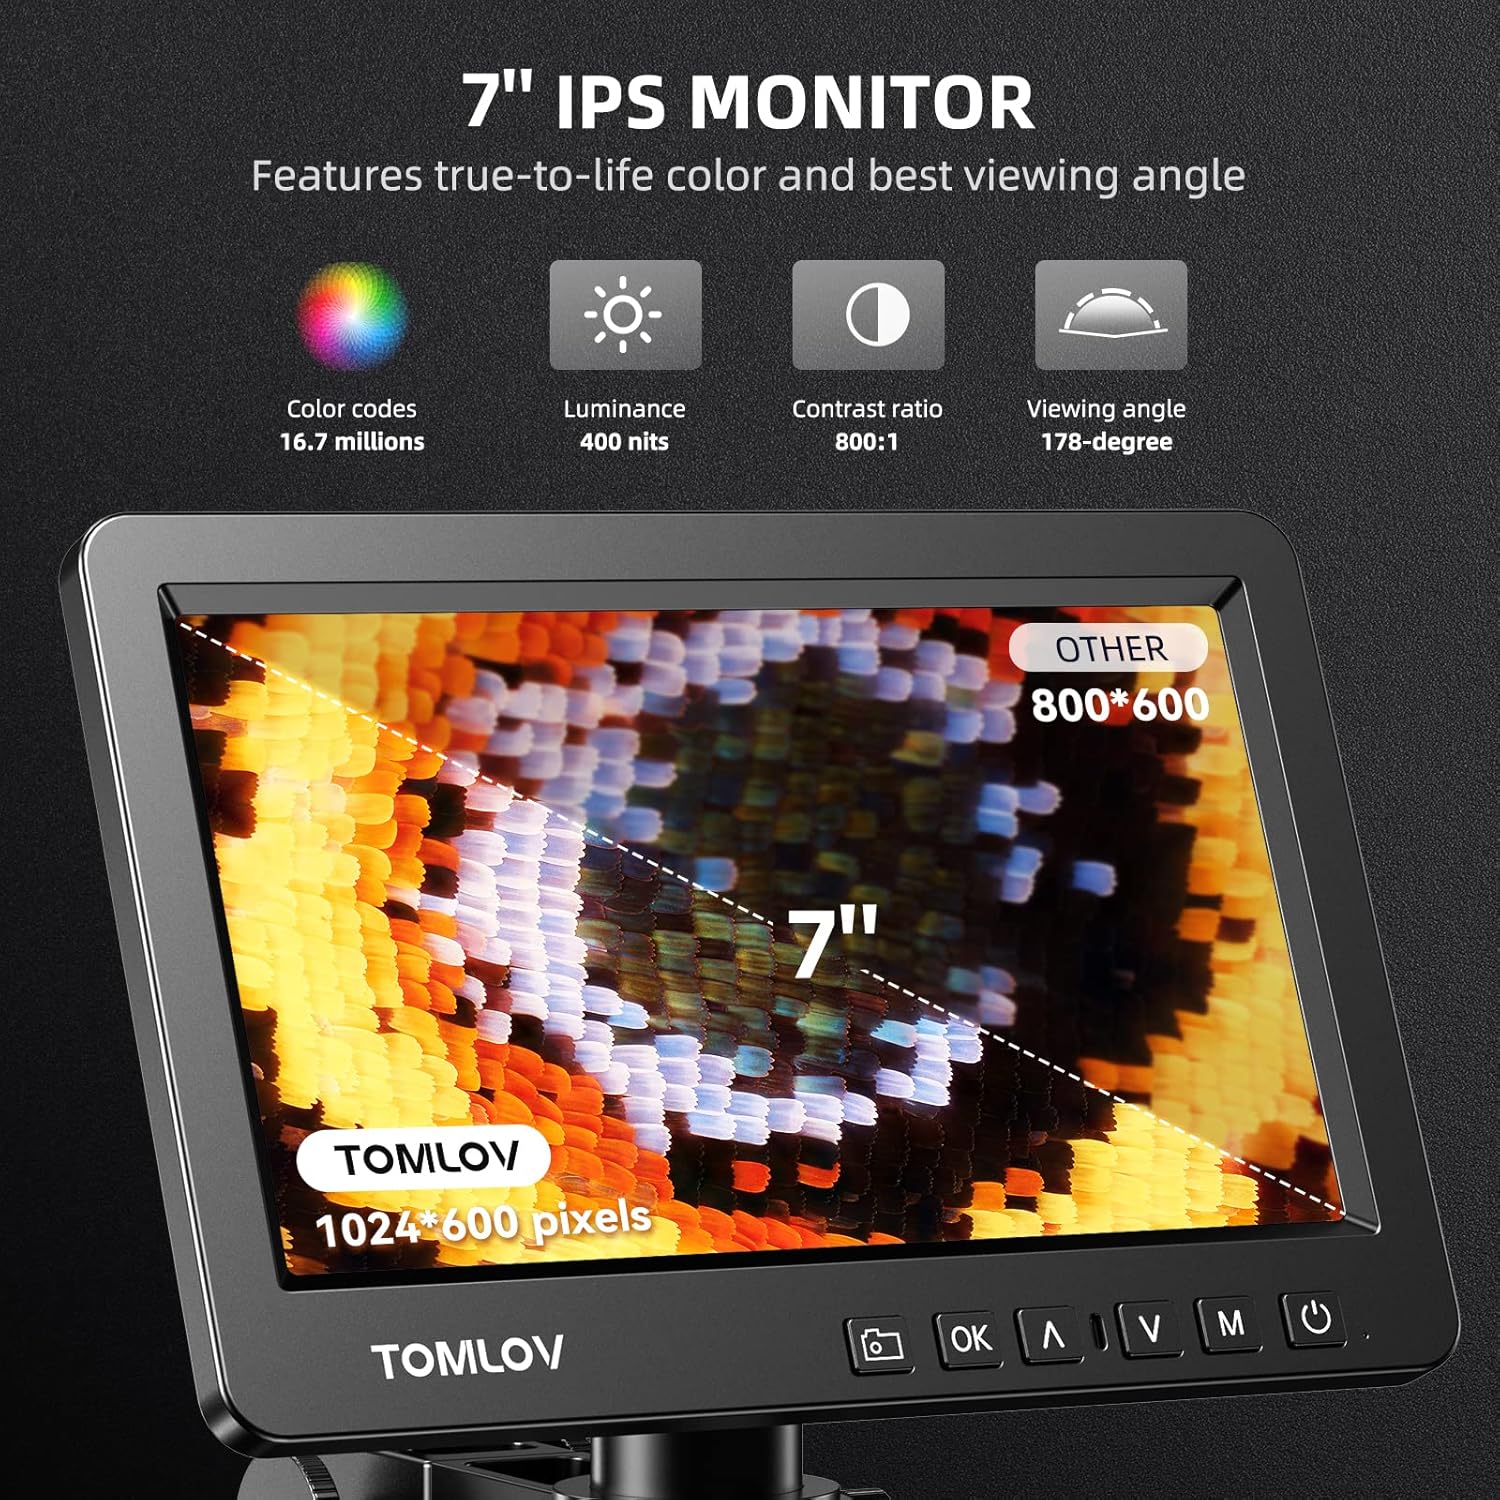
Figure 6.2: Close-up of the 7-inch IPS monitor displaying a magnified butterfly wing, highlighting its color, luminance, contrast, and viewing angle specifications.
6.4 Функції дистанційного керування
The included remote control allows for convenient operation without touching the microscope, reducing vibrations. Functions include digital zoom, image flip, taking pictures/videos, and freezing the screen.

Figure 6.3: A hand holding the remote control for the microscope, with icons for digital zoom, image flip, capture, and freeze screen functions.
6.5 HDMI Output to External Display
Connect the microscope to a larger monitor or TV using the provided HDMI cable for a wider view and collaborative observation. Ensure both devices are powered off before connecting the HDMI cable, then power them on.

Figure 6.4: Microscope connected to an external monitor via HDMI, displaying a magnified circuit board.
6.6 USB Output for PC View
For advanced analysis and larger screen viewing on a computer, connect the microscope to your PC using the USB cable. The microscope is compatible with Windows operating systems. Install any necessary drivers or software as prompted by your computer.

Рисунок 6.5: Користувач viewing the microscope's output on a larger PC monitor via USB connection, demonstrating Windows compatibility.
6.7 Захоплення зображень та відео
Use the dedicated capture button on the microscope unit or the remote control to take still images or record videos. Files are saved directly to the inserted MicroSD card.
6.8 Trinocular Compatibility
The DM209 features C-mount compatibility, allowing it to be integrated into trinocular microscope setups for comprehensive and direct viewing, facilitating sharing and advanced applications.
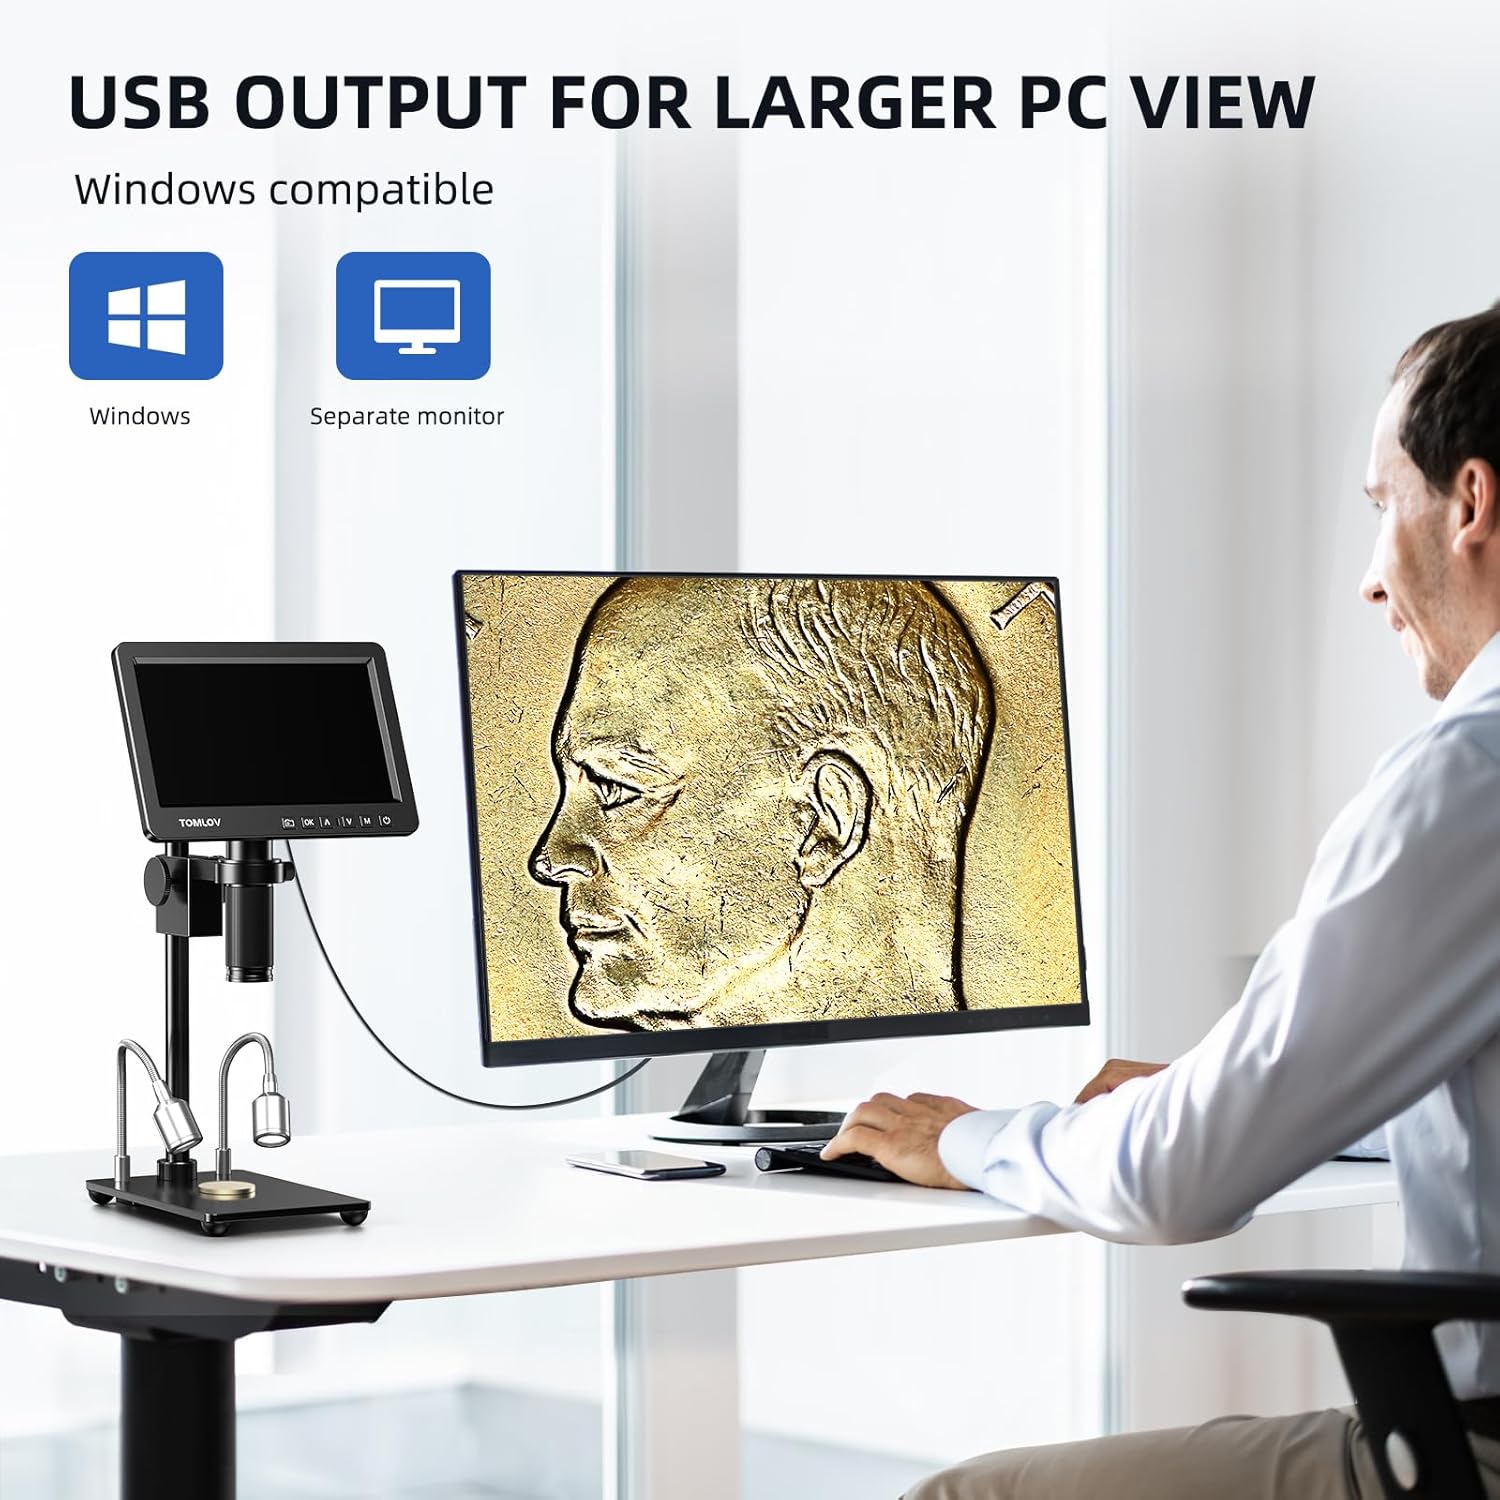
Figure 6.6: The microscope's screen displaying a magnified plant cell structure, illustrating its trinocular compatibility for comprehensive viewінг і обмін.
7. Технічне обслуговування
- Очищення лінзи: Use a soft, lint-free cloth specifically designed for optical lenses. For stubborn smudges, a small amount of lens cleaning solution can be applied to the cloth (not directly to the lens).
- Очищення організму: Wipe the microscope body with a soft, dry cloth. Do not use abrasive cleaners or solvents.
- Зберігання: When not in use, store the microscope in a clean, dry, and dust-free environment. Use a dust cover if available.
- Догляд за акумулятором (за наявності): If the device has an internal battery, avoid fully discharging it frequently to prolong its lifespan.
8. Вирішення проблем
| проблема | Можлива причина | Рішення |
|---|---|---|
| Немає живлення | Power adapter not connected; power outlet faulty. | Перевірте підключення живлення; спробуйте іншу розетку. |
| Зображення розмите | Focus not adjusted; object too far/close; lens dirty. | Adjust focus wheel; adjust object distance; clean lens. |
| No image on external monitor | Кабель HDMI нещільно прикріплений або несправний; на моніторі вибрано неправильний вхід. | Check HDMI connection; select correct input source on external monitor. |
| Не вдається зберегти зображення/відео | MicroSD card full, faulty, or not inserted correctly. | Check MicroSD card insertion; format or replace card. |
| Пульт не працює | Batteries low or depleted; obstruction between remote and microscope. | Replace remote control batteries; ensure clear line of sight. |
9. Технічні характеристики
| Особливість | Деталь |
|---|---|
| Модель | DM209 |
| Бренд | ТОМЛОВ |
| Дисплей | 7-дюймовий IPS-екран |
| датчик | Sony CMOS IMX 26MP |
| Збільшення | 2X - 1200X |
| Відеовихід | 2K HDMI, USB |
| матеріал | Metal (lens, stand) |
| Розміри (Д x Ш x В) | 26 х 16 х 18 см |
| вага | 1.41 кілограма |
| томtage | 240 вольт |
| Зберігання | Підтримка карт MicroSD (32 ГБ у комплекті) |
10. Гарантія та підтримка
For warranty information and technical support, please refer to the warranty card included with your product or visit the official TOMLOV webсайт. Не намагайтеся ремонтувати пристрій самостійно, оскільки це може призвести до анулювання гарантії.