
1. Вступ
The Homematic IP Smart Home Wall Thermostat with Humidity Sensor (Model HmIP-WTH-1) is an advanced device designed for precise temperature and humidity control in your home. It allows for time-controlled regulation of room temperature, working seamlessly with Homematic IP radiator thermostats, underfloor heating actuators, or switching sockets. This manual provides detailed instructions for installation, operation, and maintenance to ensure optimal performance and energy saving.
This device features an illuminated display and can be placed freely within a room due to its radio communication capabilities. It integrates with smart home systems like Alexa and Google Assistant for convenient voice control.
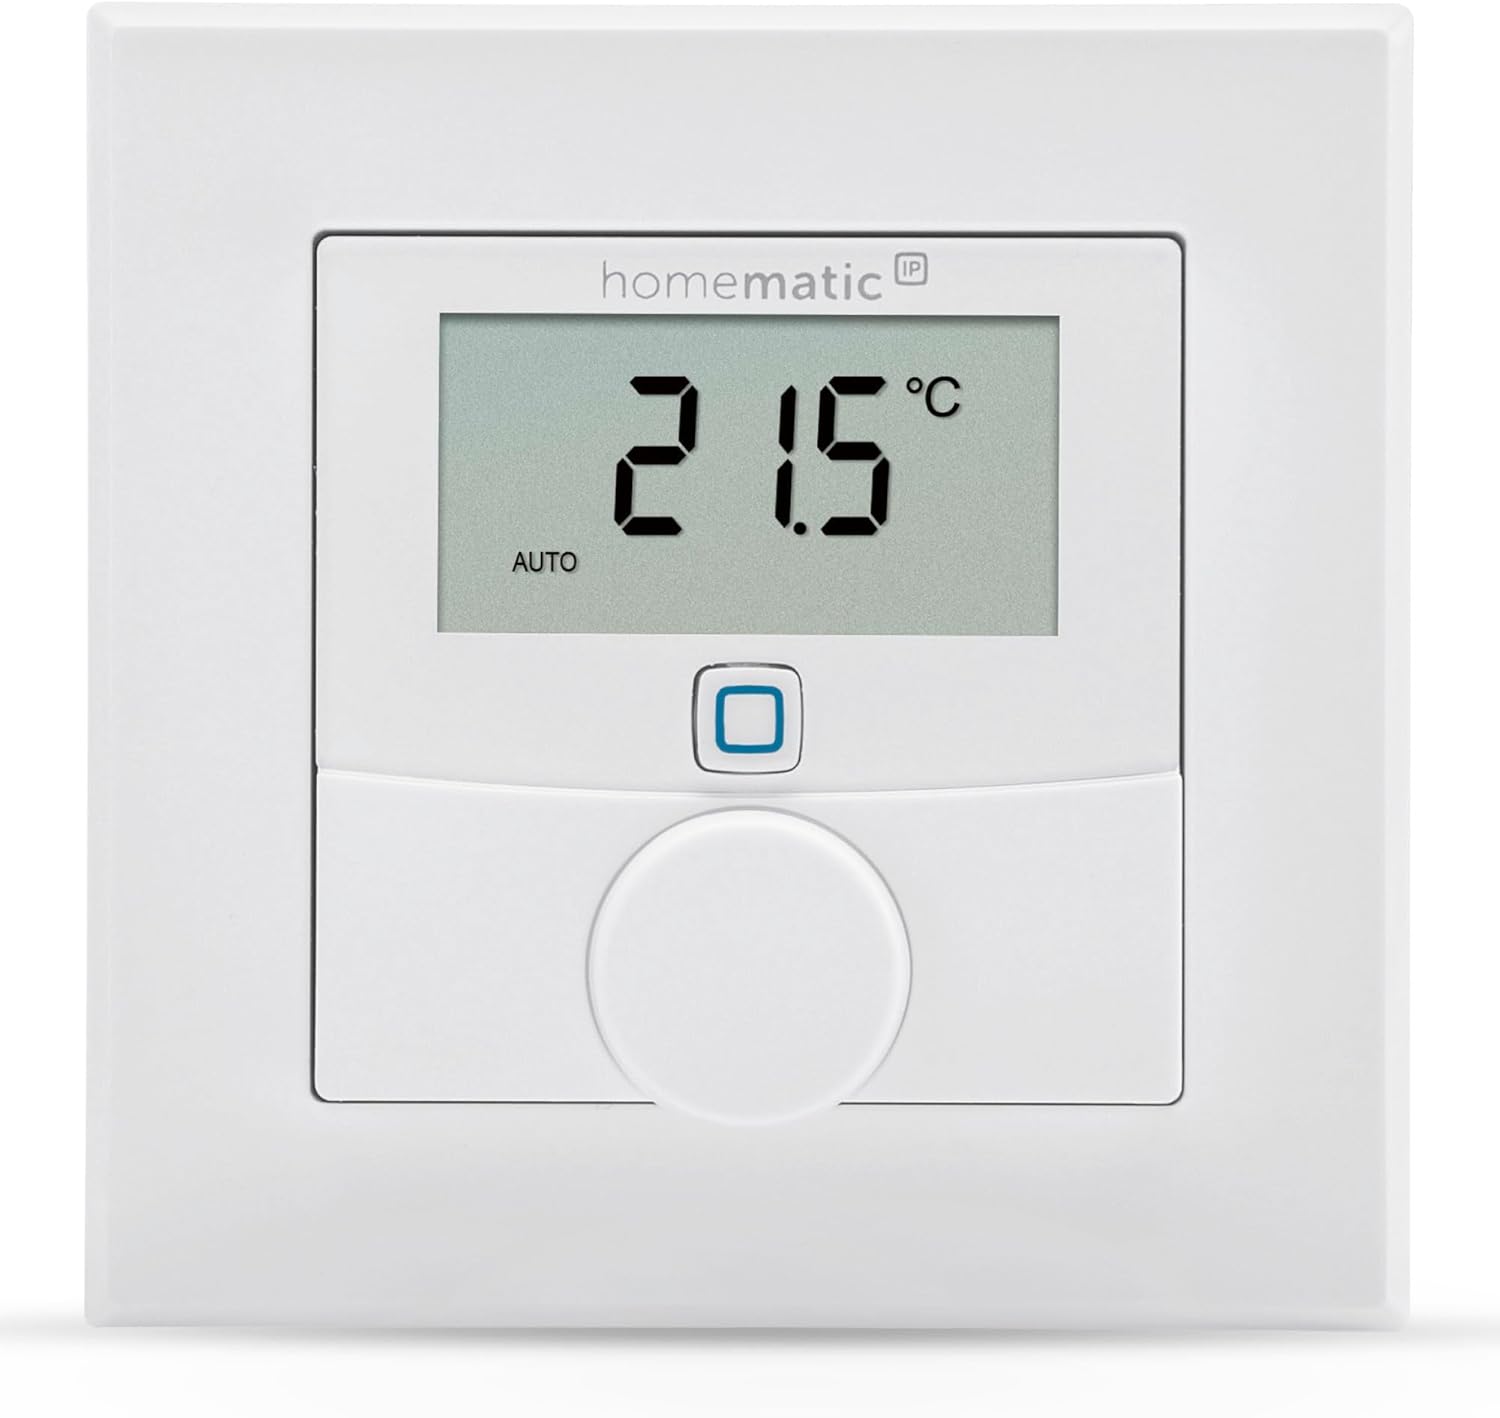
Figure 1.1: Homematic IP Wall Thermostat with Humidity Sensor.
2. Інформація про безпеку
- Уважно прочитайте цей посібник перед експлуатацією пристрою.
- Keep the device away from moisture, dust, and direct sunlight.
- Не відкривайте пристрій casing. Ремонт повинен виконуватися лише уповноваженим персоналом.
- Use only the specified battery type (2x 1.5 V LR03/Micro/AAA batteries).
- Вставляючи батарейки, дотримуйтесь правильної полярності.
- Тримайте батареї в недоступному для дітей місці.
- This product requires connection to a Homematic IP Access Point or Central CCU3 for full functionality.
3. Вміст упаковки
Перевірте наявність усіх компонентів в упаковці:
- Homematic IP настінний термостат з датчиком вологості
- Removable frame and mounting plate
- Mounting material (screws, dowels, and adhesive strips)
- 2 батареї 1.5 В LR03/Micro/AAA
- Інструкція з експлуатації

Figure 3.1: Included components of the Homematic IP Wall Thermostat.
4. Налаштування
4.1. Живлення пристрою
The thermostat is battery-powered. To insert the batteries:
- Remove the mounting plate from the back of the thermostat.
- Insert the two AAA batteries into the battery compartment, ensuring correct polarity (+/-).
- Знову прикріпіть монтажну пластину.

Figure 4.1: Battery compartment on the back of the thermostat.
4.2. Монтаж термостата
Термостат пропонує гнучкі варіанти встановлення:
- Клейкі смужки: For quick and easy installation on smooth surfaces.
- Screws and Dowels: For a more secure, permanent mounting on walls.
- Flush-mounted Box: Can be directly installed on a standard flush-mounted box.
The thermostat is designed in a 55er format, allowing easy integration into existing switch series from leading manufacturers such as Berker, Gira, Merten, Jung, and Elso.
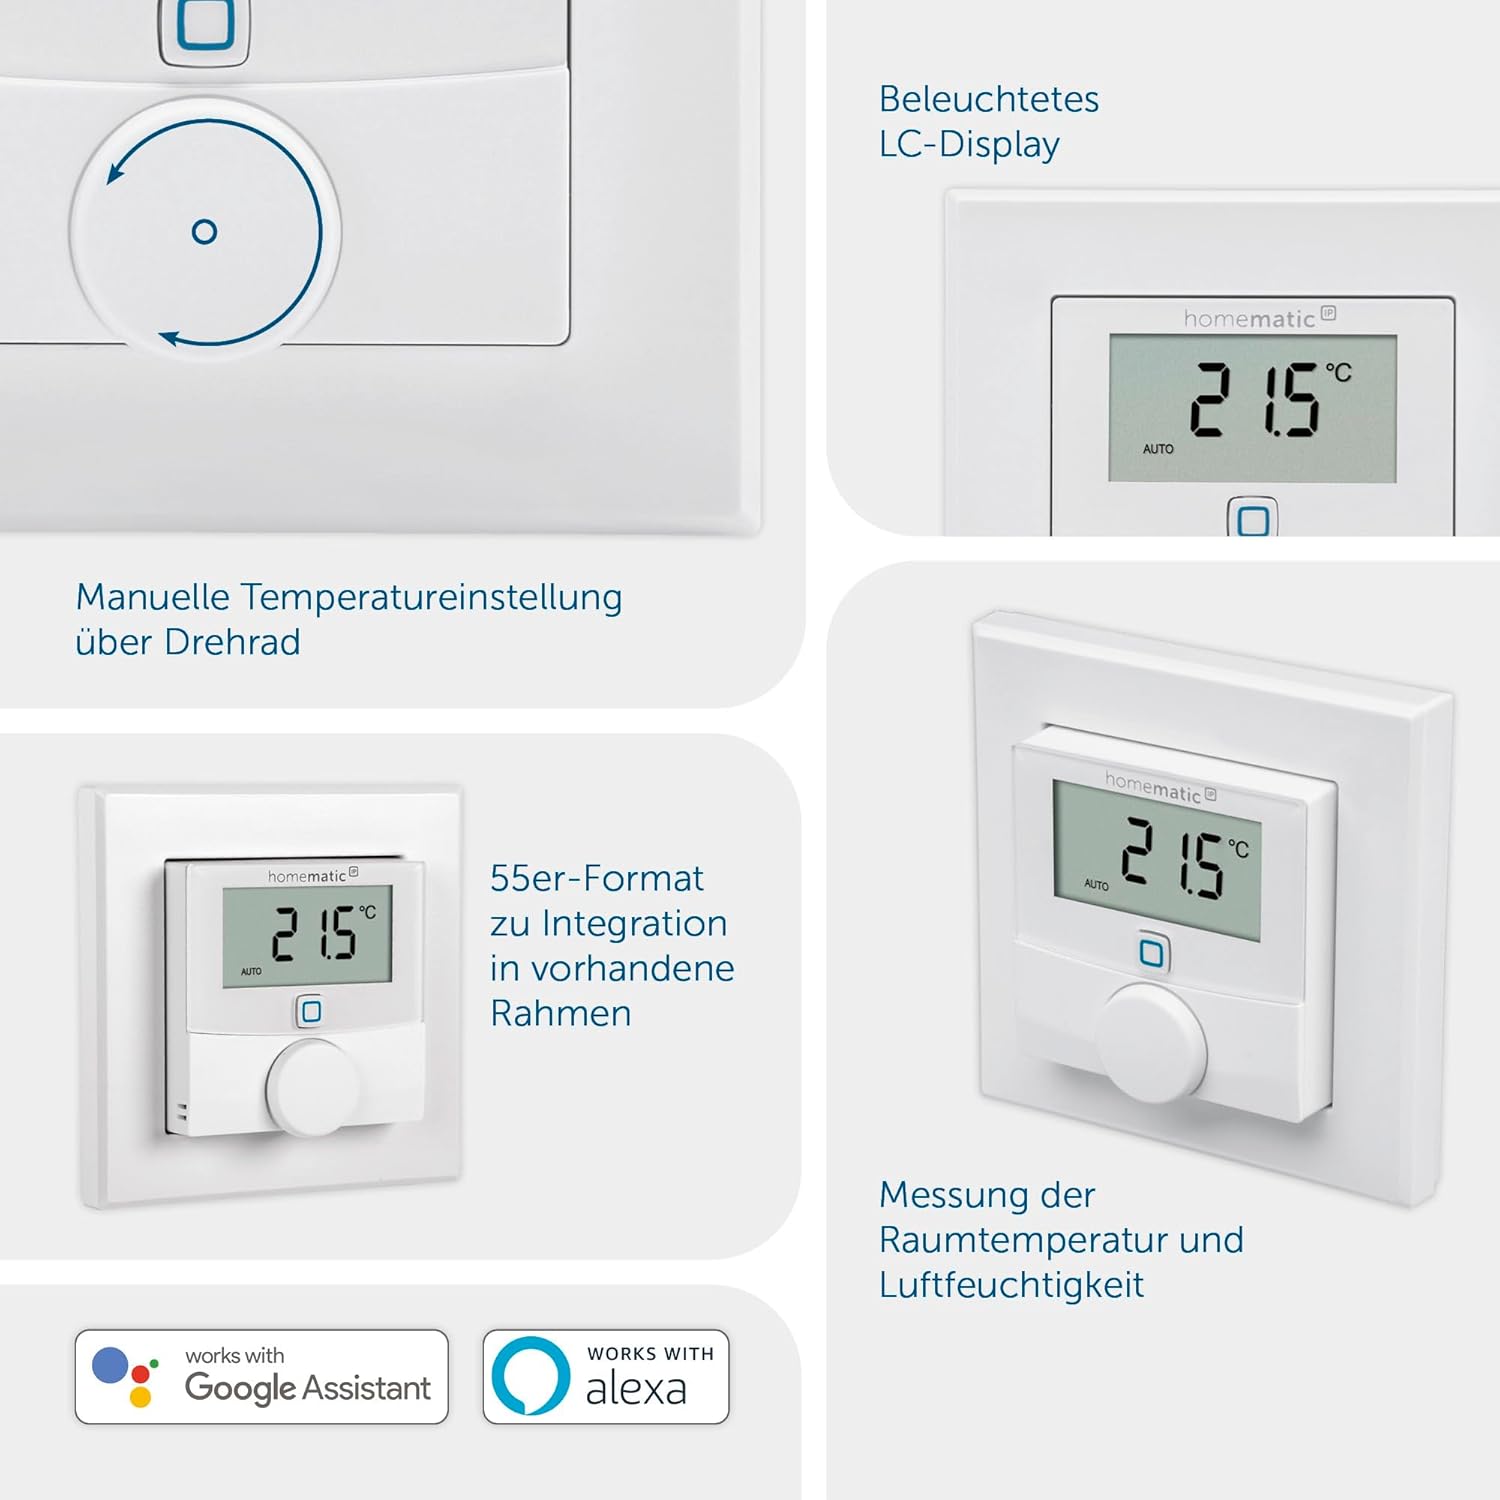
Figure 4.2: Thermostat showing its 55er format for integration into existing frames.
4.3. Системна інтеграція
Operation of the Homematic IP Wall Thermostat requires connection to one of the following solutions:
- Homematic IP Access Point: Connects the device to the free smartphone app and cloud service.
- Central CCU3: For local interface WebUI control. (Note: Not compatible with CCU2 headquarters).
- Third-party Partner Solutions: Compatible with various smart home platforms.
To integrate the device into your Homematic IP system, use the QR code sticker with the TAN number. It is crucial to keep this TAN number safe, ideally by attaching it to the back of the mounting plate, as it is essential for re-integrating the device into the system if needed.

Figure 4.3: Homematic IP Access Point, required for operation.
5. Керування термостатом
5.1. Вимірювання температури та вологості
The thermostat accurately measures both the target and actual room temperature, as well as humidity. This data is displayed on the illuminated LC-display and transmitted to your Homematic IP system for comprehensive climate control.
5.2. Ручне регулювання температури
You can manually adjust the desired room temperature directly on the device using the adjustment wheel. Simply turn the wheel to increase or decrease the temperature setting. The new setting will be reflected on the display.
Figure 5.1: Manual temperature adjustment via the adjustment wheel.
5.3. Контроль та планування програм
For advanced control and scheduling, use the Homematic IP smartphone app. The app allows you to:
- Set up to 3 heating profiles with up to 13 changes per day.
- Monitor current temperature and humidity.
- Налаштуйте параметри дистанційно.
- Integrate with other Homematic IP devices for comprehensive smart home automation.
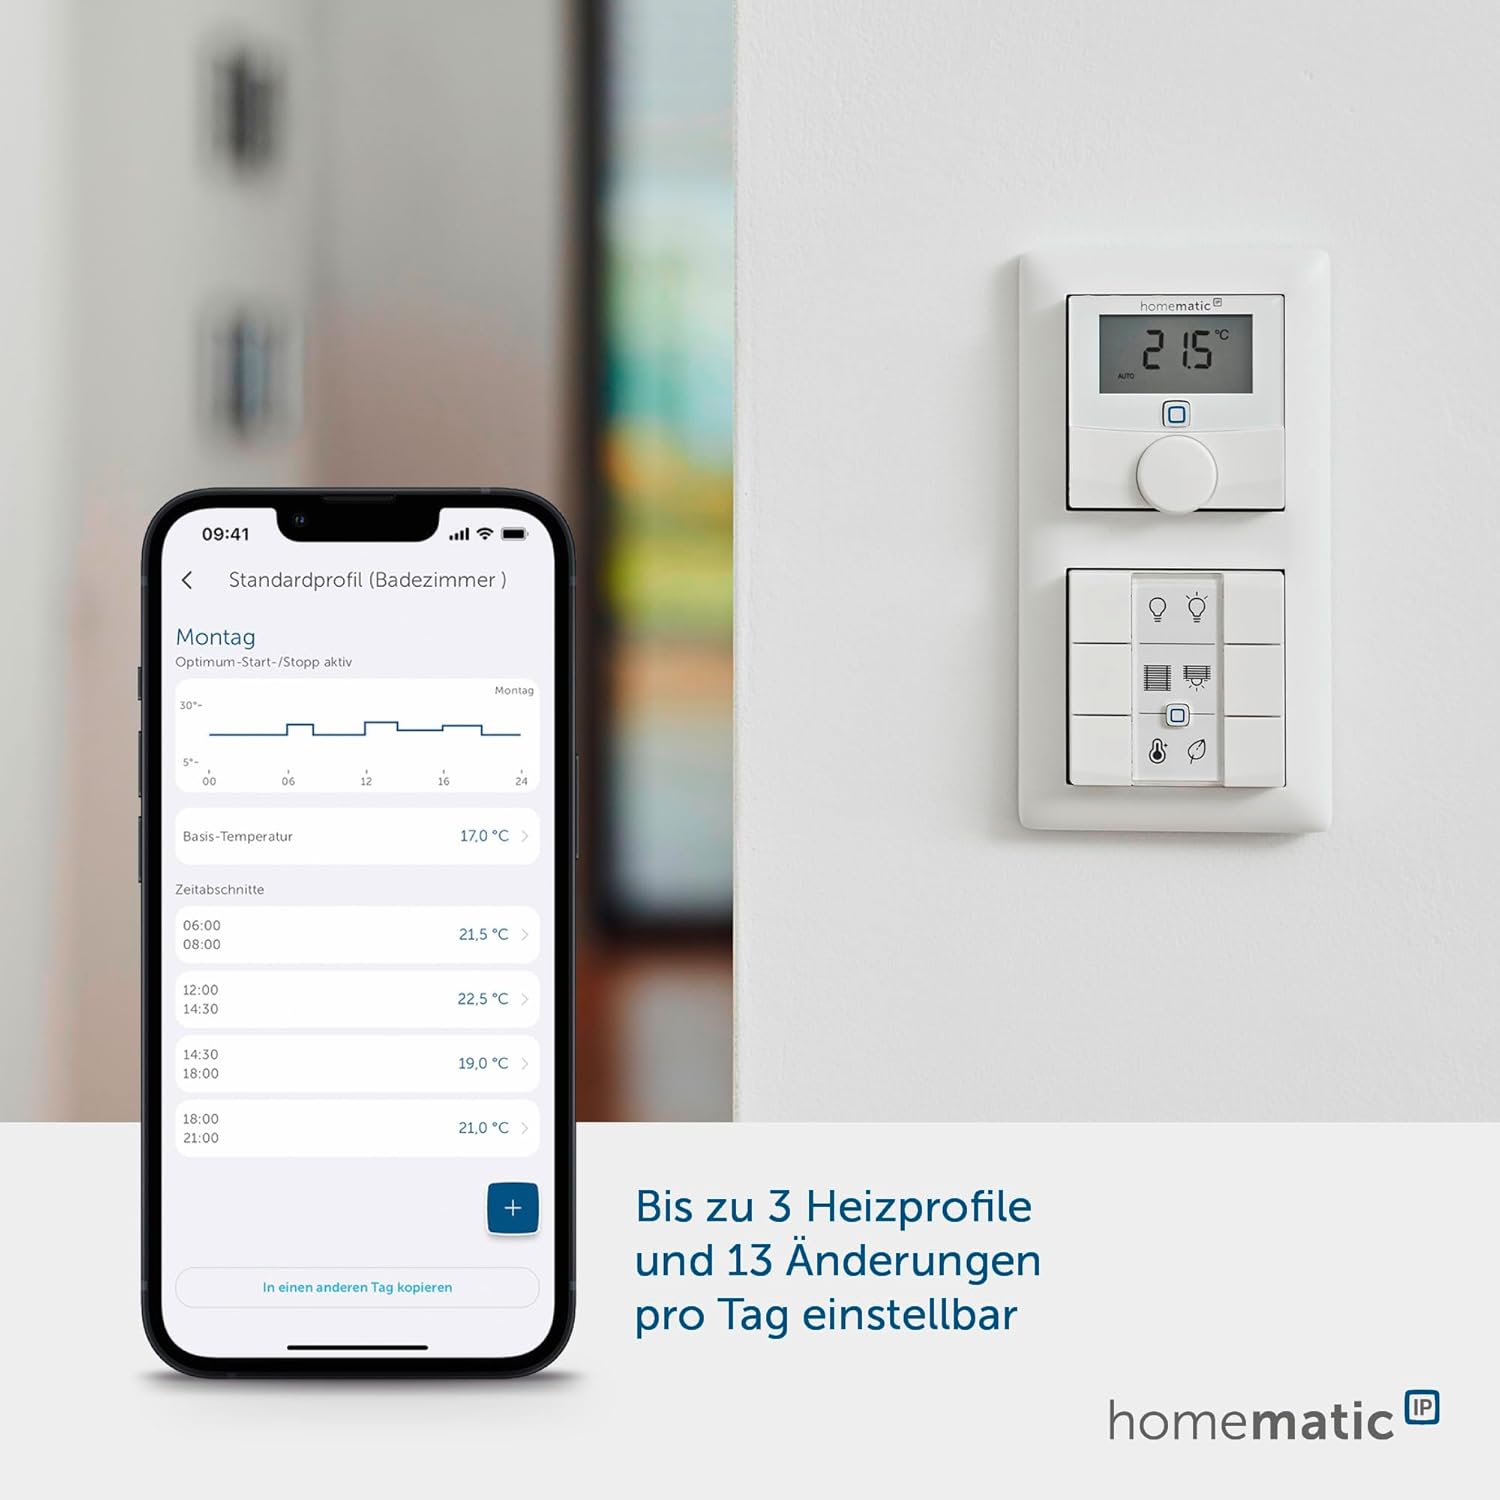
Figure 5.2: Homematic IP App interface for setting heating profiles.
5.4. Голосове керування
The thermostat supports comfortable voice control with Amazon Alexa and Google Assistant when used in conjunction with the Homematic IP Access Point. This allows you to adjust temperatures using voice commands through devices like Amazon Echo or Google Home.
Figure 5.3: Compatibility with Google Assistant and Alexa.
5.5. Integration with Heating Systems
The thermostat is designed to work with both radiator and underfloor heating systems, providing precise room temperature measurement for exact control.

Figure 5.4: Thermostat controlling radiator and underfloor heating systems.
6. Технічне обслуговування
6.1. Заміна батареї
The thermostat features a low battery indicator on its display. When the battery symbol appears, it is time to replace the batteries. Follow the steps in Section 4.1 to replace the two AAA batteries. The device will resume operation immediately after battery replacement.
6.2. прибирання
Clean the device with a soft, dry, lint-free cloth. Do not use abrasive cleaners or solvents, as these can damage the surface and internal components.
7. Вирішення проблем
7.1. Пристрій не відповідає
- Check the batteries: Ensure they are correctly inserted and not depleted. Replace if necessary.
- Verify connection to Access Point/CCU3: Ensure your Homematic IP Access Point or CCU3 is powered on and functioning correctly.
- Check signal strength: Ensure the thermostat is within range of your Homematic IP central unit.
7.2. Connectivity Issues (App/Cloud Service)
- Internet connection: Ensure your home internet connection is stable.
- Homematic IP server status: Occasionally, Homematic IP servers may undergo maintenance or experience temporary outages. Check the Homematic IP website or social media for status updates. During such times, local control via the device or CCU3 may still function, but remote app control will be affected.
7.3. Re-integration after Reset/Replacement
If the device needs to be reset or replaced, you will require the original TAN number (found on the QR code sticker) to re-integrate it into your Homematic IP system. Without this number, re-pairing is not possible. Always keep your TAN numbers in a safe place.
8. Технічні характеристики
| Особливість | Специфікація |
|---|---|
| Назва моделі | Homematic IP (HmIP-WTH-1) |
| Розміри продукту | 0.98" Г x 3.39" Ш x 3.39" В |
| Вага товару | 3.53 унції (100 грама) |
| Колір | Білий |
| матеріал | пластик |
| Джерело живлення | Battery Powered (2x AAA batteries, included) |
| Тип дисплея | LED (Lighted) |
| Технологія підключення | Домашнє IP |
| Спосіб контролю | App, Push Button (Adjustment Wheel) |
| Особливості | Lighted, Low Battery Indicator, Programmable, Temperature Display, Humidity Sensor |
| Тип монтажу | Настінне кріплення |
9. Гарантія та підтримка
This product is manufactured by eQ-3 AG. For information regarding warranty, technical support, and spare parts availability, please refer to the official Homematic IP website or contact their customer service. The EU spare part availability duration for this product is 1 year.
For further assistance, please visit the Homematic IP support portal or consult the comprehensive online documentation.