
Andonstar AD246S-P
Інструкція з експлуатації цифрового мікроскопа Andonstar AD246S-P HDMI
Model: AD246S-P | Brand: Andonstar
1. Вступ
The Andonstar AD246S-P is a versatile HDMI digital microscope designed for detailed observation and recording. Featuring a 7-inch screen, 2160P UHD video recording capabilities, and a multi-lens system, it is suitable for examining various objects including coins, circuit boards, biological slides, and more. This manual provides instructions for proper setup, operation, and maintenance of your device.

Figure 1: Andonstar AD246S-P Digital Microscope Overview
2. Що входить до комплекту
The Andonstar AD246S-P package includes the following components:
- 1x Microscope Host
- 1x Plastic Stand
- 1x Lens A (18-720x magnification)
- 1x Lens B (1560-2040x magnification)
- 1x Lens C (2760-4080x magnification)
- 2x USB Spot Lights
- 1x 32 ГБ Micro SD-карта
- 1x кабель USB
- 1x Switch Cable
- 1x кабель HDMI
- 1x пульт дистанційного керування
- 5 підготовлених слайдів
- 1x Observation Box
- 1x Пінцет
- 3x Backdrop Boards
- 1x викрутка
- 1x Інструкція з експлуатації

Малюнок 2: Вміст пакета
3. Налаштування
3.1 Збірка підставки
Assemble the plastic stand by following the instructions provided in the video below. Ensure all screws are tightened for stability.
Video 1: How to Install the Plastic Bracket for AD246/AD249 (Applicable to AD246S-P)
Video 2: Assemble the Plastic Stand for AD246, 246S, 249, 249S
3.2 Підключення компонентів
Connect the microscope host to the stand. Plug in the USB spot lights and the power cable. Insert the provided 32GB Micro SD card into the designated slot on the microscope host.
4. Інструкція з експлуатації
4.1 Увімкнення/вимкнення живлення
Press and hold the Power On/Off button on the microscope host to turn the device on or off.
4.2 Lens Installation and Usage
The AD246S-P comes with three interchangeable lenses (A, B, and C) to suit different observation needs. Lenses can be exchanged by removing and installing screws.

Figure 3: Multi-Lens System Overview
Video 3: How to use the 3 lenses of AD246/AD249 plastic stand (Applicable to AD246S-P)
4.2.1 Lens A (18-720x)
Use Lens A for observing larger objects such as whole coins, circuit boards, plants, or stones. It provides a magnification range of 18-720x.

Figure 4: Coin and PCB Observation with Lens A
Video 4: Andonstar AD246S-Use lens A to observe coins
Video 5: Andonstar AD246S-Use lens A to observe flowers
Video 6: AD246S HDMI microscope-Use lens A to observe butterfly
4.2.2 Lens B (1560-2040x) & Lens C (2760-4080x)
Lenses B and C are designed for higher magnification, ideal for observing biological slides and microscopic structures. Lens B offers 1560-2040x magnification, while Lens C provides 2760-4080x magnification.

Figure 5: Biological Observation with Lenses B and C
Video 7: Andonstar AD246S-Use lens B to observe prepared slides
4.3 Налаштування фокусу
Rotate the focusing wheel on the microscope body to adjust the image clarity. Use the bracket knob to fine-tune the object distance for optimal focus.
4.4 LED Lights Adjustment
The two USB spot lights can be adjusted in intensity and direction to provide optimal illumination for your specimen. Use the switch cable to control brightness levels.
4.5 Функції дистанційного керування
The wireless remote control allows for convenient operation from a distance. Functions include image discoloration, digital zoom, and menu navigation.
4.6 Фото- та відеозапис
With the included 32GB Micro SD card, you can easily capture and store images or videos of your observations. Use the remote control or the buttons on the microscope host to switch between photo and video modes and initiate recording.
4.7 Вихід HDMI
Connect the microscope to a larger screen or monitor via the HDMI cable for an expanded view of the microscopic world.
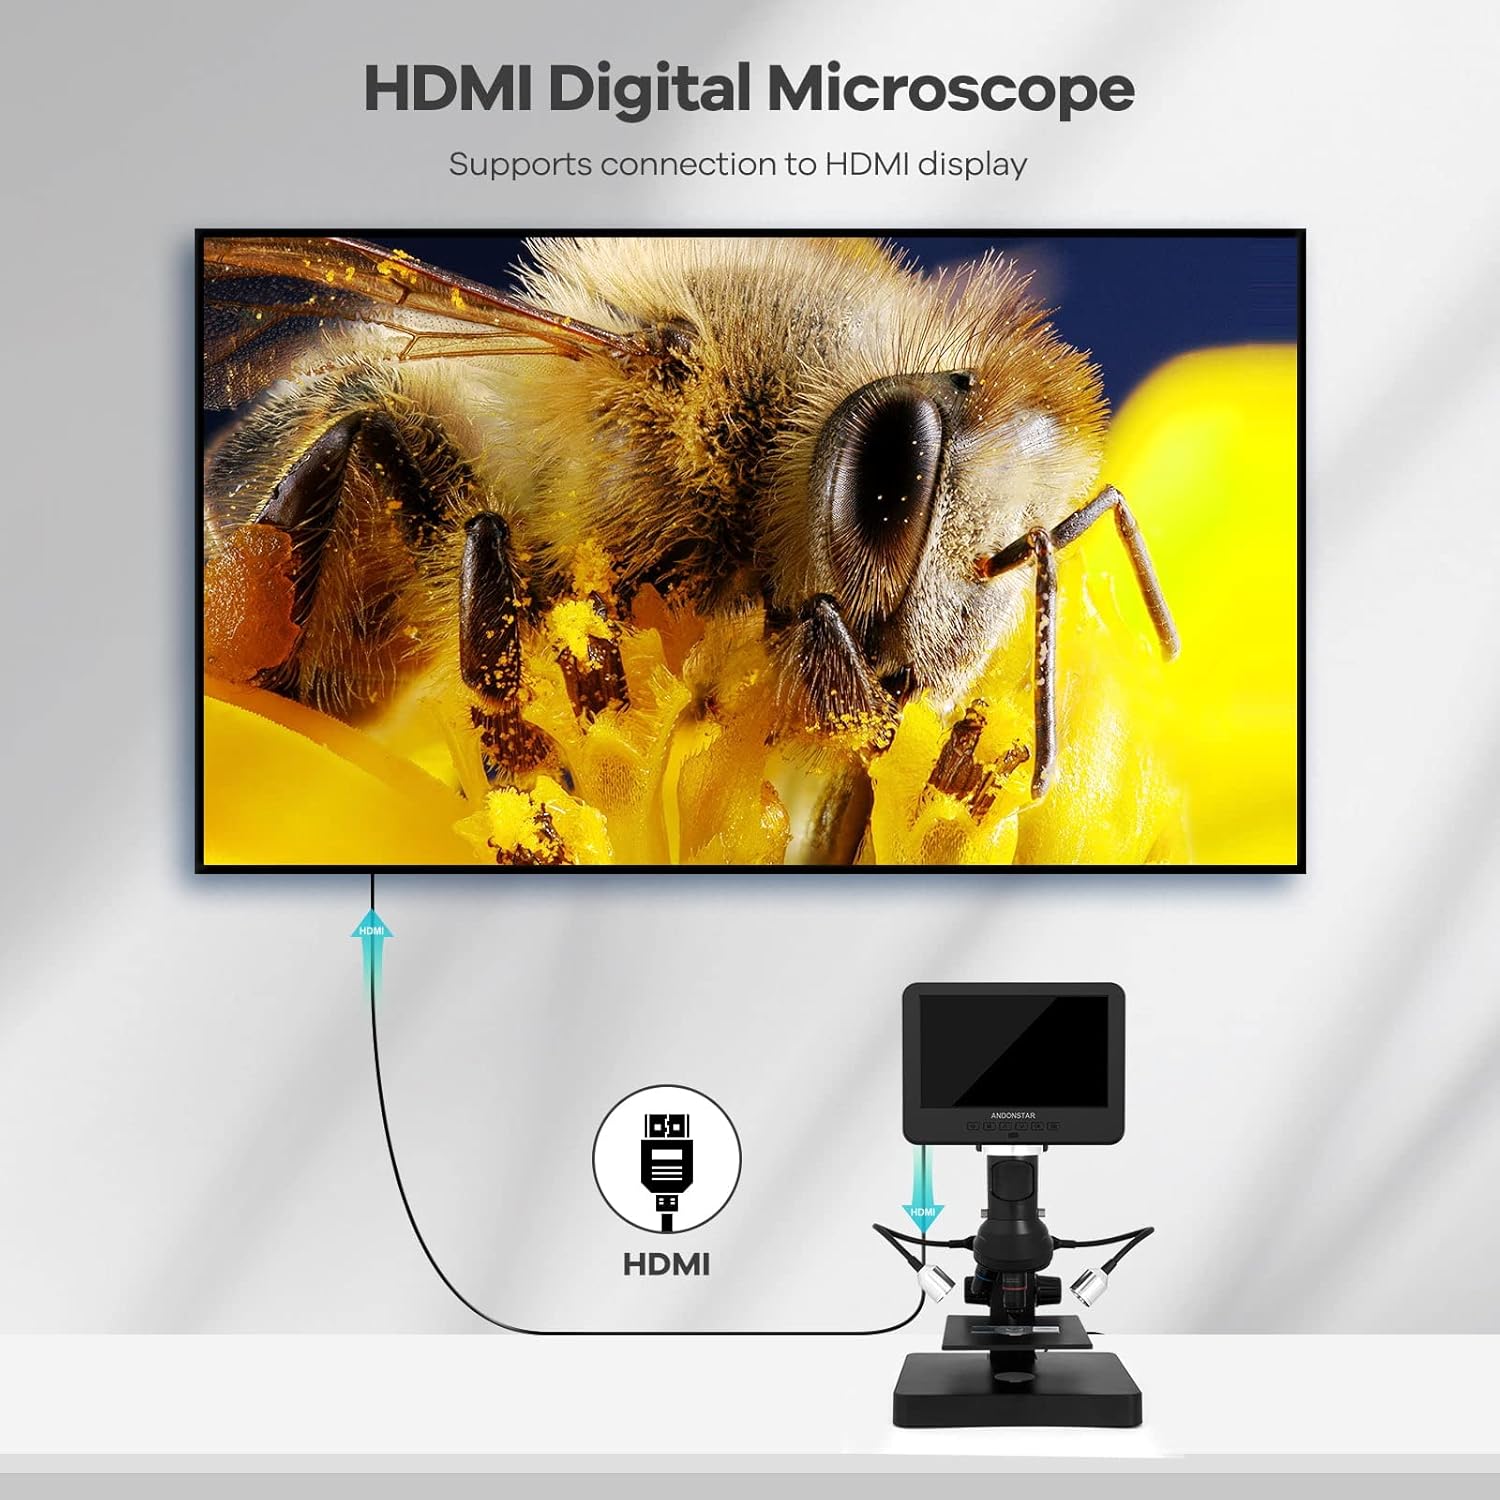
Figure 6: HDMI Output to External Display
4.8 USB Connection to PC
Connect the microscope to a Windows PC using the USB cable to utilize professional measurement software. This software allows for object measurement, area calculation, photo capture, and video recording directly on your computer.

Figure 7: USB Connection to PC for Software Use
5. Технічні характеристики
- Розміри продукту: 7.87 x 7.48 x 11.81 дюймів
- Вага товару: 4.13 фунта (1.88 кілограма)
- Номер моделі товару: AD246S-P
- Виробник: ShenZhen Andonstar Technology Co., Ltd
- Тип джерела світла: LED
- матеріал: пластик
- колір: Чорний, Срібний
- Реальний кут View: 178 градусів
- Максимальне збільшення: 4080.00x
- томtage: 240 вольт
6. Технічне обслуговування
To ensure the longevity and optimal performance of your Andonstar AD246S-P microscope, follow these maintenance guidelines:
- Keep the lenses clean using a soft, lint-free cloth. Avoid abrasive materials.
- Зберігайте мікроскоп у сухому, безпиловому середовищі, коли він не використовується.
- Уникайте впливу на пристрій екстремальних температур або прямих сонячних променів.
- Поводьтеся з мікроскопом та його компонентами обережно, щоб запобігти пошкодженню.
7. Вирішення проблем
If you encounter issues with your microscope, refer to the following common troubleshooting tips:
- Немає живлення: Ensure all cables are securely connected and the power adapter is functioning correctly.
- Розмите зображення: Adjust the focusing wheel and the bracket knob to achieve clear focus. Ensure the correct lens is installed for the desired magnification.
- Немає зображення на екрані: Check cable connections (power, HDMI, USB). Ensure the device is powered on.
- Помилка SD-карти: Ensure the SD card is inserted correctly. Try reformatting the SD card (this will erase all data).
- Проблеми з підключенням до ПК: Verify USB cable connection. Ensure the correct measurement software drivers are installed on your Windows PC.
8. Гарантія та підтримка
Andonstar Technology Co., Ltd provides professional after-sales service. For any issues or inquiries, please contact our support team. We offer 24-hour professional after-sales service to assist you.
Ask a question about this manual
Ask about setup, troubleshooting, compatibility, parts, safety, or missing instructions. Manuals+ will review the question and use this page’s manual context to help answer it.