
1. Інформація про безпеку
Please read and understand all safety information before operating this digital multimeter. Failure to follow these instructions may result in electric shock, fire, or damage to the device.
- Завжди переконайтеся, що мультиметр налаштовано на правильну функцію та діапазон, перш ніж проводити будь-які вимірювання.
- Не перевищуйте максимальні вхідні значення, зазначені для кожної функції.
- Будьте обережні при роботі з обtagвище 30 В змінного струму (RMS), 42 В пікового значення або 60 В постійного струму, оскільки вони становлять небезпеку ураження електричним струмом.
- Перевіряйте вимірювальні дроти на наявність пошкоджень перед кожним використанням. Не використовуйте, якщо ізоляція порушена.
- УВАГА: Before opening the case for battery or fuse replacement, always remove the test leads from the object being measured and disconnect from any power source to avoid electric shock.
- This device features F0.5A/600V fuse overload protection. Replace fuses only with specified types and ratings.
2. Продукт закінчивсяview
The ANENG AN101 is a portable digital multimeter designed for measuring AC voltage, AC current, DC voltage, DC current, and resistance. It features an easy-to-read LCD display with 1999 counts and supports both automatic and manual ranging for versatile use in various electrical and electronic applications.
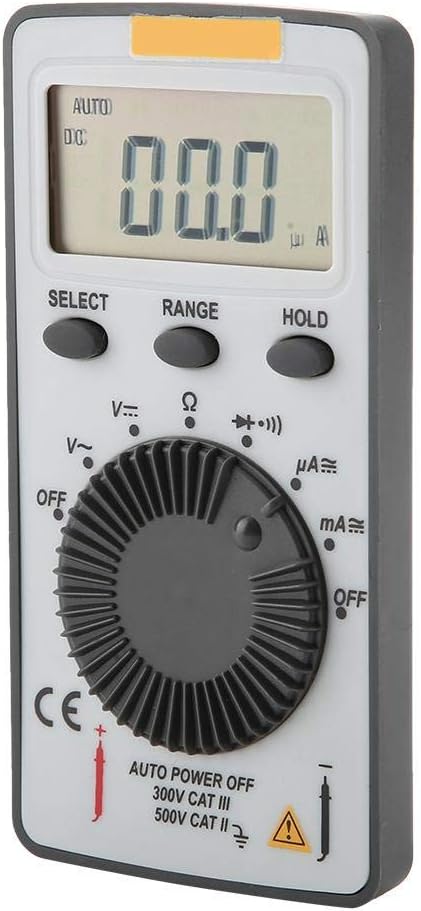
Малюнок 2.1: Спереду view of the ANENG AN101 Digital Multimeter. This image displays the device's LCD screen, the central rotary function dial, and the 'SELECT', 'RANGE', and 'HOLD' buttons.
3. Налаштування
3.1 Встановлення батареї
- Переконайтеся, що мультиметр вимкнено, та від’єднайте всі вимірювальні дроти.
- Знайдіть батарейний відсік на задній панелі пристрою.
- За допомогою викрутки відкрийте кришку батарейного відсіку.
- Insert two 3V CR2032 batteries, observing the correct polarity.
- Встановіть на місце кришку батарейного відсіку та закріпіть її гвинтом.

Малюнок 3.1: Задня частина view of the ANENG AN101 Digital Multimeter. This image shows the battery compartment cover and a safety warning regarding opening the case.
3.2 Підключення вимірювальних щупів
- Insert the red test lead into the 'VΩmA' input jack.
- Insert the black test lead into the 'COM' input jack.
- Ensure the connections are firm before proceeding with measurements.
4. Інструкція з експлуатації
4.1 Увімкнення/вимкнення живлення
Rotate the central dial from 'OFF' to any measurement function to power on the device. To power off, rotate the dial back to 'OFF'. The multimeter also features an auto power-off function to conserve battery life.
4.2 Вибір функції
Turn the rotary dial to select the desired measurement function (e.g., DC Voltage (V=), AC Voltage (V~), Resistance (Ω), DC Current (μA=, mA=), AC Current (μA~, mA~)).
4.3 Range Selection (Auto/Manual)
The AN101 supports both automatic and manual ranging. In auto-ranging mode, the meter automatically selects the best range for the measurement. Press the 'RANGE' button to switch between auto and manual ranging. In manual mode, press 'RANGE' repeatedly to cycle through available ranges.
4.4 Вимірювання постійного струму Voltage
- Set the rotary dial to 'V='.
- Connect the red test lead to the positive side of the circuit and the black test lead to the negative side.
- Прочитайте томtage value on the LCD display. The polarity will be indicated automatically.
4.5 Вимірювання AC Voltage
- Set the rotary dial to 'V~'.
- Підключіть вимірювальні дроти до клем змінного струму.tagе джерело.
- Прочитайте томtagзначення e на РК-дисплеї.
4.6 Вимірювання постійного струму
- Set the rotary dial to 'μA=' or 'mA=' depending on the expected current.
- УВАГА: To measure current, the multimeter must be connected in series with the circuit. Do not connect it in parallel across a voltagе джерело.
- Break the circuit and connect the multimeter in series, ensuring the red lead is towards the higher potential and the black lead towards the lower potential.
- Прочитайте поточне значення на РК-дисплеї.
4.7 Measuring AC Current
- Set the rotary dial to 'μA~' or 'mA~'.
- УВАГА: Connect the multimeter in series with the circuit.
- Break the circuit and connect the multimeter in series.
- Прочитайте поточне значення на РК-дисплеї.
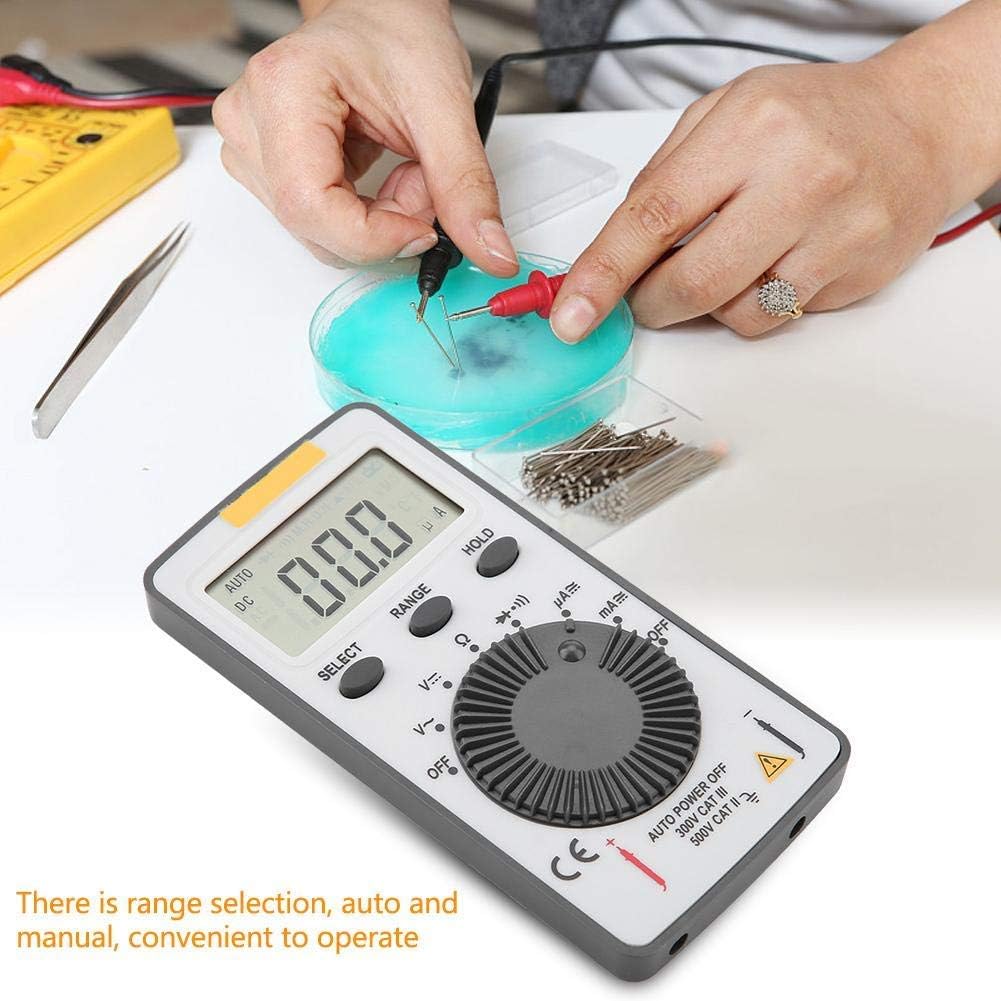
Figure 4.1: The ANENG AN101 Digital Multimeter in use, demonstrating its application for measuring electrical components. The image highlights the ease of operation with auto and manual range selection.
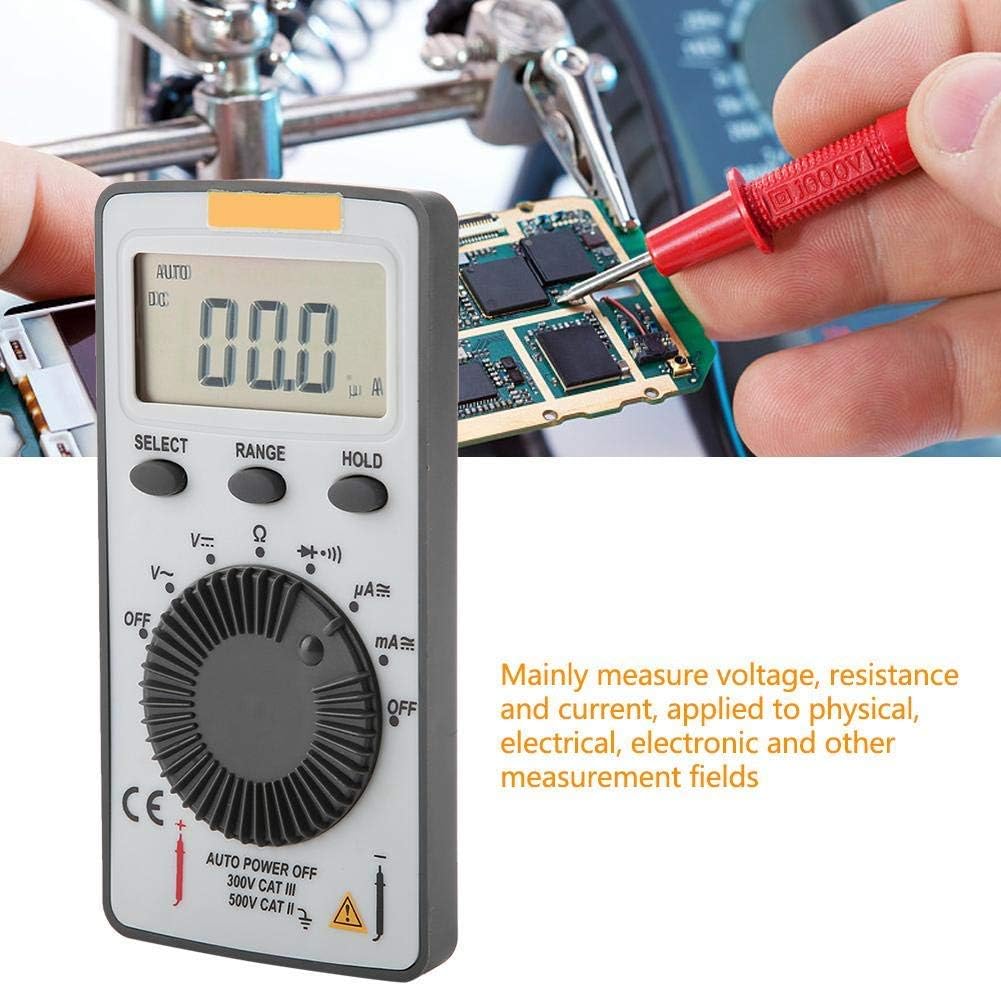
Figure 4.2: The ANENG AN101 Digital Multimeter being used to measure voltage or current on a circuit board. This illustrates its primary function in physical, electrical, and electronic measurement fields.
4.8 Функція утримання
Press the 'HOLD' button to freeze the current reading on the display. Press it again to release the hold function and resume live measurements.
5. Технічне обслуговування
5.1 Очищення
Wipe the device with a dry, soft cloth. Do not use abrasive cleaners or solvents. Keep the device free from dust and moisture.
5.2 Заміна батареї
When the battery indicator appears on the display, replace the batteries as described in Section 3.1. Always use two new 3V CR2032 batteries.
5.3 Заміна запобіжника
If the current measurement functions stop working, the fuse may need replacement. Refer to the safety warnings in Section 1 before attempting to open the case. Replace the fuse only with a F0.5A/600V type.
6. Вирішення проблем
- Немає дисплея: Перевірте встановлення батарейок та переконайтеся, що батарейки не розряджені.
- Відображається "OL": This indicates an over-range condition. Either the measured value exceeds the selected range, or the circuit is open (for resistance/current measurements). Select a higher range or check circuit continuity.
- Неправильні показники: Ensure test leads are properly connected, the correct function and range are selected, and the circuit connections are secure.
- Вимірювання струму не працює: Check the fuse as described in Section 5.3.
7. Технічні характеристики
| Особливість | Специфікація |
|---|---|
| Бренд | ANENG |
| Модель | AN101 |
| Дисплей | LCD, 1999 Counts |
| Швидкість оновлення | 2 разів / секунду |
| Розмір LCD | 40 * 20 мм |
| Індикація полярності | Automatic '-' |
| Індикація перевищення діапазону | 'OL' |
| Вибір діапазону | Авто або Вручну |
| Робоча температура | 0℃ to 40℃, Relative Humidity: <80% RH |
| Температура зберігання | -10℃ to 50℃, Relative Humidity: <85% RH |
| Тип батареї | 2 * 3V, CR2032 size (not included) |
| DC Voltage Вхідний опір | 10 МОм |
| DC Voltage Захист від перевантаження | 600 В DC / AC RMS |
| Макс. DC Voltage Вхід | 600 В постійного струму |
| DC Current Overload Protection | F0.5A / 600V Fuse |
| Max. DC Current Input | 500 мА |
| AC Current Overload Protection | F0.5A / 600V Fuse |
| Max. AC Current Input | 500 мА |
| AC Current Frequency Range | 40 Гц - 400 Гц |
| AC Voltage Вхідний опір | 10 МОм |
| AC Voltage Діапазон частот | 40 Гц - 400 Гц |
| AC Voltage Захист від перевантаження | 600 В DC / AC RMS |
| Макс. AC Voltage Вхід | 600 В змінного струму RMS |
| вага | прибл. 102 г / 3.6 унцій |
| Розміри | Approx. 110 * 55 * 10 mm / 4.3 * 2.2 * 0.4 in |
| Вміст упаковки | 1 * Digital Multimeter, 2 * Test Leads |

Figure 7.1: Dimensions of the ANENG AN101 Digital Multimeter, showing its compact size for portability.
8. Гарантія та підтримка
Щоб отримати інформацію про гарантію та технічну підтримку, зверніться до документації, наданої під час покупки, або зверніться до продавця. Зберігайте чек про покупку як підтвердження покупки.