
1. Вступ
This manual provides detailed instructions for the installation, operation, and maintenance of your VPFET HDMI Extender. This device allows you to extend 1080p HDMI signals up to 200 feet (60 meters) over a single Cat5e/6/7 Ethernet cable. It supports Power over Cable (POC) technology, requiring power only at the Transmitter (TX) unit.
2. Інформація про безпеку
- Ensure all cables are connected securely before powering on the device.
- Use only the provided 5V DC power adapter.
- Не піддавайте пристрій дії вологи або екстремальних температур.
- Avoid disassembling the unit; refer servicing to qualified personnel.
- Use high-quality oxygen-free copper Cat5e/6/7 cables for optimal performance and transmission distance.
3. Вміст упаковки
Перевірте наявність усіх предметів у вашій упаковці:
- 1 x HDMI Transmitter (TX) Unit
- 1 x HDMI Receiver (RX) Unit
- 1 х 5 В постійного струму
- 1 х посібник користувача

Image: Contents of the VPFET HDMI Extender package, showing the transmitter, receiver, power adapter, and user manual.
4. Продукт закінчивсяview і компоненти
Familiarize yourself with the ports and indicators on both the Transmitter (TX) and Receiver (RX) units.

Зображення: Детальне view of the Transmitter (TX) and Receiver (RX) units, highlighting HDMI Input/Output, 5V Power Output, EDID Copy button, and RJ45 ports.
Передавач (TX):
- Вхід через HDMI: Connects to the HDMI source device (e.g., PC, DVD player, game console).
- Вхідне живлення 5 В: Підключається до адаптера живлення постійного струму 5 В, що входить до комплекту.
- EDID Copy Button: Used to copy EDID information from the display.
- RJ45 Output (OUT): Connects to the Receiver (RX) unit via Cat5e/6/7 cable.
Приймач (RX):
- Вихід HDMI: Connects to the HDMI display device (e.g., TV, monitor).
- RJ45 Input (IN): Connects to the Transmitter (TX) unit via Cat5e/6/7 cable.
- Note: The RX unit receives power via the Cat cable (POC) from the TX unit.
5. Інструкції з налаштування
Follow these steps to set up your HDMI Extender:
- Підключення джерела HDMI до передавача: Connect your HDMI source device (e.g., PC, DVD player, game console) to the HDMI-IN port of the Transmitter (TX) unit using a high-quality HDMI cable.
- Connect Display to RX: Connect your HDMI display device (e.g., TV, monitor) to the HDMI OUT port of the Receiver (RX) unit using a high-quality HDMI cable.
- Connect TX and RX with Ethernet Cable: Підключіть RJ45 OUT port of the TX unit to the ВХІД RJ45 port of the RX unit using a single Cat5e, Cat6, or Cat7 Ethernet cable. Ensure the cable is oxygen-free copper for optimal performance.
- Power On TX Unit: Підключіть адаптер живлення постійного струму 5 В, що входить до комплекту, до Вхідна напруга 5 В port on the Transmitter (TX) unit. The RX unit will receive power via the Ethernet cable (POC).
- Перевірте підключення: Once all connections are made and the TX unit is powered, check for signal on your display.

Image: Connection diagram illustrating how to connect the HDMI source (laptop, PC, DVD, TV Box) to the Transmitter (TX), the TX to the Receiver (RX) via a Cat5e/6/7 cable, and the RX to the display.
EDID Copy Function:
The EDID (Extended Display Identification Data) copy function ensures the best video and audio signals are transmitted by allowing the TX unit to learn the display's capabilities. It is recommended to perform this step if you experience display issues.
- Connect the Transmitter (TX) unit directly to your monitor/display using an HDMI cable (without the RX unit or Cat cable).
- Connect the 5V power adapter to the TX unit.
- Натисніть і утримуйте Кнопка EDID on the TX unit for approximately 3 seconds.
- The signal indicator light will flash 3 times, indicating that the EDID information has been successfully copied and stored.
- You can now proceed with the full setup as described above. The copied EDID will be remembered until the TX unit is reset or a new EDID copy operation is performed.
To restore factory EDID settings, connect the TX unit to power, then press and hold the EDID button for 3 seconds. The signal indicator will light up and then turn off, confirming the reset.

Image: Close-up of the Transmitter (TX) unit, highlighting the EDID button and its function in copying display information.
6. Інструкція з експлуатації
Once the setup is complete, the VPFET HDMI Extender operates automatically. Ensure your source device is powered on and outputting an HDMI signal, and your display is set to the correct HDMI input.
- Power Over Cable (POC): The TX unit powers the RX unit through the Ethernet cable, simplifying installation by eliminating the need for a power outlet at the display end.
- Automatic Equalization: The built-in automatic equalization algorithm adjusts for cable transmission distance, ensuring stable signal transmission without manual configuration.
- Підтримувані дозволи: The extender supports resolutions up to 1920x1200@60Hz and 1080p@60Hz.
- Підтримувані аудіоформати: DTS-HD, Dolby-trueHD, DTS, Dolby-AC3, DSD.
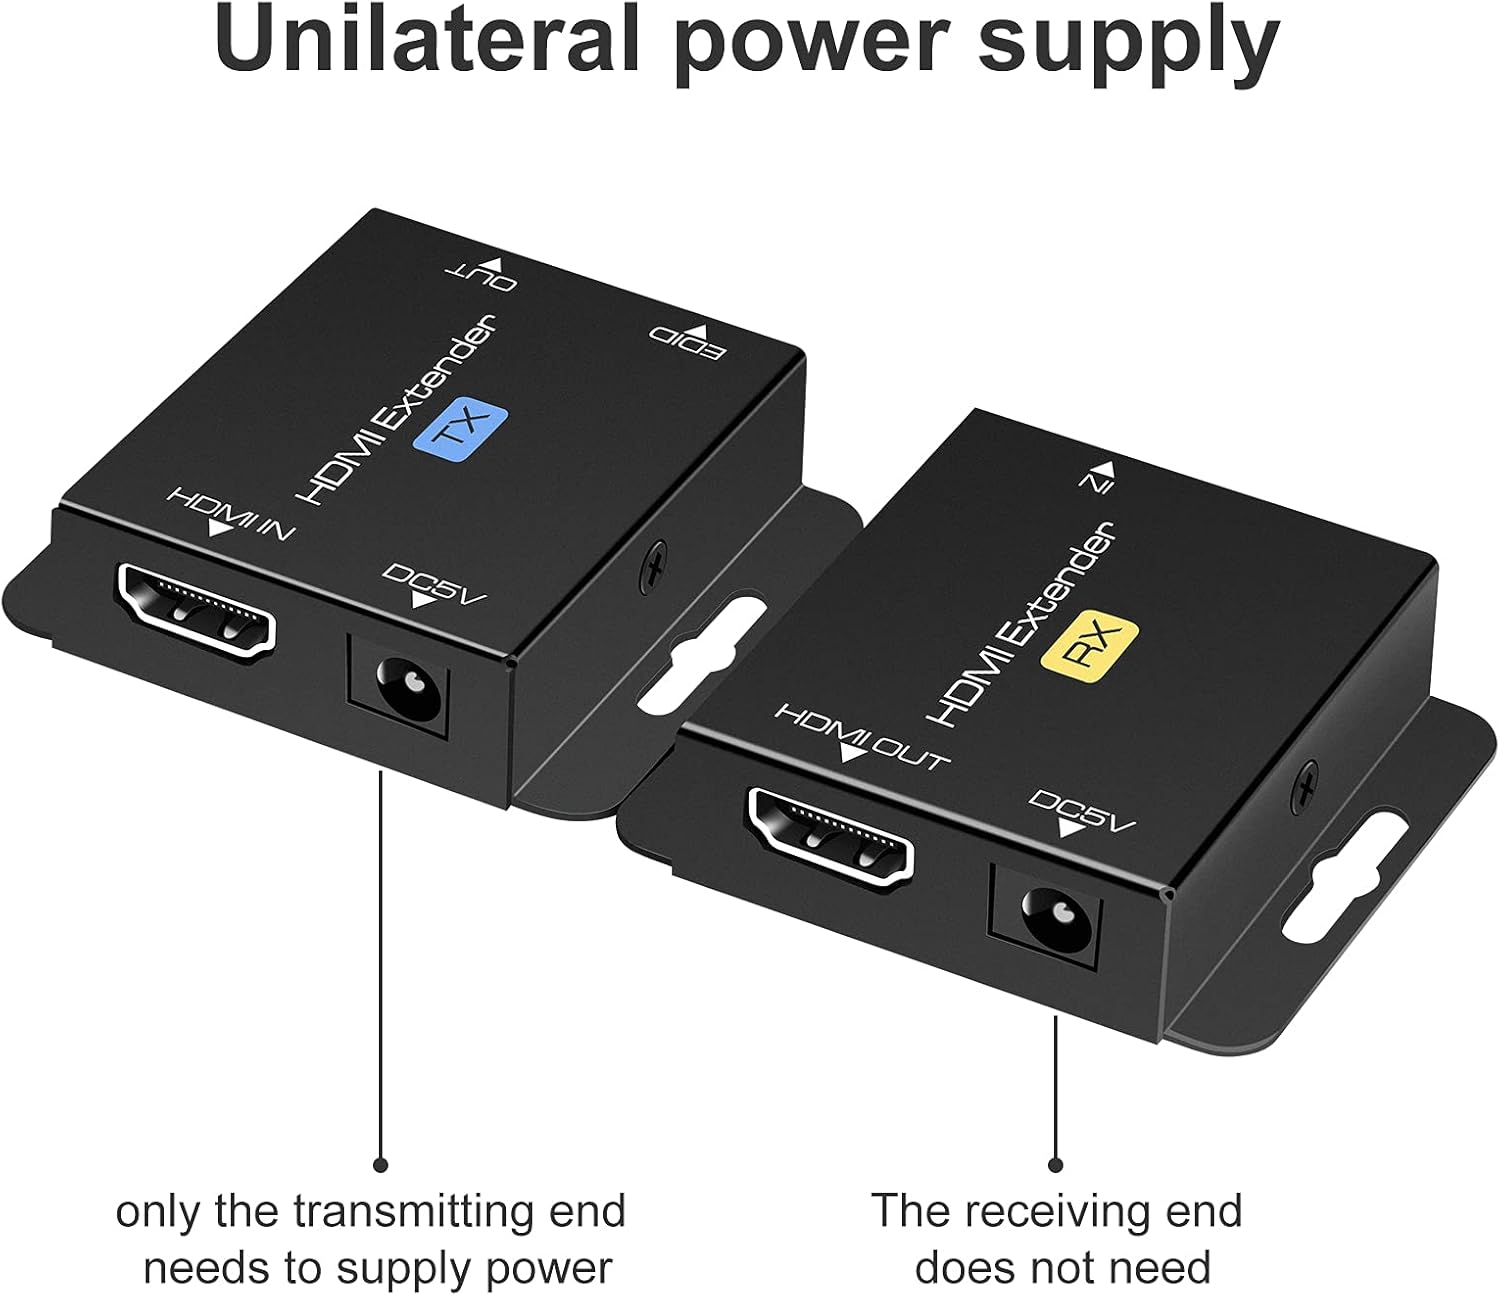
Image: Illustration of the unilateral power supply (POC) feature, indicating that only the transmitting (TX) end requires a power connection, while the receiving (RX) end does not.

Image: An illustration of the HDMI Extender in operation, showing a laptop connected to the TX unit, which is then connected via a long Ethernet cable to the RX unit, and finally to a large display, demonstrating extended transmission distance.
7. Технічні характеристики
| Особливість | Деталь |
|---|---|
| Підтримка максимальної роздільної здатності | 1920x1200@60Hz / 1080p@60Hz / 3D |
| Transmission Distance (Cat5e/6/7) | Up to 200ft (60m) for 1080p; up to 165ft for 1920x1200@60Hz |
| Підтримувані аудіоформати | DTS-HD, Dolby-trueHD, DTS, Dolby-AC3, DSD |
| Максимальна пропускна здатність передачі | 1.65 Гбіт/с |
| Відстань вхідного/вихідного кабелю HDMI | Up to 16ft (5m) AWG26 HDMI standard cable |
| Джерело живлення | Input: AC 100V-240V (50/60Hz), Output: DC 5V |
| POC Support | Yes (Power on Cat6/7 from TX to RX) |
| Копія EDID | так |
| Dimensions (TX/RX Unit) | Approx. 2.4in x 2.1in x 0.63in (6.1cm x 5.3cm x 1.6cm) |
| Вага товару | 9.3 унції (загальна вага упаковки) |
Image: Dimensions of the VPFET HDMI Extender Transmitter (TX) unit, showing its compact size.
8. Вирішення проблем
Якщо у вас виникли проблеми, зверніться до наступних поширених проблем та способів їх вирішення:
- Немає зображення/сигналу:
- Ensure all HDMI and Ethernet cables are securely connected.
- Verify the TX unit is powered on with the included 5V adapter.
- Check if the display is set to the correct HDMI input.
- Try performing the EDID Copy procedure (Section 5).
- Test with shorter, certified HDMI and Ethernet cables.
- Ensure the Ethernet cable is Cat5e/6/7 (oxygen-free copper recommended) and not damaged.
- Мерехтливий/періодичний сигнал:
- Check cable lengths; ensure they are within the specified limits (200ft for Cat cable, 16ft for HDMI).
- Ensure the Ethernet cable is not running parallel to power lines or other sources of interference.
- Спробуйте інший кабель Ethernet.
- Perform the EDID Copy procedure.
- Без звуку:
- Перевірте налаштування звуку на вихідному пристрої та дисплеї.
- Переконайтеся, що кабелі HDMI підтримують передачу аудіо.
- Perform the EDID Copy procedure.
9. Технічне обслуговування
The VPFET HDMI Extender requires minimal maintenance. Follow these guidelines to ensure longevity:
- Зберігайте пристрій у прохолодному, сухому місці, подалі від прямих сонячних променів та джерел тепла.
- Протирайте зовнішню частину м’якою сухою тканиною. Не використовуйте рідкі засоби для чищення або аерозолі.
- Забезпечте належну вентиляцію навколо пристроїв, щоб запобігти перегріву.
10. Гарантія та підтримка
For warranty information or technical support, please refer to the contact details provided with your purchase or visit the official VPFET website. Please have your model number (B099ZCTV74) and purchase date ready when contacting support.