
1. Продукт закінчивсяview
The Parkside PRMA 40-Li C1 is a powerful cordless lawn mower designed for efficient lawn maintenance. It features a 40 cm cutting width, a durable brushless motor, and is compatible with a dual charger for convenient battery management. This model offers a clean and precise cut, making it ideal for various lawn sizes.

Малюнок 1: Спереду view of the Parkside PRMA 40-Li C1 Cordless Lawn Mower.
2. Техніка безпеки
2.1 Загальні застереження щодо безпеки
- Always wear appropriate personal protective equipment (PPE) including safety glasses, sturdy footwear, and hearing protection when operating the lawn mower.
- Тримайте дітей, домашніх тварин та сторонніх осіб подалі від робочої зони.
- Inspect the area for objects such as stones, sticks, or toys before mowing and remove them to prevent damage to the blade or injury.
- Не використовуйте газонокосарку у мокрій траві або під дощем.
- Ніколи не піднімайте та не переносьте газонокосарку, коли двигун працює.
- Перед кожним використанням переконайтеся, що всі захисні пристрої та запобіжні пристрої встановлені та справно функціонують.
2.2 Безпека акумулятора
- Use only the specified battery packs and chargers for this appliance.
- Do not expose battery packs to heat or fire. Avoid direct sunlight.
- Не допускайте короткого замикання акумуляторної батареї.
- Store battery packs in a cool, dry place away from metal objects.
- If the battery pack is damaged, do not use it. Contact customer support.
3. Налаштування
3.1 Ручка в зборі
Unfold the handle and secure it in place using the quick-release levers or knobs provided. Ensure the handle is firmly locked before operation.

Малюнок 2: Сторона view of the lawn mower, illustrating handle position.
3.2 Встановлення батареї
Open the battery compartment cover. Insert the fully charged battery packs into their respective slots until they click into place. Close the battery compartment cover securely.

Figure 3: Inserting battery into the compartment.
3.3 Grass Box Attachment
Lift the rear discharge flap. Hook the grass collection box onto the mower's frame. Ensure it is securely attached to prevent grass clippings from escaping.
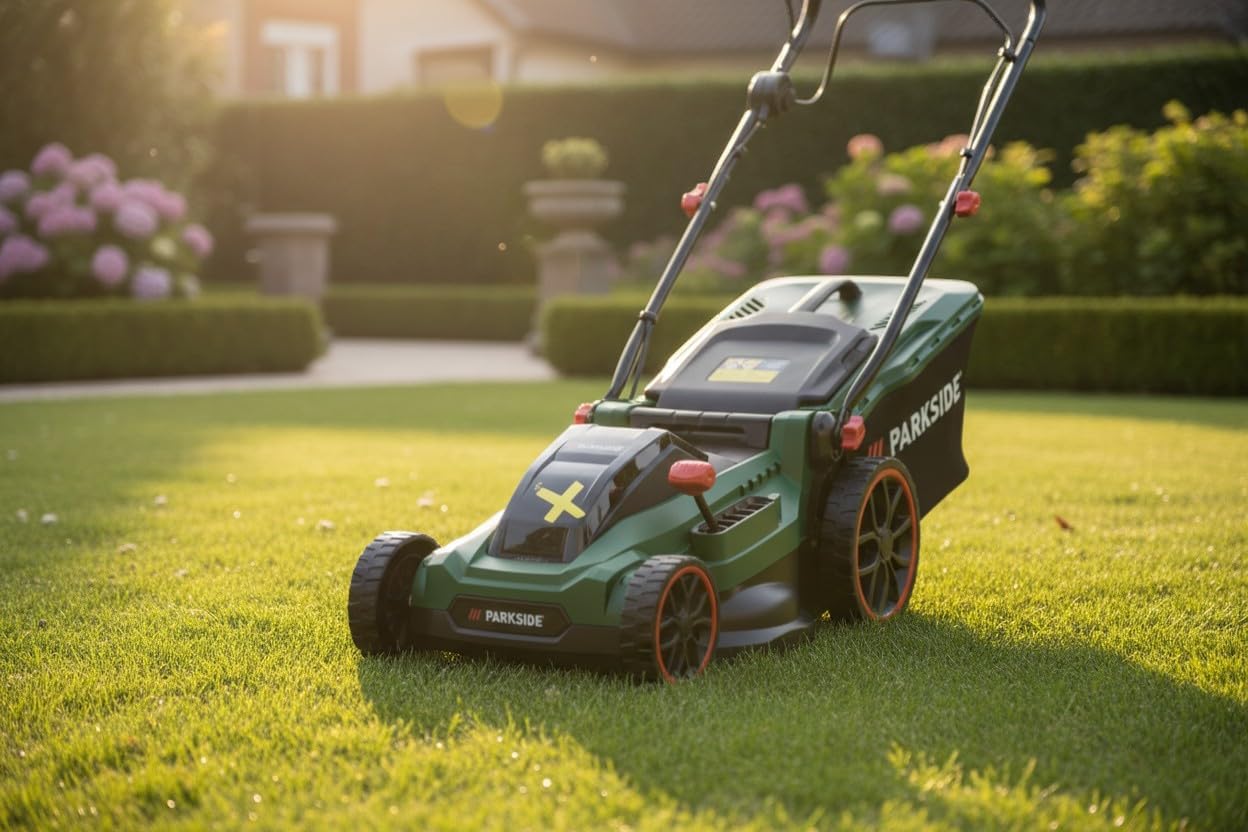
Figure 4: Attaching the grass collection box.
3.4 Регулювання висоти скошування
The cutting height can be adjusted centrally. Locate the height adjustment lever on the side of the mower. Pull the lever outwards and move it to the desired height setting (25-75 mm). Release the lever to lock it in position.

Figure 5: Adjusting the cutting height.
4. Інструкція з експлуатації
4.1 Запуск газонокосарки
To start the mower, press and hold the safety button, then pull the switch lever towards the handle. The motor will start. Release the safety button once the motor is running.
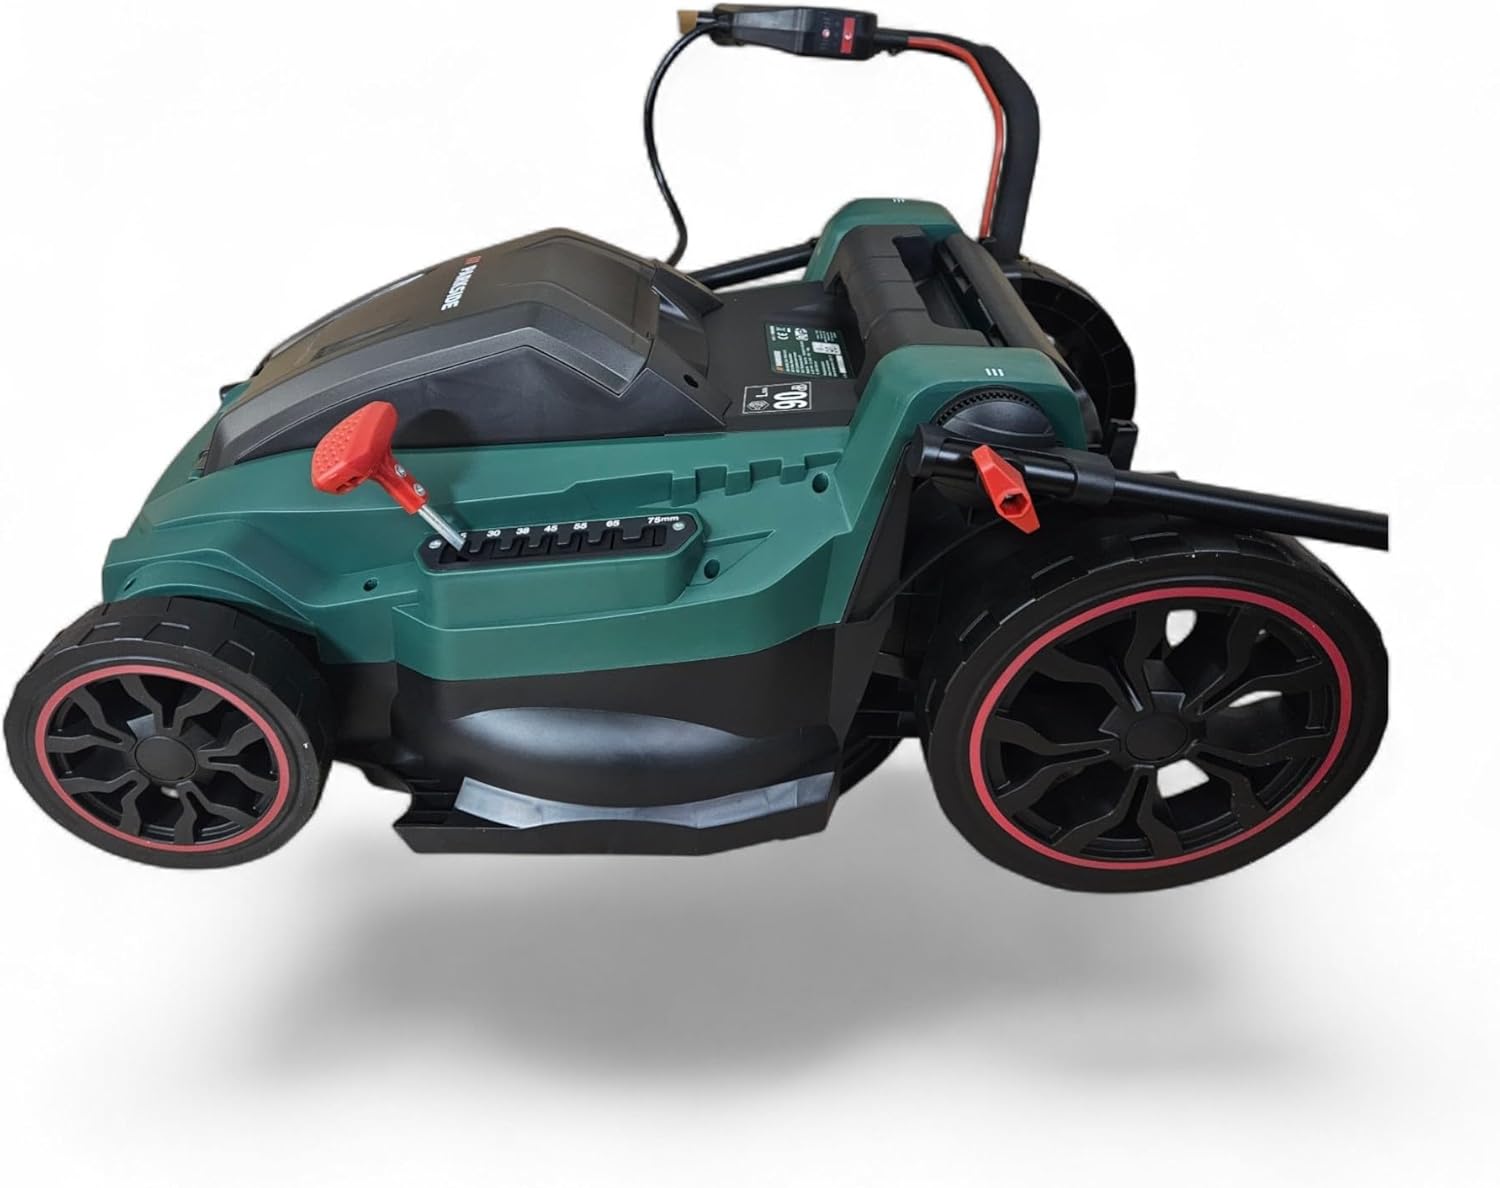
Figure 6: Operating the lawn mower.
4.2 Техніка скошування
- Косіть по прямих лініях, що перекриваються, для рівномірного зрізу.
- Для найкращих результатів уникайте скошування більше однієї третини висоти трави за раз.
- Регулярно змінюйте напрямок скошування, щоб запобігти злипання трави.
- When mowing slopes, always mow across the face of the slope, never up and down. Exercise extreme caution.
4.3 Зупинка газонокосарки
Release the switch lever to stop the motor. The blade will stop rotating within a few seconds.
4.4 Emptying the Grass Box
When the grass box is full, the mower's performance may decrease. Stop the mower, remove the battery for safety, and then detach the grass box. Empty the clippings into a suitable container.

Figure 7: Emptying the grass collection box.
5. Технічне обслуговування
5.1 Очищення газонокосарки
- After each use, disconnect the battery and clean the mower thoroughly.
- Remove grass clippings and debris from the cutting deck, wheels, and air vents using a brush or cloth.
- Do not use water or high-pressure cleaners directly on the motor or electrical components.
5.2 Догляд за лезом
Regularly inspect the cutting blade for sharpness and damage. A dull or damaged blade can lead to poor cutting performance and strain the motor. If necessary, have the blade sharpened or replaced by a qualified service technician.

Figure 8: Inspecting the cutting blade.
5.3 Зберігання батареї
When storing the mower for extended periods, remove the battery packs. Store batteries in a cool, dry place, ideally at a charge level of 50-70% to prolong their lifespan.

Figure 9: Parkside X 20V Team battery.
6. Вирішення проблем
| проблема | Можлива причина | Рішення |
|---|---|---|
| Косарка не запускається | Battery not inserted correctly or discharged; Safety button/lever not activated. | Ensure battery is fully charged and correctly inserted. Activate safety button and pull switch lever simultaneously. |
| Погана продуктивність різання | Dull or damaged blade; Cutting height too low; Grass box full. | Sharpen or replace blade. Adjust cutting height. Empty grass box. |
| Надмірна вібрація | Пошкоджене або незбалансоване лезо; нещільно закріплені компоненти. | Inspect blade for damage and balance. Tighten any loose screws or bolts. Seek professional service if vibration persists. |
| Двигун зупиняється під час роботи | Overload; Battery discharged; Overheating. | Reduce load (raise cutting height). Recharge battery. Allow motor to cool down. |
7. Технічні характеристики
| Особливість | Деталь |
|---|---|
| Номер моделі | PRMA 40-Li C1 |
| Бренд | Parkside |
| Виробник | HKM Akku Technik |
| Ширина різання | 40 см |
| Регулювання висоти зрізу | 7 положень (25 мм - 75 мм) |
| Тип двигуна | Безщітковий |
| Джерело живлення | Battery (40V system, typically 2x 20V batteries) |
| Режим роботи | Автоматичний |
| матеріал | легована сталь |
| Колір | Зелений |
8. Гарантія та підтримка
Your Parkside PRMA 40-Li C1 Cordless Lawn Mower comes with a standard manufacturer's warranty. Please refer to the warranty card included with your product for specific terms and conditions.
For technical support, spare parts, or warranty claims, please contact HKM Akku Technik customer service. Contact details can typically be found on the product packaging or the manufacturer's official webсайт.
Always provide your model number (PRMA 40-Li C1) and purchase date when contacting support.