
1. Продукт закінчивсяview
The HOMCOM Model 837-061 shoe cabinet is designed for efficient shoe storage and organization in entryways or hallways. It features three tilt-out compartments for shoes and a side cabinet with a hanging bar for umbrellas or small bags. The top surface can be used for keys, phones, or decorative items.
- Spacious Shoe Storage: Three tilt-out compartments, each accommodating up to 4 pairs of shoes, for a total capacity of 6-12 pairs (depending on shoe size and type).
- Регульовані роздільники: Each shoe compartment includes a removable and adjustable divider with two positions to customize storage space.
- Бічна шафа: A dedicated side cabinet with a door and hanging bar, suitable for umbrellas, small bags, or other accessories.
- Міцна конструкція: Made from resistant engineered wood (MDF) for long-lasting use.
- Захист від перекидання: Includes an anti-tip safety system to secure the cabinet to the wall, preventing accidental tipping.

Image 1.1: The HOMCOM shoe cabinet, Model 837-061, shown in a typical home entryway with decorative items on top.
2. Інформація про безпеку
Будь ласка, прочитайте та зрозумійте всі інструкції з техніки безпеки перед складанням та використанням. Недотримання цих інструкцій може призвести до травмування або пошкодження виробу.
- Пристрій проти перекидання: It is mandatory to install the included anti-tip device to secure the cabinet to a wall. This prevents the cabinet from tipping over, especially if children or pets attempt to climb it.
- Вага: Do not exceed the maximum supported weight of 15 kg (33 lbs) on the top surface. Overloading can compromise stability.
- Збірка: Assemble the product on a soft, clean surface to prevent scratches. Ensure all screws and fasteners are tightened securely before use.
- Розміщення: Place the cabinet on a flat, level surface to ensure stability.
- Безпека дітей: Тримайте дрібні деталі та пакувальні матеріали подалі від дітей під час складання.

Image 2.1: Illustration of the anti-tip design, showing how to secure the cabinet to the wall for enhanced stability and safety.
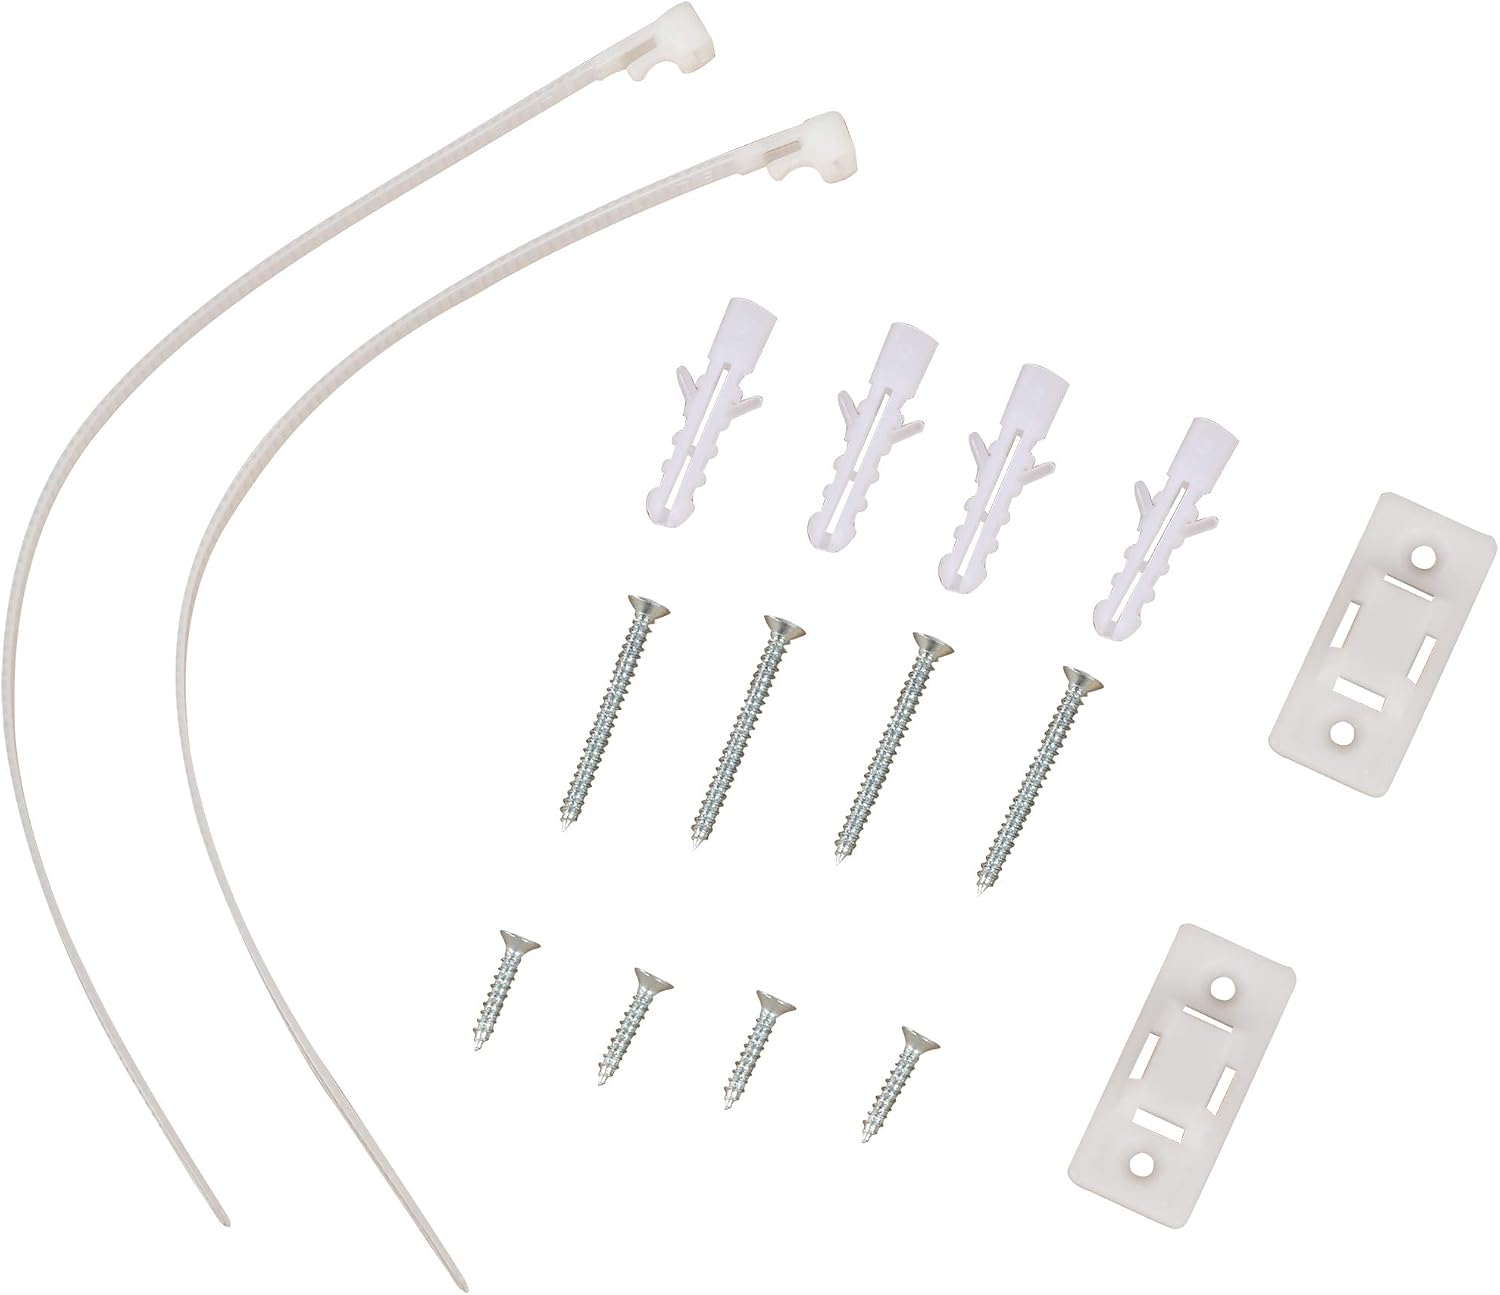
Image 2.2: Detail of the anti-tip bracket installed on the rear panel of the shoe cabinet.
3. Налаштування та складання
This product requires assembly. It is recommended to have two people for assembly. Please ensure all parts are present before beginning.
3.1. Вміст упаковки
Verify that all components and hardware are included in the package. Refer to the parts list in your physical instruction manual for detailed identification.

Image 3.1: All screws, wall anchors, and anti-tip straps included for assembly and secure installation.
3.2. Етапи складання (загальні рекомендації)
- Розпакуйте та ідентифікуйте: Carefully unpack all components and lay them out on a soft, clean surface. Identify each part using the provided labels or diagrams.
- Збірка основної рами: Begin by connecting the main side panels and base using the designated screws and dowels. Ensure connections are snug but do not overtighten initially.
- Встановлення відділень для взуття: Attach the mechanisms for the tilt-out shoe compartments to the interior of the cabinet. Insert the adjustable dividers into the desired positions.
- Прикріпити двері: Secure the three tilt-out doors to their respective mechanisms. Attach the side cabinet door using hinges.
- Install Side Cabinet Bar: Place the hanging bar inside the side cabinet.
- Остаточне затягування: Once all components are in place, carefully tighten all screws to ensure structural integrity.
- Встановлення пристрою проти перекидання: Attach the anti-tip brackets to the top rear of the cabinet. Secure the straps to a wall stud or use appropriate wall anchors (provided) to prevent tipping.
Note: For detailed, step-by-step assembly instructions, please refer to the printed manual included with your product.
4. Інструкція з експлуатації
4.1. Зберігання взуття
To store shoes, gently pull the handle of a tilt-out compartment. The door will tilt forward, revealing the internal shelves. Place shoes on the shelves, ensuring they fit within the compartment's depth and height. Push the door back until it closes securely.

Image 4.1: The shoe cabinet with all three tilt-out compartments open, demonstrating the three-level hanging shelves and capacity for up to 12 pairs of regular-sized shoes.
4.2. Adjusting Dividers
Each tilt-out compartment features an adjustable divider. To adjust, open the compartment door. The divider can be moved between two positions or removed entirely to accommodate different shoe sizes or types (e.g., boots, high heels). Carefully lift and reposition the divider as needed.

Зображення 4.2: Крупний план view illustrating the adjustable divider mechanism within a shoe compartment, allowing for flexible storage configurations.
4.3. Using the Side Cabinet
The side cabinet provides additional storage. Open the door to access the interior, which includes a hanging bar. This space is ideal for storing umbrellas, small bags, or other entryway essentials.
5. Технічне обслуговування
Proper maintenance will ensure the longevity and appearance of your HOMCOM shoe cabinet.
- Прибирання: Протріть поверхні м’якою, damp тканиною. Уникайте використання агресивних хімікатів, абразивних засобів для чищення або надмірної вологи, оскільки вони можуть пошкодити інженерне дерев'яне покриття.
- Витирання пилу: Регулярно протирайте корпус сухою м’якою ганчіркою, щоб запобігти накопиченню пилу.
- Розливи: Негайно витирайте будь-які розливи, щоб запобігти пошкодженню вологою або появі плям.
- Перевірка обладнання: Періодично перевіряйте всі гвинти та кріплення, щоб переконатися, що вони міцно затягнуті. За потреби підтягуйте.
- Уникайте прямих сонячних променів: Тривалий вплив прямих сонячних променів може призвести до вицвітання або зміни кольору дерев'яного покриття.
- Контроль вологості: Підтримуйте стабільну температуру та рівень вологості в приміщенні, щоб запобігти деформації або розтріскуванню деревини.

Image 5.1: A close-up showing the layers of engineered wood (MDF) used in the construction of the cabinet, highlighting its natural and resistant properties.
6. Вирішення проблем
Якщо у вас виникли проблеми з шафою для взуття, зверніться до наступних поширених проблем та способів їх вирішення:
- Кабінет міністрів відчуває нестабільність:
- Переконайтеся, що шафа розташована на рівній, рівній поверхні.
- Переконайтеся, що всі монтажні гвинти надійно затягнуті.
- Confirm the anti-tip device is correctly installed and anchored to the wall.
- Tilt-out doors do not close properly:
- Check if shoes are obstructing the closing mechanism.
- Ensure the internal dividers are correctly positioned and not interfering with the door.
- Verify that the door hinges and mechanisms are properly aligned and tightened.
- Side cabinet door is misaligned:
- Adjust the hinges if they are adjustable.
- Переконайтеся, що шафа рівна.
- Відсутні деталі або пошкоджені компоненти:
- Contact HOMCOM customer service with your model number and a description of the issue.
7. Технічні характеристики
| Бренд | HOMCOM |
| Номер моделі | 837-061 |
| матеріал | Інженерна деревина (МДФ) |
| Колір | Природні |
| Габаритні розміри (Д x Ш x В) | 79 см x 26 см x 120 см (31.1 дюйма x 10.2 дюйма x 47.2 дюйма) |
| Max. Weight Capacity (Top Surface) | 15 кг (33 фунта) |
| Місткість взуття | 6-12 pairs (depending on shoe size/type) |
| Потрібна збірка | так |

Image 7.1: Detailed dimensions of the shoe cabinet: 79 cm width, 26 cm depth, and 120 cm height.
8. Гарантія та підтримка
For warranty information, product support, or to order replacement parts, please contact HOMCOM customer service. Refer to your purchase documentation or the HOMCOM official webна сайті для отримання контактної інформації.
Будь ласка, підготуйте номер моделі (837-061) та дату покупки, коли звертатиметесь до служби підтримки.


