
1. Вступ
This manual provides detailed instructions for the installation, operation, and maintenance of your SMONET Wireless Security Camera System. This system is designed to provide reliable surveillance with easy setup and remote access capabilities.
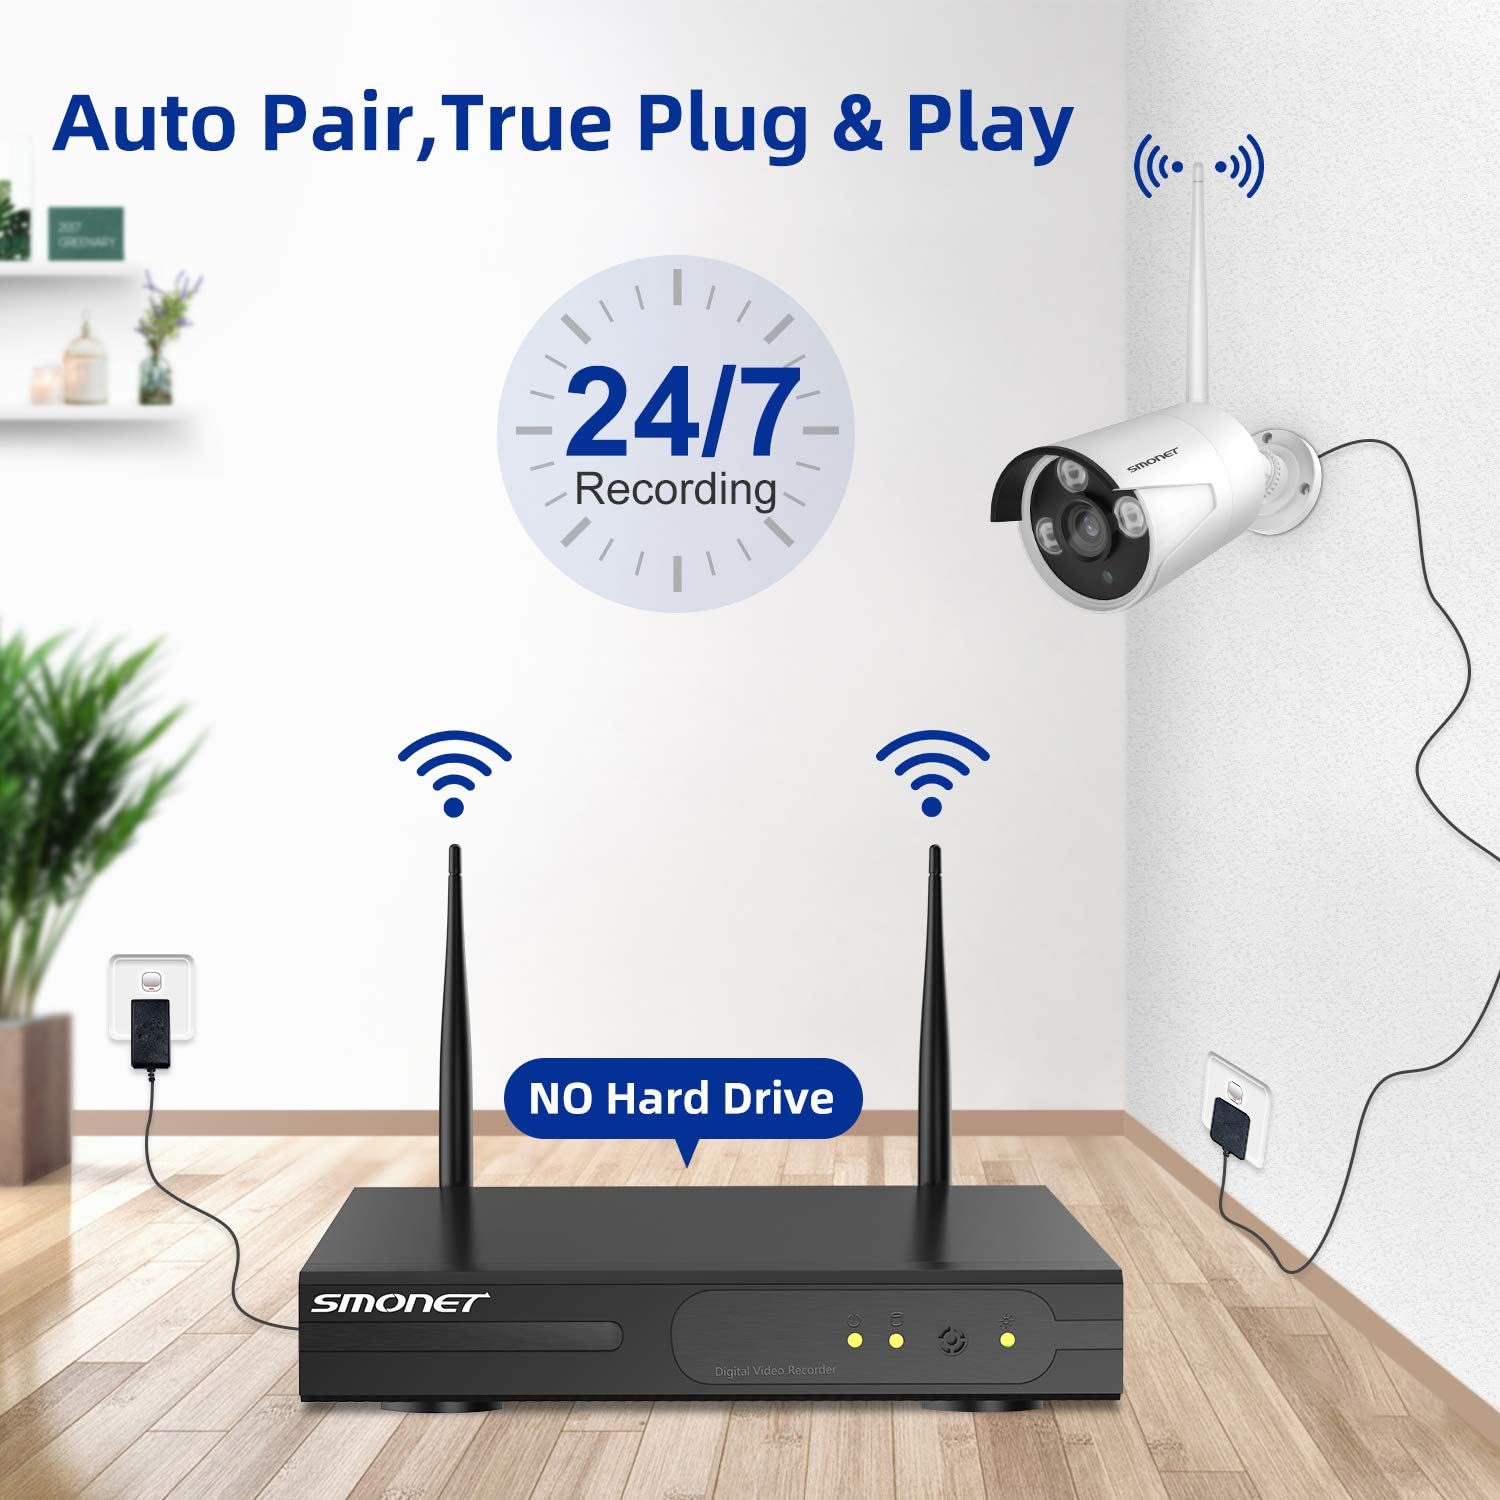
Зображення 1: закінченоview of the SMONET Wireless Security Camera System, showing the NVR unit and four bullet-style cameras with antennas, indicating wireless connectivity and 24/7 recording capability.
2. Вміст упаковки
Перевірте, чи всі перелічені нижче предмети входять до вашої упаковки:
- 1 x 4CH 1080p WiFi NVR (Network Video Recorder)
- 4 x Wireless IP Cameras
- 1 x DC 12V/2A Power Adapter (for NVR)
- 4 x DC 12V/1A Power Adapters (for Cameras)
- 1 х USB миша
- 1 x 3.3ft Network Cable
- Монтажні гвинти та дюбелі
- 1 х посібник користувача
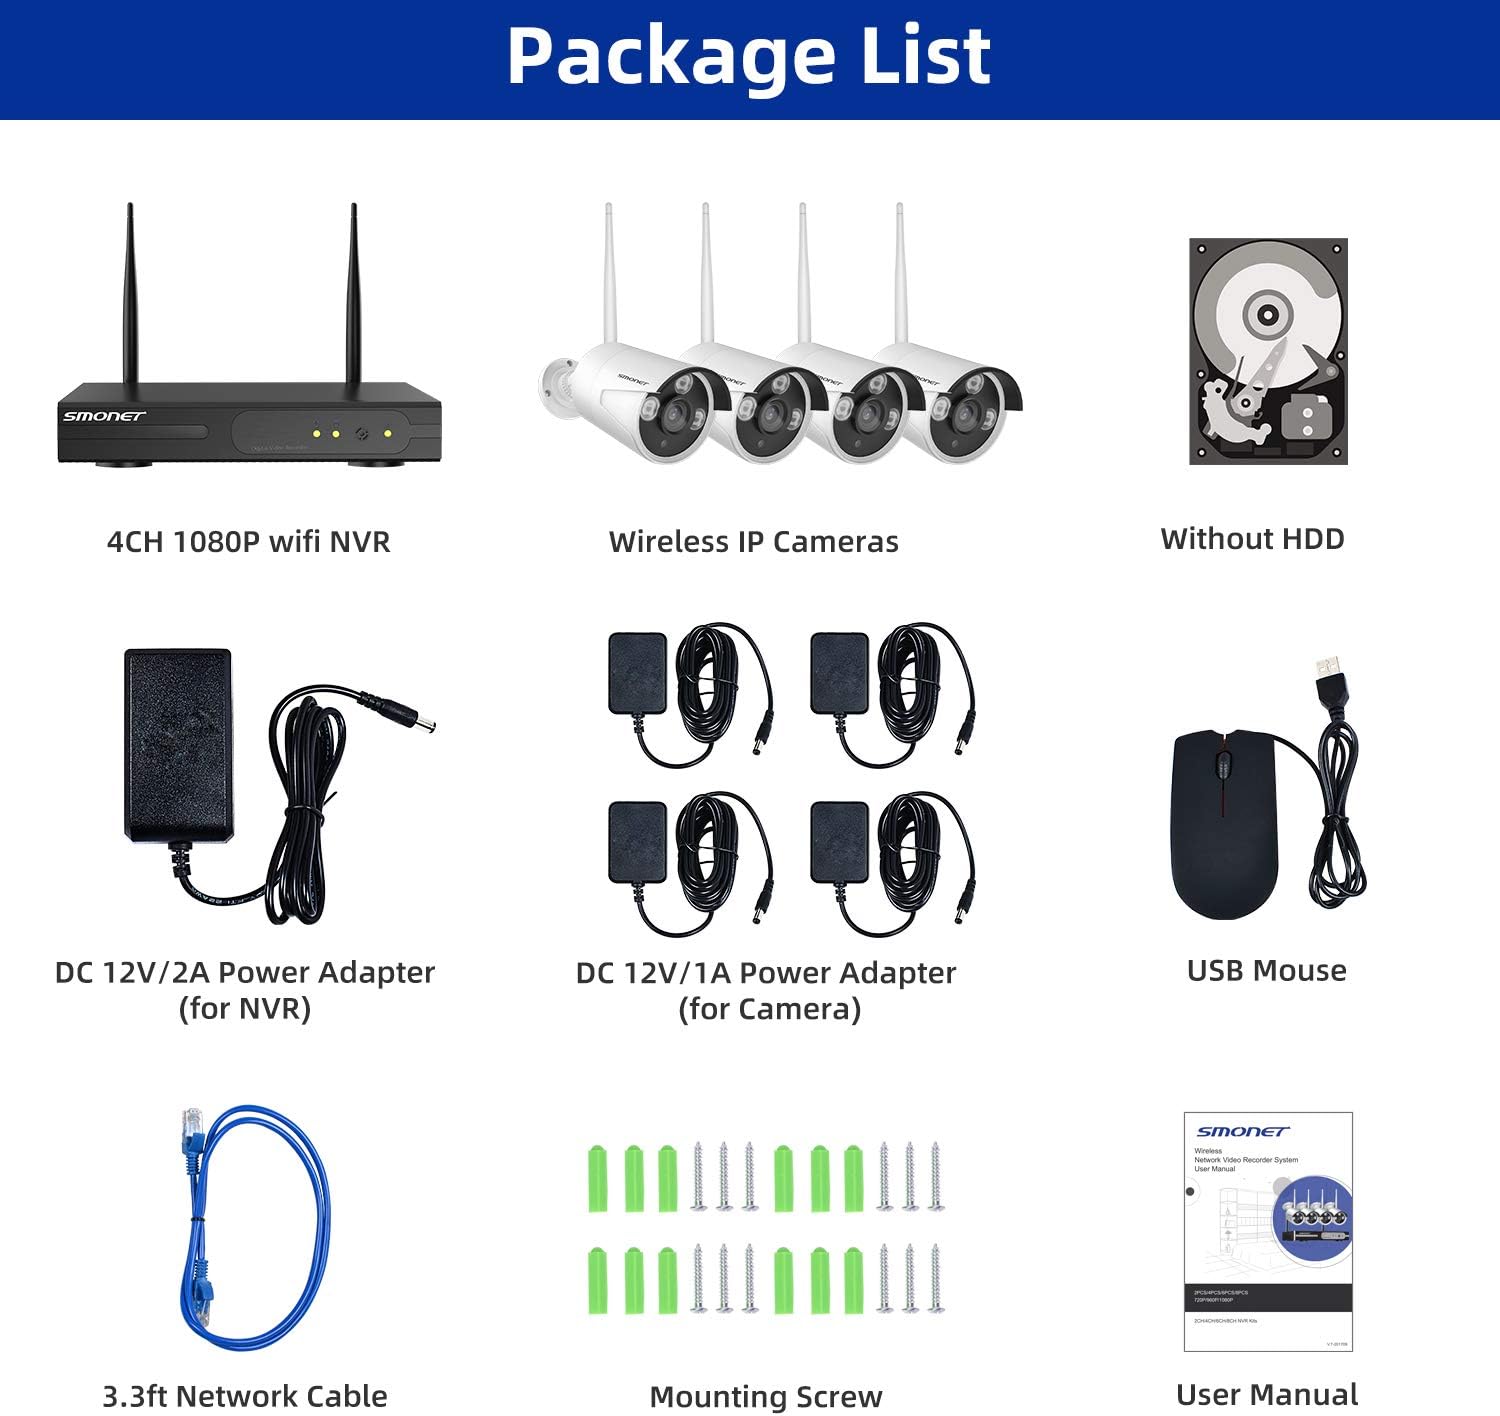
Image 2: Visual representation of the package contents, including the NVR, four cameras, power adapters, USB mouse, network cable, mounting hardware, and user manual.
3. Продукт закінчивсяview
3.1 Функції камери
- 5DB Wi-Fi Antenna: For enhanced wireless signal reception.
- IP66 Metal Housing: Provides weather resistance for outdoor use.
- 3 pcs LEDs: Для нічного бачення підсвічування.
- Датчик світла: Automatically adjusts between day and night modes.
- Об'єктив 3.6 мм: Пропонує широке поле view.
3.2 NVR Ports
- Порт VGA: Connect to a monitor.
- Порт HDMI: Connect to a TV or monitor for high-definition output.
- WAN порт: Connect to your router for internet access.
- Порт USB: For mouse and external storage.
- Адаптер живлення: For NVR power supply.
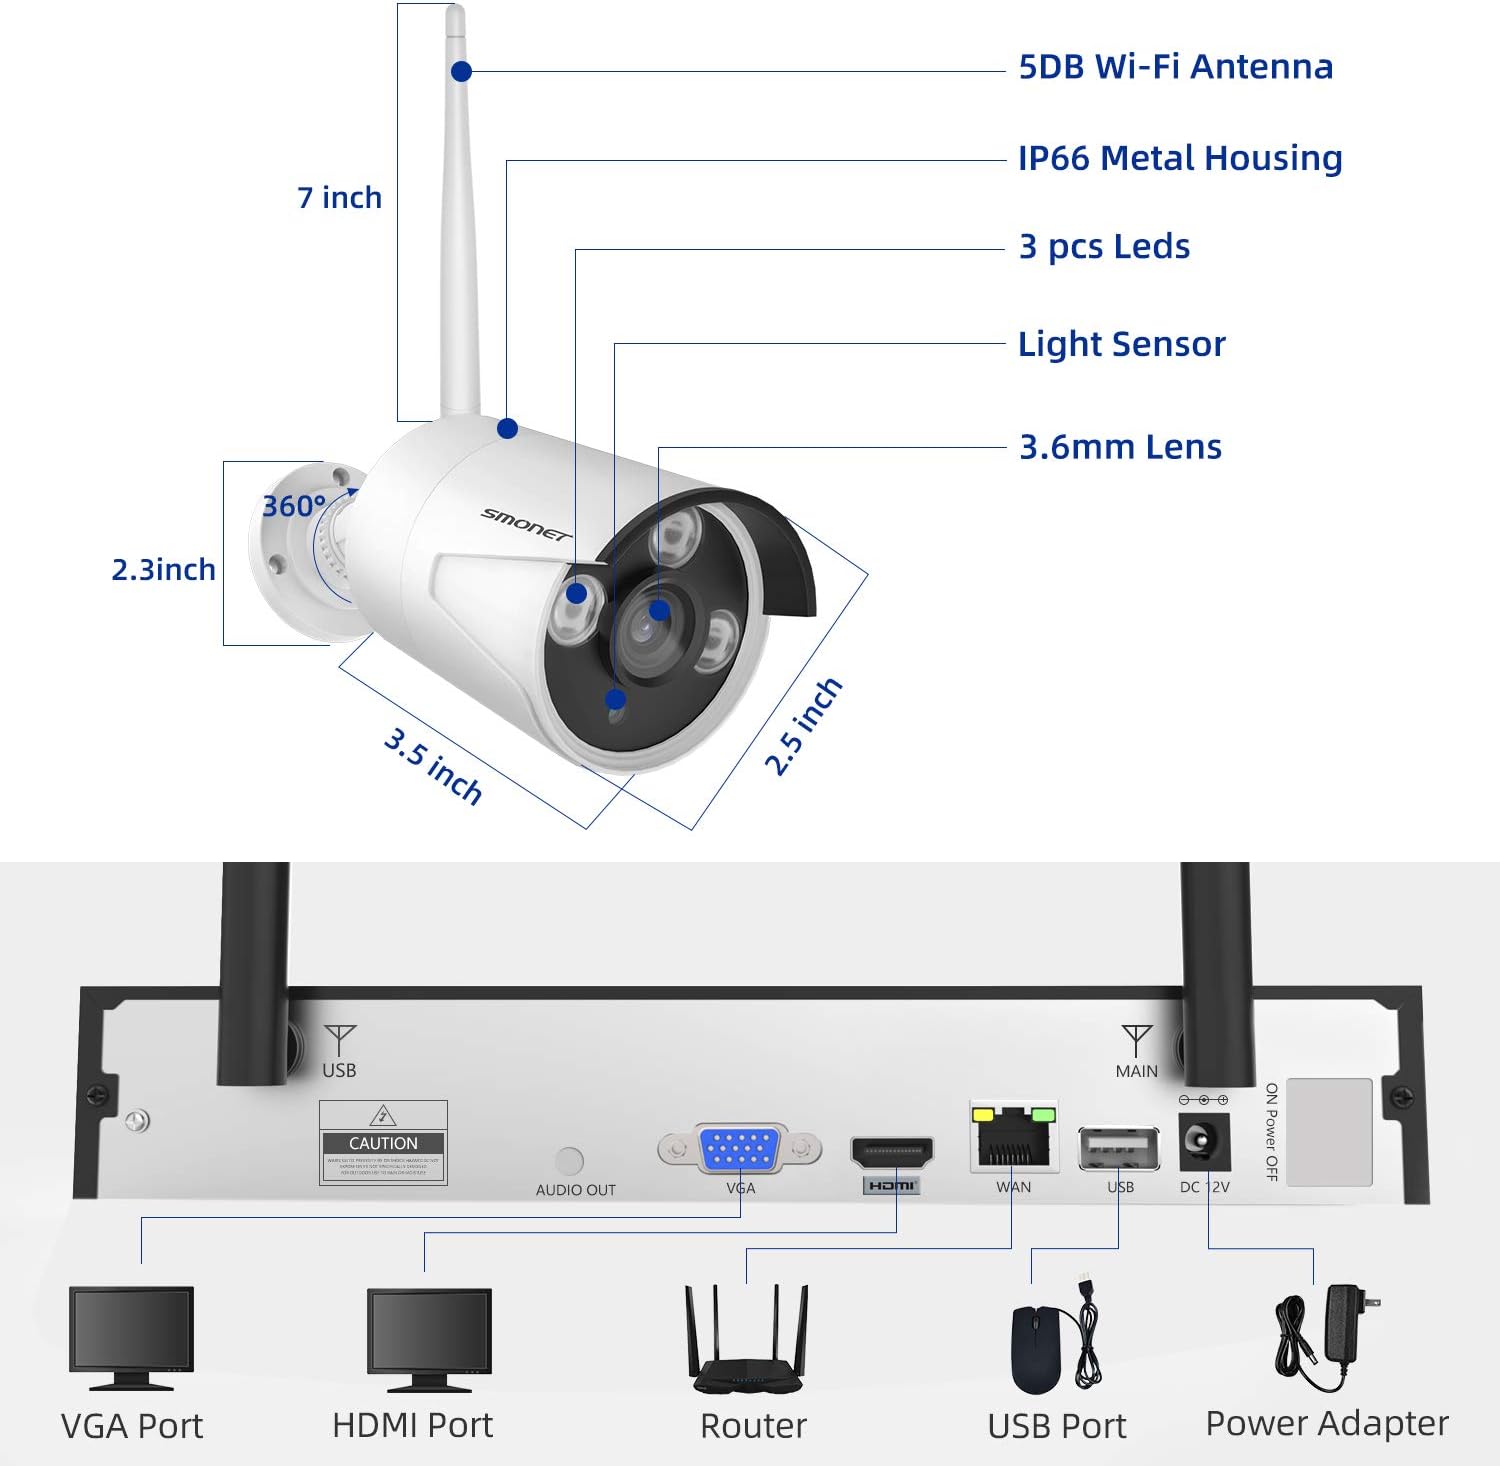
Image 3: Detailed diagram showing the dimensions of a SMONET camera and the various input/output ports on the back of the NVR unit.
4. Налаштування
4.1 Встановлення камери
- Choose desired locations for your cameras. Ensure they are within range of the NVR's wireless signal.
- Mount the cameras using the provided screws and wall plugs.
- Connect each camera to its dedicated DC 12V/1A power adapter and plug it into a power outlet.
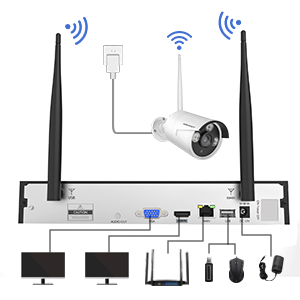
Image 4: Illustration depicting the simple setup process for the SMONET cameras, highlighting the 'Auto Pair, True Plug & Play' feature.
4.2 Підключення відеореєстратора
- Connect the NVR to a monitor or TV using either the VGA or HDMI port.
- Connect the NVR to your home router using the provided network cable (WAN port).
- Plug in the NVR's DC 12V/2A power adapter and power on the system.
- The cameras should automatically pair with the NVR. If not, refer to the troubleshooting section.
Video 1: A brief introduction to the SMONET Wireless Camera System, demonstrating the ease of setup and key features.
4.3 Встановлення жорсткого диска (необов'язково)
This system does not include a hard drive. For continuous recording and video storage, a surveillance-grade hard drive (up to 4TB) must be installed. Refer to the detailed instructions in the full user manual for hard drive installation steps.
5. Робота з системою
5.1 Пульт дистанційного керування Viewчерез мобільний додаток
The SMONET system supports remote viewing via a dedicated mobile application. This allows you to monitor your cameras from anywhere using your smartphone or tablet.
- Download the 'IP PRO' app from your device's app store (iOS or Android).
- Register a new account within the app.
- Add your NVR device by inputting its Cloud ID and the admin password. The Cloud ID can be found in the NVR's system settings (Main Menu > Advanced > Version > Serial Number).
- Після підключення ви можете view прямі трансляції з усіх підключених камер.
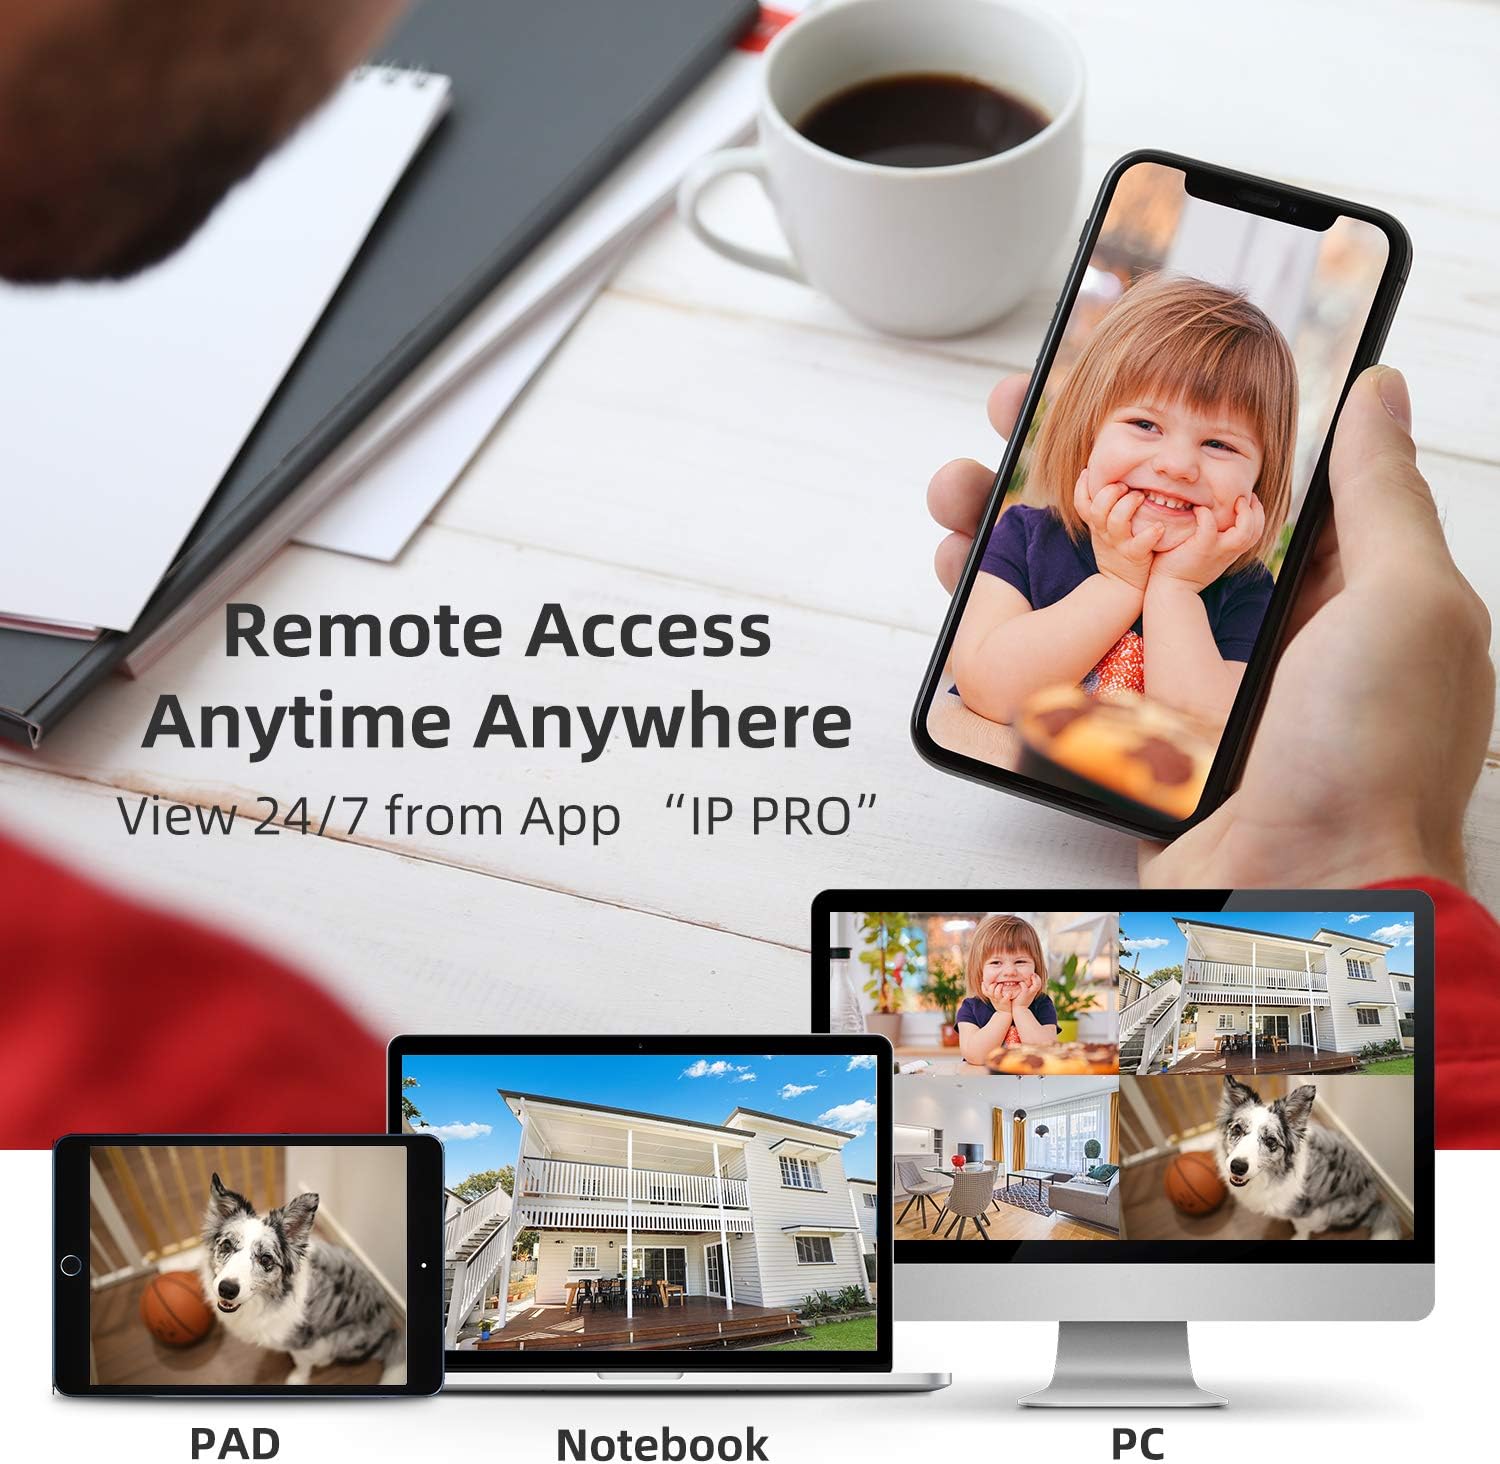
Image 5: Demonstrates remote access capabilities, showing live camera feeds on a smartphone, tablet, and laptop, accessible anytime, anywhere via the 'IP PRO' app.
5.2 Пульт дистанційного керування Viewing via PC Software
Ви також можете view your camera feeds on a computer using the VMS software.
- Download the VMS software to your computer.
- Log in using the default username 'admin' and password (leave blank if not set).
- In 'Device Manager', click 'Cloud Add' and enter your NVR's Cloud ID and password.
- Once connected, navigate to 'Live View' to see your camera feeds.
Video 2: A tutorial demonstrating how to view video from the SMONET system on a PC using the VMS software.
5.3 Виявлення руху
The system features real-time motion detection. When motion is detected, cameras can send email alerts or mobile notifications to you, enhancing your property's security.

Image 6: Illustrates the real-time motion detection capability, showing an alert being sent to a smartphone when movement is detected in a monitored area.
5.4 Денний та нічний зір
The cameras provide clear vision both day and night. During the day, you get colorful images, and at night, the infrared LEDs enable clear black and white night vision.

Image 7: A side-by-side comparison demonstrating the system's ability to capture colorful images during the day and clear black-and-white images at night using infrared technology.
5.5 Розширення системи
The 4-channel NVR can support up to 8 cameras. You can add additional SMONET 1080P IP cameras (ASIN: B01IR4TXA8) to expand your surveillance coverage.

Image 8: Illustrates the wireless signal repeater function between cameras and the NVR, and shows how the system can be expanded to include up to 8 cameras.
6. Технічне обслуговування
- Регулярне прибирання: Періодично очищуйте об'єктиви камери м'якою губкоюamp тканину для забезпечення чіткої якості зображення.
- Оновлення прошивки: Перевірте виробника webсайт для оновлень прошивки, щоб забезпечити оптимальну продуктивність і безпеку.
- Перевірка джерела живлення: Переконайтеся, що всі адаптери живлення надійно підключені та не пошкоджені.
- Стан жорсткого диска: If a hard drive is installed, regularly check its health status through the NVR interface to prevent data loss.
7. Вирішення проблем
- Немає зображення на моніторі: Check VGA/HDMI cable connections. Ensure NVR and monitor are powered on and input source is correct.
- Cameras Not Connecting: Verify cameras are powered on. Ensure they are within wireless range of the NVR. If issues persist, try re-pairing cameras manually (refer to full manual for specific steps).
- No Remote View: Check NVR's network status (should be 'Healthy Network'). Ensure your mobile device has internet access and the Cloud ID/password are correctly entered in the app.
- Проблеми із записом: Confirm a hard drive is installed and properly formatted. Check recording settings in the NVR menu.
8. Технічні характеристики
| Особливість | Специфікація |
|---|---|
| Бренд | SMONET |
| Технологія підключення | Бездротовий |
| Кількість каналів | 4 |
| Ємність пам'яті | 4 TB (Max, HDD not included) |
| Джерело живлення | Battery Powered (Cameras via adapter) |
| Операційна система | Android, iOS (for app) |
| Формат сигналу | цифровий |
| Нічне бачення | Night color (IR) |
| Частота кадрів | 30 кадрів/с |
| Режим запису | Виявлення руху |
| Технологія оптичного датчика | CMOS |
| Апаратний інтерфейс | 802.11 ac/b/g/n |
| Тип об'єктива | Fixed (3.6mm) |
| Відео вхід | RJ45 (NVR) |
| Номер моделі | SN-WNK 002 |
| Вага товару | 7 Pounds (System) |
| Розміри предмета | 12.5 x 10.5 x 6.5 дюйма (упаковка) |
9. Гарантія та підтримка
For warranty information and technical support, please refer to the official SMONET webсайт або зверніться безпосередньо до служби підтримки клієнтів. Зберігайте чек про покупку для гарантійних претензій.


