
1. Вступ
Thank you for choosing the EXCELVAN WH1281 Wireless Digital Weather Station. This device provides accurate indoor and outdoor temperature and humidity readings, along with a weather forecast display. Please read this manual carefully before use to ensure proper operation and to maximize the lifespan of your product.
2. Компоненти продукту
The EXCELVAN WH1281 Weather Station consists of two main parts:
- Головний дисплей: Displays indoor/outdoor temperature, humidity, time, and weather forecast.
- Бездротовий зовнішній датчик: Measures outdoor temperature and transmits data to the main unit. This sensor is waterproof.
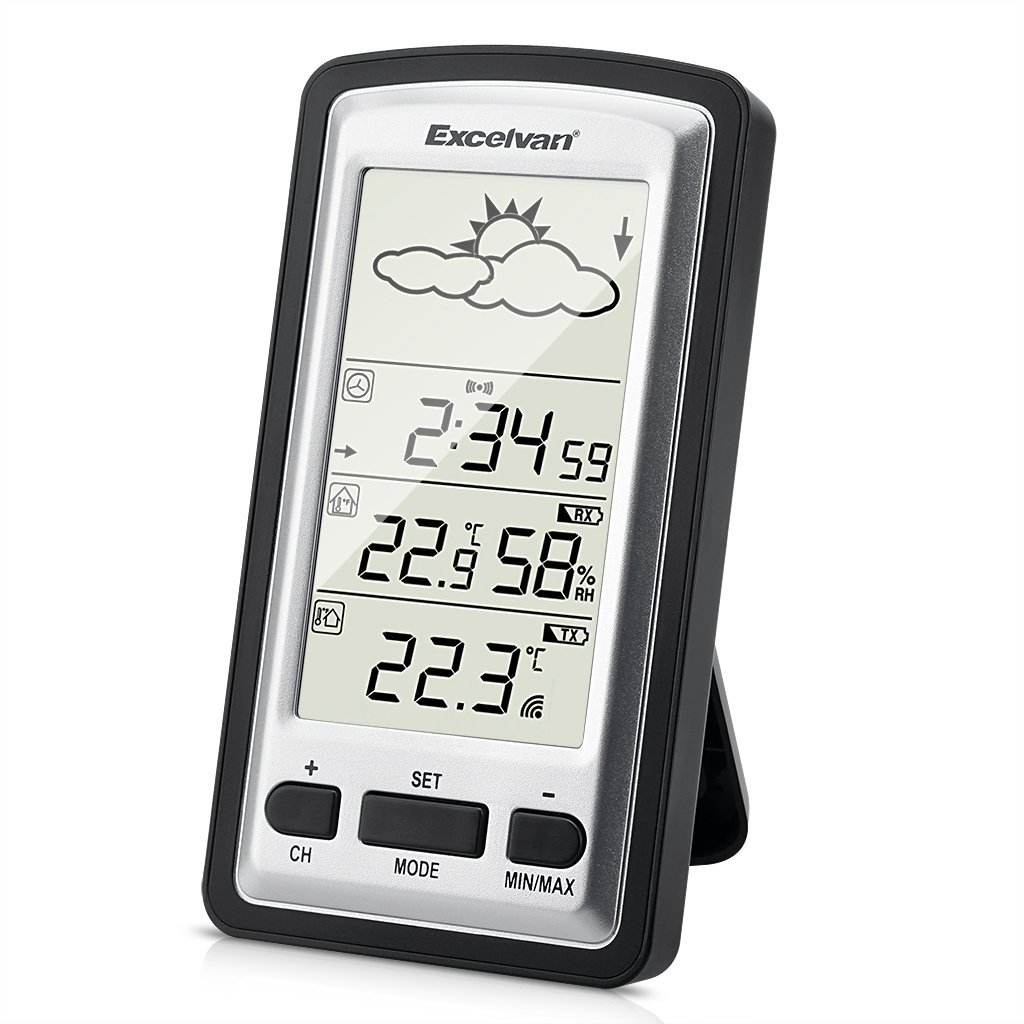
Image 1: Main Display Unit and Wireless Outdoor Sensor. The effective transmission distance between the sensor and the main unit is up to 100 meters in open areas.

Image 2: Separate view of the main display unit and the wireless outdoor temperature sensor.
3. Посібник із налаштування
3.1 Встановлення батареї
Batteries are not included and must be purchased separately. Both the main unit and the outdoor sensor require batteries for operation.
- Зовнішній датчик:
- Відкрийте кришку відсіку для батарейок на задній панелі зовнішнього датчика.
- Вставте 2 батарейки типу AAA 1.5 В, дотримуючись правильної полярності (+/-).
- Надійно закрийте кришку батарейного відсіку.
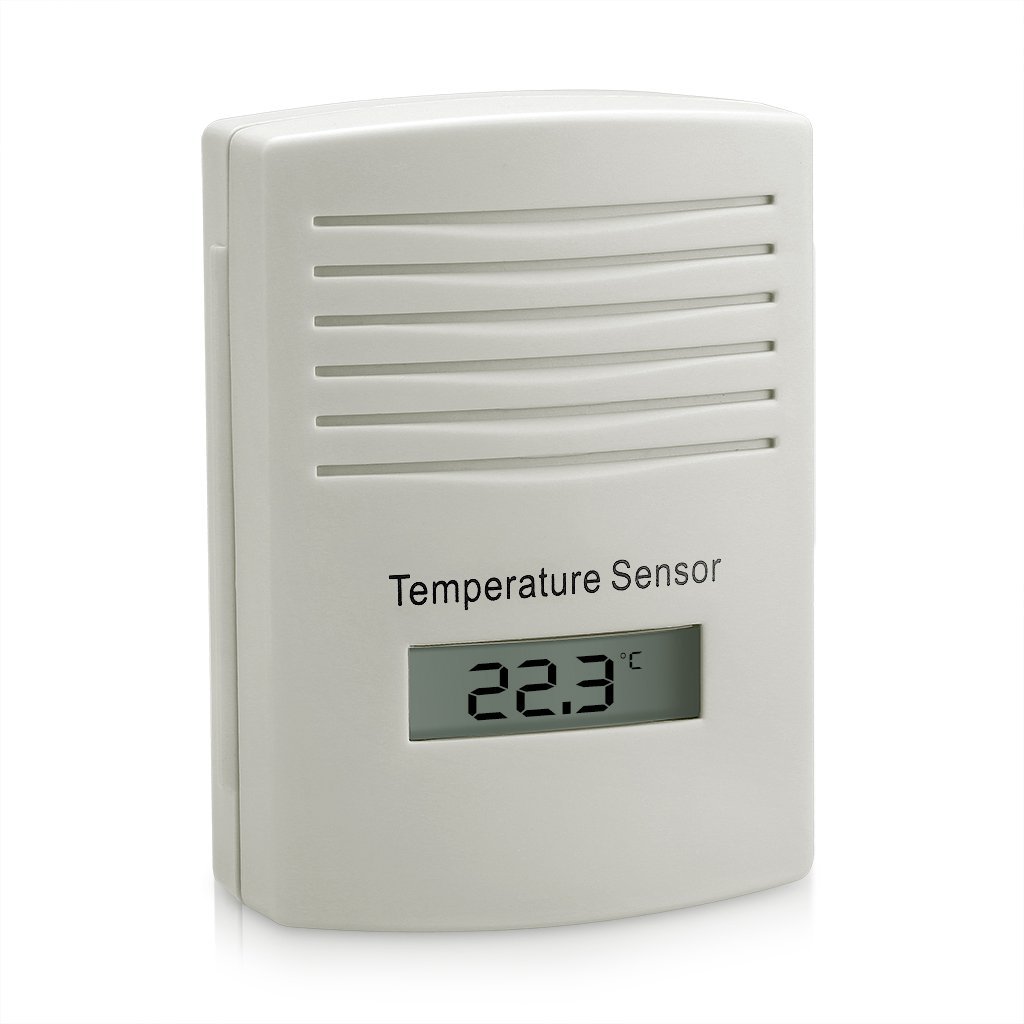
Зображення 3: Ззаду view of the outdoor sensor, indicating the battery compartment and power requirements (2x1.5V AAA batteries).
- Головний дисплей:
- Відкрийте кришку відсіку для батарейок на задній панелі основного пристрою.
- Insert batteries (typically AAA or AA, refer to the unit's markings for exact type and quantity), ensuring correct polarity (+/-).
- Надійно закрийте кришку батарейного відсіку.
3.2 Sensor Pairing and Initial Synchronization
For optimal performance, always insert batteries into the outdoor sensor first, then into the main display unit. This ensures proper synchronization.
- After inserting batteries into both units, the main display unit will automatically search for the outdoor sensor. This process may take a few minutes.
- Once connected, the outdoor temperature and humidity will appear on the main display. If the connection is not established, try pressing the "CH" button on the main unit to manually search for the sensor, or remove and reinsert batteries in both units.
3.3 Розміщення зовнішнього датчика
To ensure accurate readings and prolong the sensor's life:
- Place the sensor in a shaded area, away from direct sunlight, which can cause artificially high temperature readings.
- Protect the sensor from direct rain and snow, even though it is designed to be waterproof. An overhang or protective cover is recommended.
- Ensure the sensor is within the effective transmission range (up to 100 meters in open air) of the main unit. Walls and other obstructions can reduce this range.
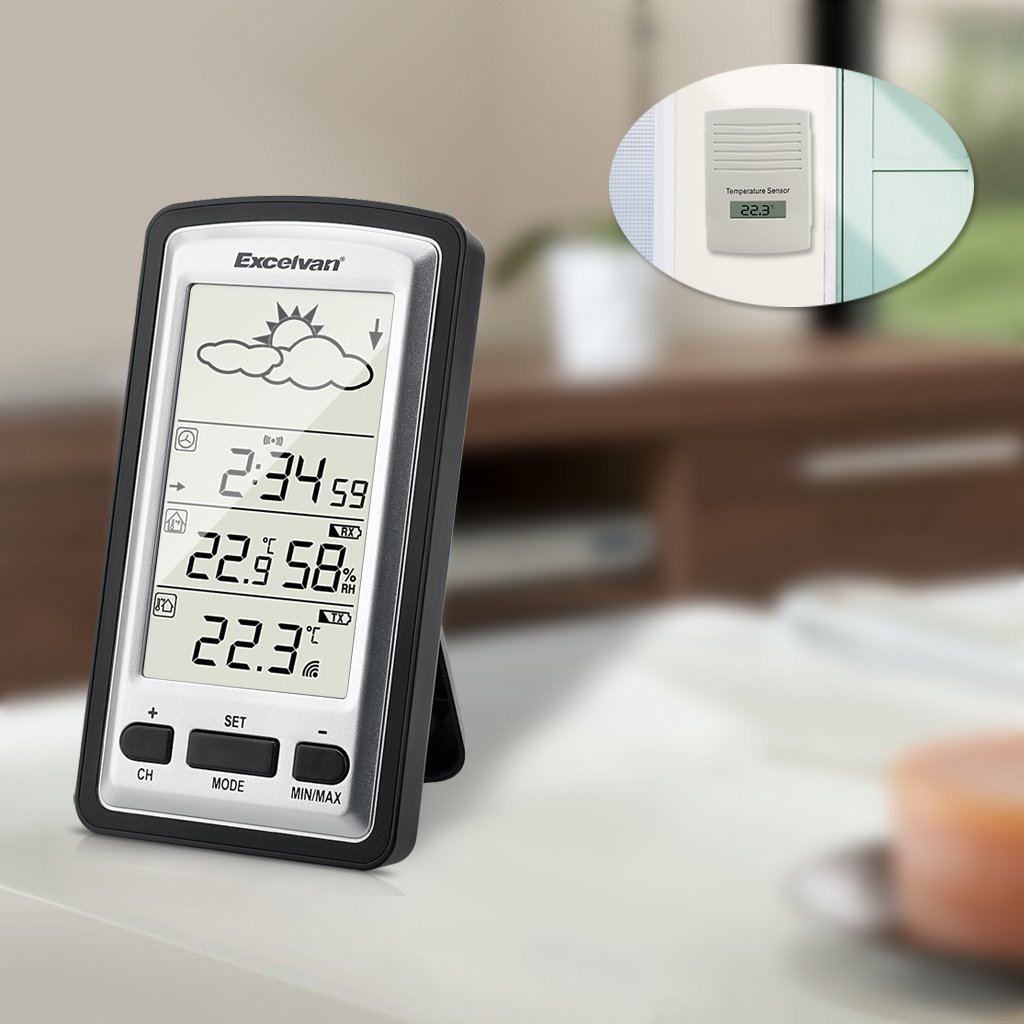
Зображення 4: Наприкладample placement of the outdoor sensor, visible through a window, while the main unit is indoors.
4. Інструкція з експлуатації
4.1 Головний дисплей зверхуview
The main display unit features a clear LED screen showing various environmental data and time information.

Image 5: Main display unit with active green backlight, showing current time, indoor temperature and humidity, outdoor temperature, and weather forecast icons.
Ключові елементи відображення включають:
- Значки прогнозу погоди: Sun, clouds, rain, etc., indicating predicted weather trends.
- Відображення часу: Current time in HH:MM format.
- Температура та вологість у приміщенні: Current indoor conditions.
- Зовнішня температура: Поточна температура від бездротового датчика.
- Індикатор сигналу: Shows connection status with the outdoor sensor.
4.2 Функції кнопок
The main unit has several buttons for configuration and data viewing:
- CH (канал): Used to switch between multiple outdoor sensors (if supported and additional sensors are purchased) or to manually search for the sensor.
- НАСТРОЙКА: Enters settings mode for time, date, and other parameters. Also confirms settings.
- РЕЖИМ: Switches between different display modes (e.g., time, alarm).
- MIN / MAX: Displays the minimum and maximum recorded indoor/outdoor temperatures and humidity since the last reset. Press again to cycle through values. Long press to reset MIN/MAX records.
- +/-: Used to adjust values during settings mode or to switch between Celsius (°C) and Fahrenheit (°F) temperature units (often by pressing one of these buttons outside of settings mode).
4.3 Встановлення часу та дати
- Press and hold the "SET" button until the time display starts flashing.
- Використовуйте кнопки «+» або «-», щоб налаштувати годину.
- Press "SET" to confirm the hour and move to the minute setting.
- Repeat the process for minutes, year, month, and day.
- Press "SET" again to exit the settings mode.
4.4 Вибір одиниць вимірювання температури (°C/°F)
Outside of settings mode, press the "+" or "-" button (depending on model, usually "+") to toggle between Celsius (°C) and Fahrenheit (°F) temperature display.
5. Технічне обслуговування
- Заміна батареї: Replace batteries in both the main unit and the outdoor sensor when the low battery indicator appears on the display. It is recommended to replace all batteries at the same time. For the outdoor sensor, users have reported batteries lasting approximately one year.
- Прибирання: Протріть пристрої м’якою тканиноюamp тканина. Не використовуйте абразивні засоби чи розчинники.
- Захист датчика: While the outdoor sensor is waterproof, placing it under an eave or protective cover can extend its lifespan and prevent direct exposure to extreme weather conditions.
6. Вирішення проблем
| проблема | Можлива причина | Рішення |
|---|---|---|
| Немає дисплея на головному пристрої. | Розряджені або неправильно встановлені батареї. | Перевірте полярність батарейок та замініть їх новими. |
| Outdoor temperature not displayed or flashing. | No connection to outdoor sensor; sensor batteries low/dead; sensor out of range. |
|
| Неточні показання температури. | Outdoor sensor exposed to direct sunlight or heat sources; units not stabilized. |
|
| Годинник втрачає час. | Non-radio controlled clock mechanism. | The WH1281 model is not radio-controlled. Manual time adjustment may be required periodically (e.g., monthly). |
7. Технічні характеристики
| Особливість | Деталь |
|---|---|
| Модель | WH1281 |
| Бренд | EXCELVAN |
| Розміри (основний блок) | Approximately 143 x 81 x 27 mm (L x H x W) |
| вага | Приблизно 199.58 грам |
| Джерело живлення (головний блок) | Battery powered (type not specified, typically AAA or AA) |
| Джерело живлення (зовнішній датчик) | 2 батарейки 1.5 В ААА |
| Тип дисплея | LED |
| Особливість | Водонепроникний зовнішній датчик |
| Бездротова частота | 433.9 МГц |
| Ефективна дальність | До 100 метрів (на відкритому повітрі) |
| UPC | 708624290486 |
8. Гарантія та підтримка
For warranty information, please refer to the documentation provided with your purchase or contact the retailer. For technical support or further inquiries, please reach out to EXCELVAN customer service or your point of purchase.